How To Record Live Broadcasts on YouTube TV
One of the highlights of YouTube TV is its generous DVR allowance. It offers an unlimited amount of space, giving you every reason to use it. So, how do you record live broadcasts on YouTube TV? How can you access all that DVR goodness? This tutorial will show you how, as well as discuss what’s available to record.
YouTube TV is yet another option for cord-cutters to move away from overpriced cable subscriptions and the extra fees for select features like DVR and on-demand service. Owned by the internet giant, Google, YouTube TV is a very viable alternative to cable and other known streaming providers.
What’s Available to Watch and Record on YouTube TV?
YouTube TV is similar to Sling TV, DirecTV, and others when it comes to on-demand features and live channels that are full of shows and movies. The service offers over 70 channels, depending on where you live, and several other features too. In return for $49.99 a month, you can access up to six concurrent streams, use a ‘limitless’ DVR function, and watch streams on almost any device that is compatible.
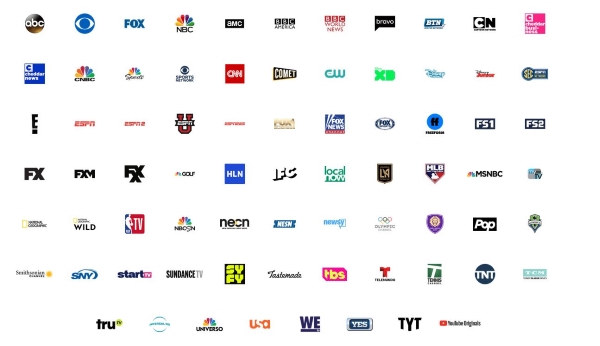
Some channels get limited based ony region but will likely include ABC, Fox, CBS, NBC, AMC, BBC America, Bravo, FS1, E!, ESPN, Fox, FX, MSNBC, National Geographic, StartTV, Sundance TV, SyFy, TNT, USA, and YouTube Originals. The full list is available on the web page once you enter your zip code.
YouTube TV is available in most US cities, but you should still check first. That zip code box on the main page, towards the top area, will not only tell you what channels are available but whether the service is available at all. Those living outside the US cannot have YouTube TV just yet, but that will be changing.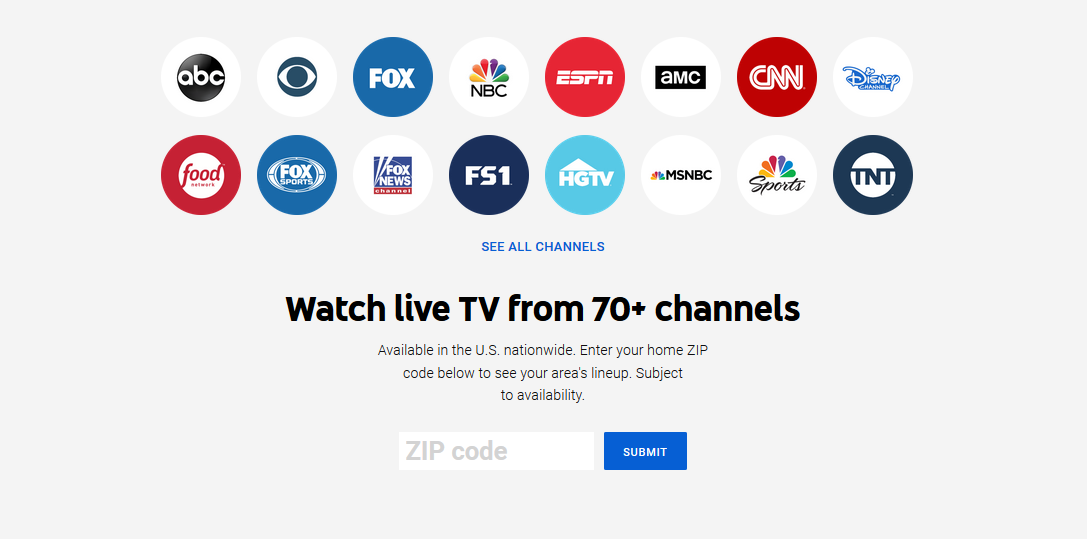
Recording Live Broadcasts on YouTube TV
One big selling point of YouTube TV is the unlimited DVR feature. Other services may limit recording hours or restrict cloud DVR space, but YouTube TV says that their service is unlimited. Regardless, a live recording of a program could easily turn into an on-demand experience, although that issue continues to drop in numbers.
In the past, many networks required on-demand viewing for recorded shows and movies so that you were forced to watch broadcasted commercials. It was difficult to properly your DVR content because many networks required YouTube TV to switch to on-demand programming, and it was often done without you knowing it. Regardless, the future of DVR functionality was gradually changing for the better.
YouTube still continues to work with networks to allow for DVR viewing privileges, and it seems to be working.
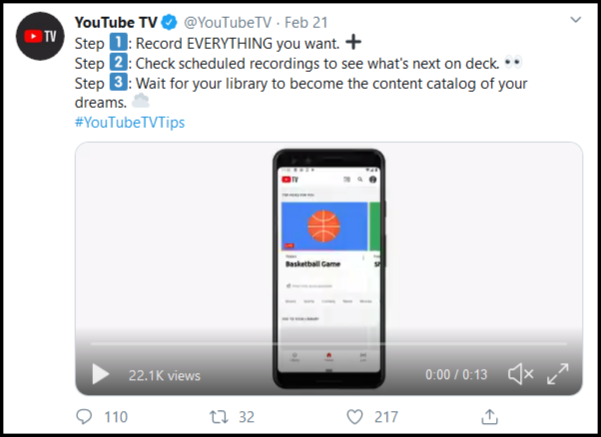
Why does this scenario matter? Many YouTube TV customers desire commercial-free experiences. The DVR option allows pausing, rewinding, and fast-forwarding so you can easily skip or rewatch whatever you want. The On-Demand service does not allow skipping at all. That is why DVR is a “hot” feature on YouTube TV today.
Aside from the ever-growing amount of network participants that allow DVR, the feature is straightforward to use, as long as a network doesn’t play tricks on you.
Exploring Your DVR Options
The DVR is managed within your Library. The Library holds all current recordings and scheduled recording details and it’s where you add those one-time events and movies. You also add your favorite shows to record. In addition, the Library is where you cancel and delete scheduled recordings, but that is more for cleaning up the library since unlimited DVR is nothing of concern.
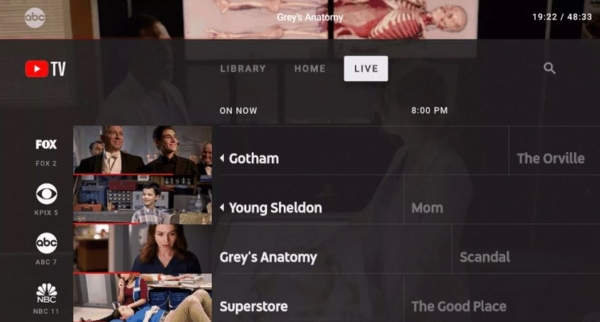
When browsing live content, click on a channel. You’ll be presented with a nice screenshot and other helpful info. At the bottom, you should see a “+” sign, as shown below. Simply click the “+” sign and add the show to your library. YouTube TV will do the rest.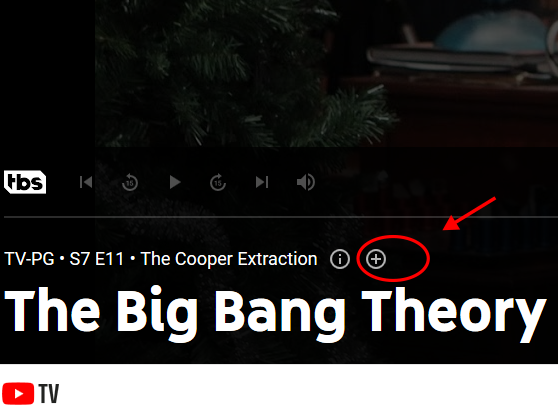
When you select the “+” sign on a currently running episode, event, or sports game, the DVR records from the current time that you started the process. The recording will automatically capture what’s left on the current broadcast and schedule recordings for all future ones when applicable (i.e., shows), new or old. However, if a rerun gets recorded for that “partial episode” you started recording, Youtube TV will automatically delete the partial for you.
If you add a specific sport or team to your preferences in the Library, all future games will record for you. Movies and one-off events get recorded once when added.
In closing, your YouTube TV Library is where most of the action occurs. You will find all of your recorded shows in the Library and will be able to watch and cancel anything from there. Of course, you can simply watch a live channel anytime you want too!








6 thoughts on “How To Record Live Broadcasts on YouTube TV”
If you don’t know ahead of a show or movie you want to record is on, When in “Live” the guide and scrolling through it, if you see an upcoming (next ½ hour or more) show/movie you want to record, scroll to it and click on it. If you had not set it to your Library already, a pop up comes up with “Back” or “More Info”. Arrow up on the Roku remote to “More Info” and in the next screen arrow up to “+ Add to library” and it will be added to your library. Then if you want to you can arrow back down to “Watch Now”…click on it and the show icon after and you are watching and recording. You have added it to your library, so all upcoming and any previous will be there to watch later also.
I found your article very helpful. I do have one question. Once I add my TV shows to my library will it record only new/current versions of the show or will it record reruns also?