How To Reset your CMOS to Clear your Computer BIOS

The Complementary Metal Oxide Semiconductor (CMOS) is where your computer motherboard stores its core configuration. Whatever settings you have in your system BIOS, they will be stored in CMOS. If one of those settings is causing problems and you cannot change it manually, you can reset your CMOS to clear your computer BIOS. This tutorial will show you how.
The CMOS is a tiny part of a motherboard but has a vital function. It stores all the instructions set within a BIOS so your computer can boot. The CMOS refers to the manufacturing method and not the component itself but it is commonly referred to as CMOS. To make sure your settings are retained, even if you unplug your computer, it is backed up by a small battery that is good for several years. That way, if anything happens to power, your BIOS settings are not affected.
Newer computers no longer use CMOS or BIOS. A system called UEFI took over a few years ago and is on track to completely replace the older setup. UEFI can store more information, supports larger hard drives, supports secure boot and many more drivers than BIOS. As CMOS was no longer up to the job or storing all this data, UEFI was moved to non-volatile storage elsewhere on the motherboard.

How to check if you’re using CMOS/BIOS or UEFI
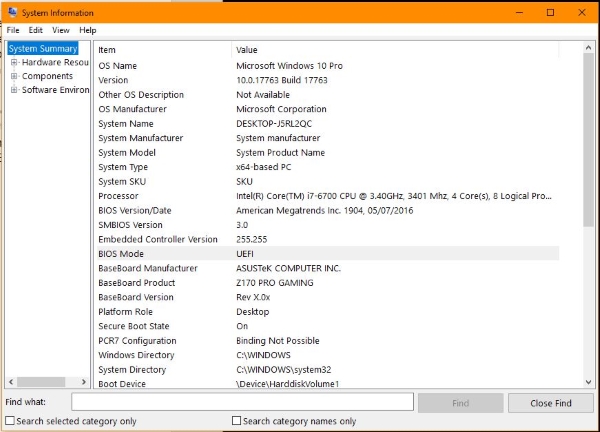
If you’re not sure whether your computer is using the older CMOS and BIOS combination or the newer UEFI setup, you can check from within Windows. As long as the reason you want to reset your CMOS isn’t because you can’t boot your computer, it will take just a second.
- Type ‘system’ into the Windows Search box and select System Information.
- Select System Summary tab in the left pane if it isn’t already.
- Look for BIOS mode in the right pane.
If you see Legacy, that means you’re using CMOS/BIOS. If you see UEFI, you’re not.
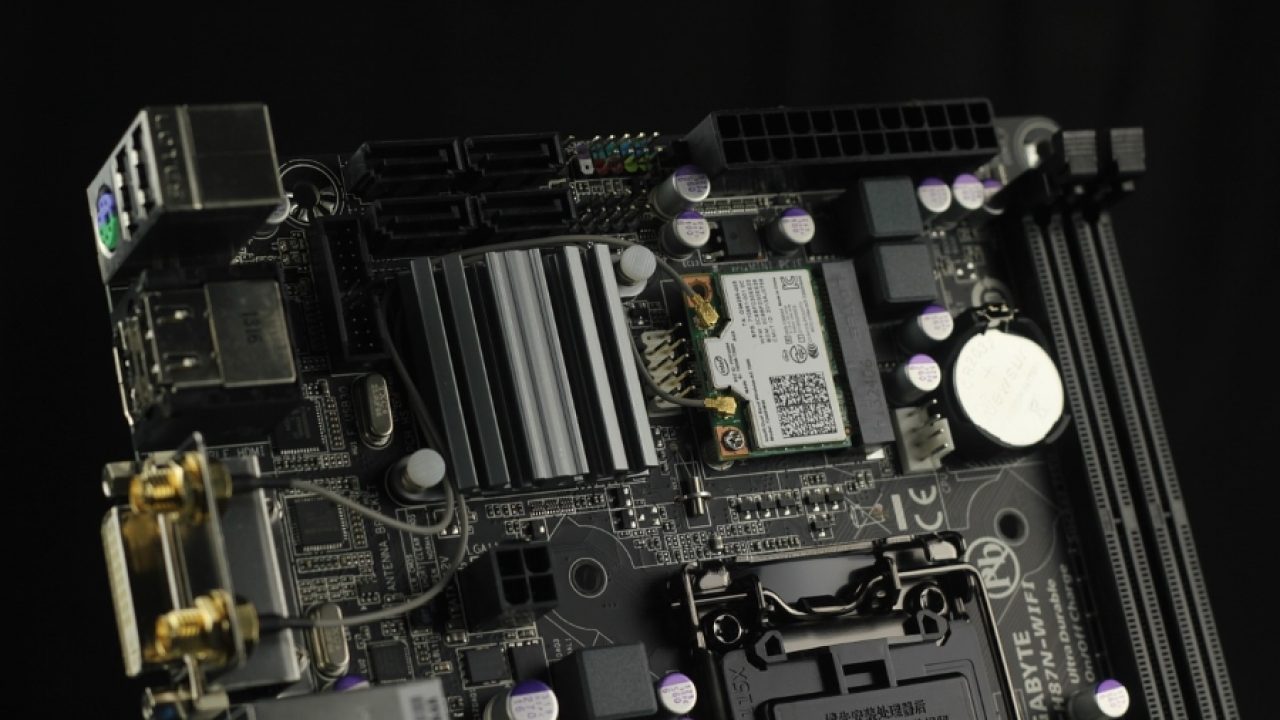
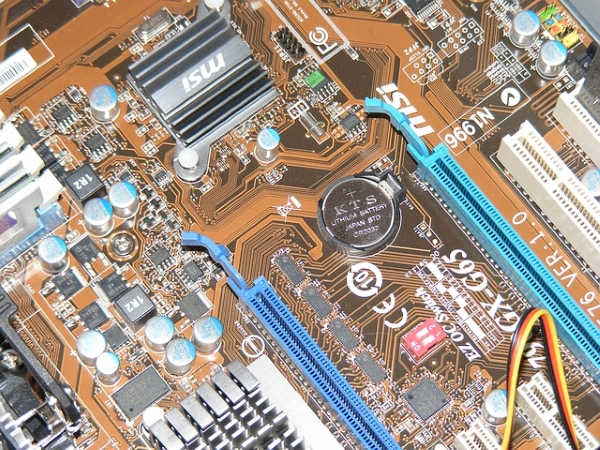
If you cannot boot into Windows to do this, there is one thing you can try. You can open your PC case and look for a small watch battery somewhere on the motherboard. It’s a CR2032 battery if that means anything to you. Otherwise look for a silver disk that is the watch battery. If you find one, that’s the CMOS battery. If you don’t, chances are that you don’t have a CMOS and are using UEFI.

How to reset your CMOS
If you’re using an older computer you know to use CMOS, or have identified that you do from the steps above, you can reset it in two ways. What way you use depends on what’s going on. If you made a change in your BIOS and cannot boot your computer or access it to manually change it, we will reset it using the battery. Otherwise you can manually access the BIOS.
Be aware that resetting your CMOS will reset all your BIOS settings back to factory defaults. Unless you cannot boot into your computer, you should take note of as many settings as you can so you can configure them once this is complete.
Reset your CMOS using the battery
This is the old school way of resetting a CMOS and should only really be used if you cannot get into your BIOS.
- Turn off your computer and open the case.
- Identify your CMOS battery as above.
- Use a small lever or screwdriver to remove the battery from its socket.
- Remove the battery and leave it for a couple of minutes to use up residual voltage.
- Replace the battery.
When you boot your computer, you should see it boot straight into the BIOS. Now you can configure it as you need.
If your CMOS battery is not removable, look for a CMOS jumper. This will be a tiny switch close to the battery and will be labeled something like CLEAR CMOS. If you still have the manual, check for the jumper location as different manufacturers put them in different places.
Set the jumper to the clear position, power up the computer. Turn it off again and replace the jumper in its original position.
Reset your CMOS using the BIOS
If your computer still boots normally, the easiest way to reset your CMOS is to do it from there. You don’t have to open up your case and mess around with batteries or jumpers.
- Boot your computer and press F8 as soon as your keyboard light appears.
- Wait for the BIOS to load.
- Select ‘Load Factory Defaults’ and confirm your choice.
Some computers require the Delete key instead of F8. Some motherboards will call the reset ‘Load Setup Defaults’, ‘Clear BIOS Settings’ or something else. Either way, you want the option that sounds most like a reset.


