How To Find Your Dell Service Tag

If you own a Dell, there may be a time when you need manufacturer support. For that you will need your service tag, a product identifier that lets Dell know the hardware they will be dealing with. Depending on that hardware, the service tag could be 7 or 10-11 characters.
The Dell service tag is also referred to as the Express Service Tag, depending on where you live and what hardware it is. How you find your Dell service tag depends entirely on the hardware in question. There are a few ways to find it.

Use the label
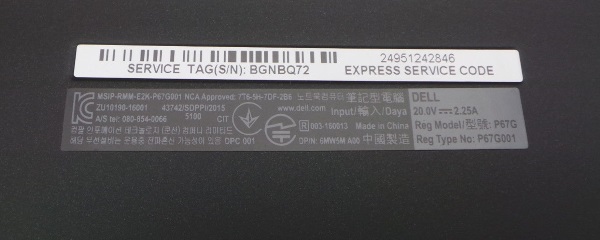
Most Dell hardware will have a label attacked to the rear or the underneath of the device. On a Dell desktop, the label is on the rear. On a laptop it is on the underneath. On a printer, it may be underneath, at the rear or inside the toner housing if it’s a laser printer.
Use the Dell System Detect Software
It isn’t strictly necessary to have yet another Dell app running on your computer but it does get the job done.
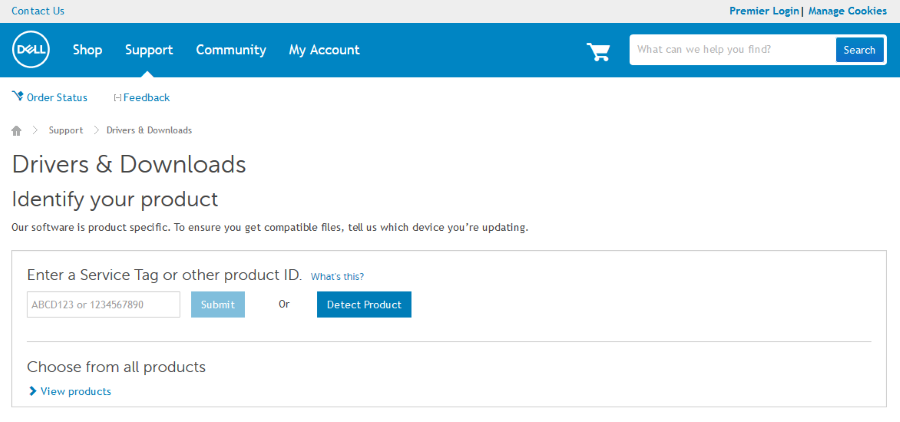
- Visit Dell’s Drivers & Downloads page.
- Select Detect Product.
- Confirm the download, run and install it.
- The web page should then update with your computer specifications. Click Service Tag.

If you cannot read the label and don’t want to install Dell’s agent, you can use the command line in Windows or Linux. I always prefer to run my computers lean so avoid adding manufacturer’s software wherever possible. I use this method.
In Windows:
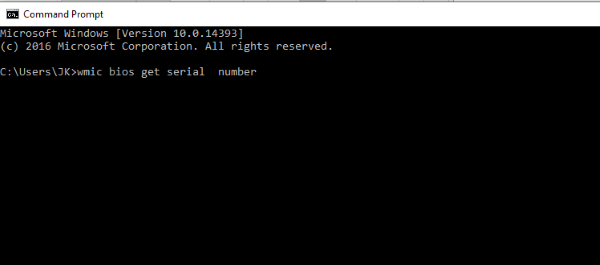
- Open a CMD window as an administrator.
- Type ‘wmic bios get serial number’ and hit Enter.
- The Service tag comes up as SerialNumber. Copy it down somewhere.
In Linux:
- Open a Terminal.
- Type ‘sudo dmidecode -s system-serial-number’ and hit Enter.
- The Service tag comes up as Serial Number. Copy it down somewhere.
Those are the main ways to find your Dell service tag. Do you know of any others? Tell us below if I missed one!


