How to Repair Your Photos Library on the Mac

The Photos app on your Mac possibly contains some of your most important and treasured information: baby pictures, albums from family trips, and photos of deceased loved ones, for example.
So imagine your concern when you open the Photos app one day and see something like this:
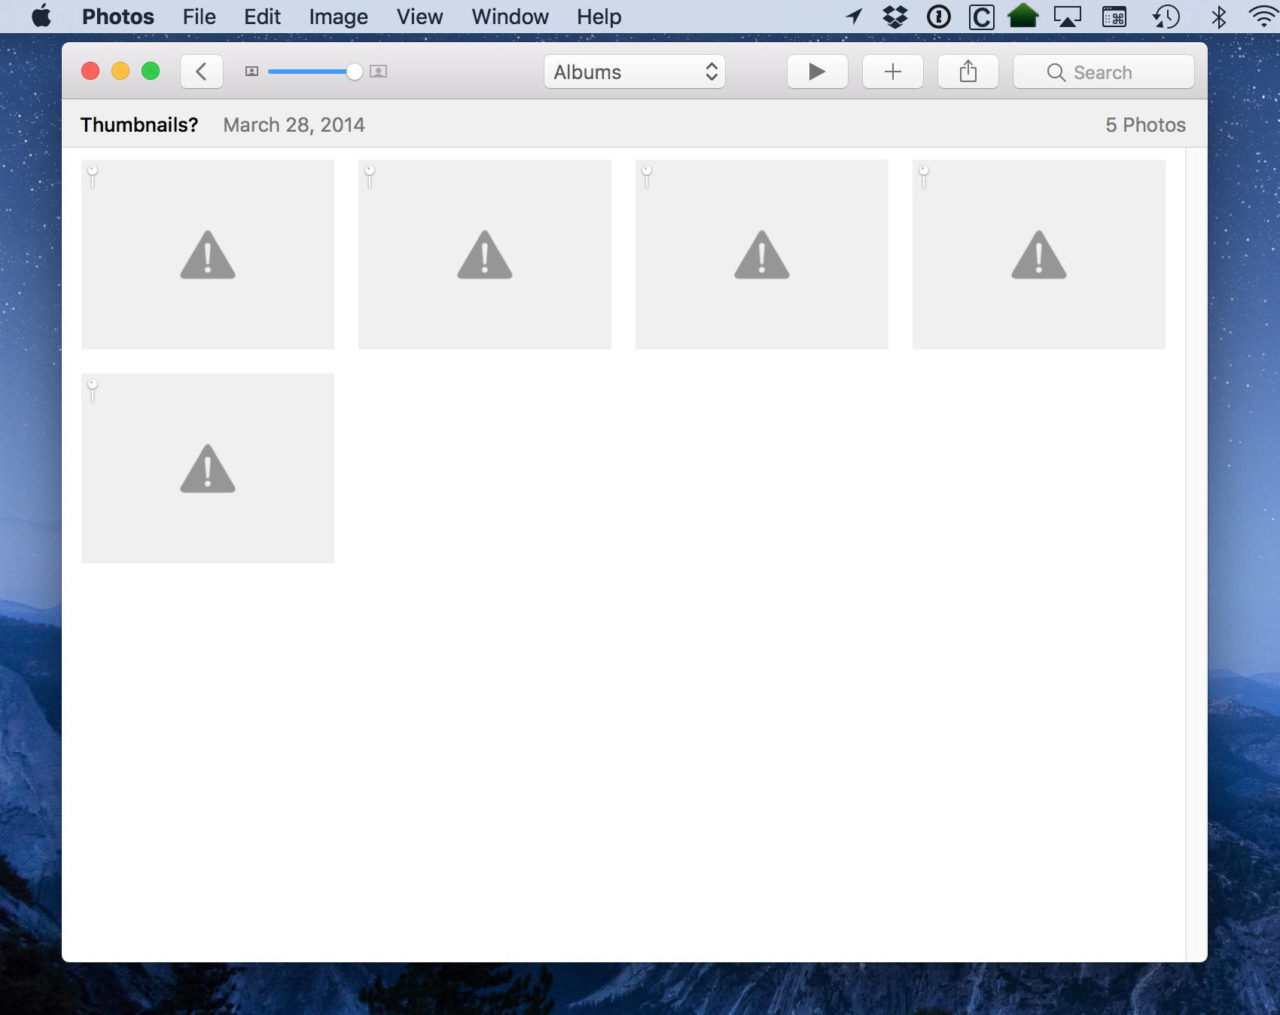
Some albums might be missing, some images may have a gray triangle with an exclamation point instead of the image preview. In short, things are clearly wrong.
The partial good news is that there are ways to troubleshoot and fix your Photos library. The bad news is that these fixes won’t work for every type of issue, and there’s no guarantee your pictures can be recovered. That’s why it it’s important to have multiple backups of your data, people! (Apple’s Time Machine or third party options like Carbon Copy Cloner are always good options, but don’t forget an offsite backup like Carbonite or Backblaze).
Even if you don’t have a backup in place, pick a backup method and make one before you proceed with recovery efforts. There may still be salvageable data in your Photos library and you’ll want to ensure that every means available to recover it remains open.
Anyway, if you’re happy with your backup situation and want to proceed with trying to repair your Photos library, the first thing you’ll need to do is quit the Photos app if it’s open. Next, hold down both the Command and Option keys on your keyboard and then click the Photos app icon from your Dock (you can also double-click the Photos app in Finder if it’s not in your Dock, but having it in the Dock makes the key combination/clicking process a bit easier).

This triggers the automatic “Repair Library” feature of the Photos app. The app will launch and you’ll see this window:
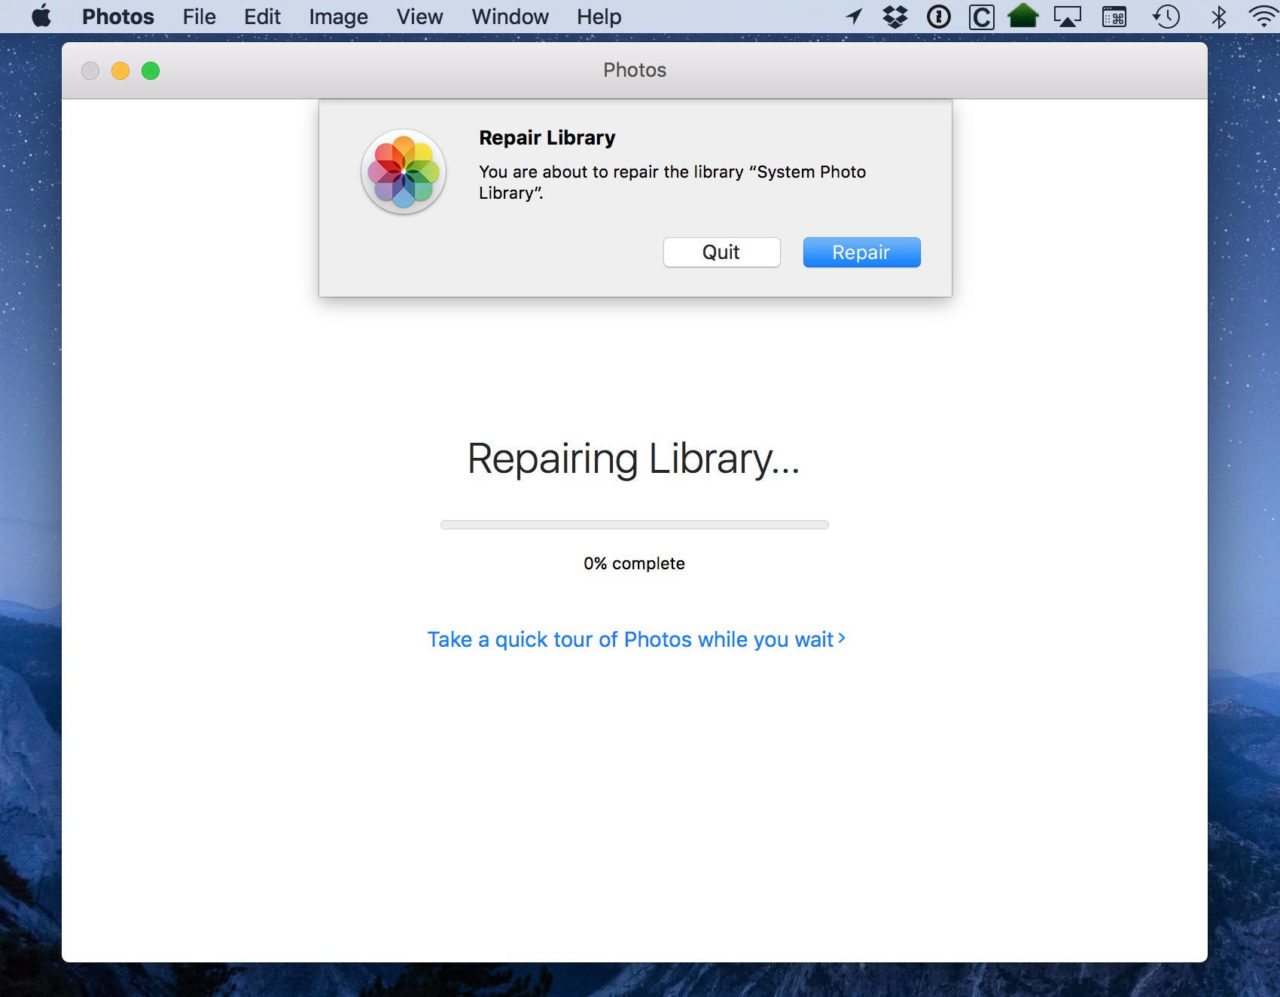
Click Repair on that prompt, and then enter your admin account user name and password to continue.
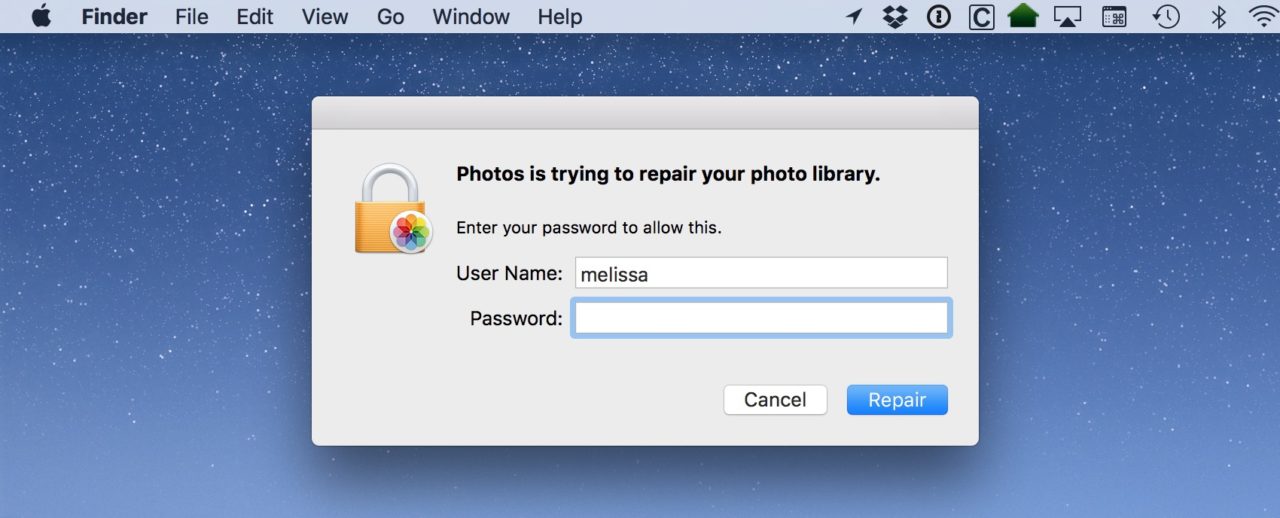
After entering your account details, click Repair again.
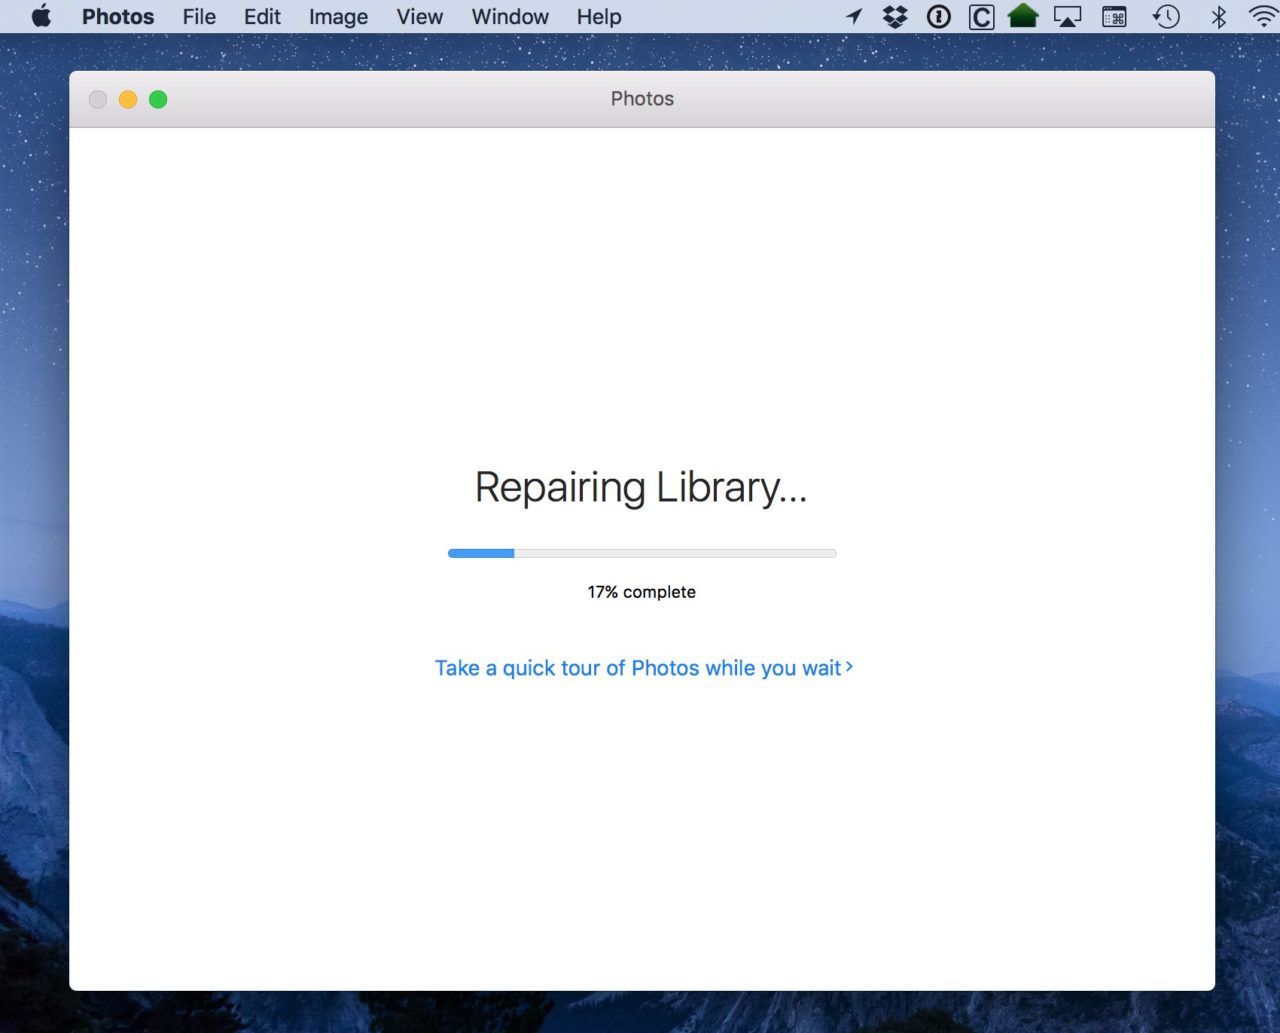
The Photos app will now attempt to repair your library, and display a bar to indicate its progress. This process can take a really long time depending on the number and size of the photos in your library, so be patient and let it finish.
Once the repair process is complete, you’ll be dropped back into your Photos library. Hopefully, the repair process was able to identify and correct the issues, and you’ll see a fully-working library again. If so, and if you didn’t have a backup before, make one now! Don’t let this kind of thing happen to you again. If things still look wrong and the repair process wasn’t able to recover your photos, it’s now time to seek alternative data recovery options, which can range anywhere from relatively cheap software applications to hugely expensive physical recovery operations. The path you choose will depend on the value of the lost data and your financial means to recover it.
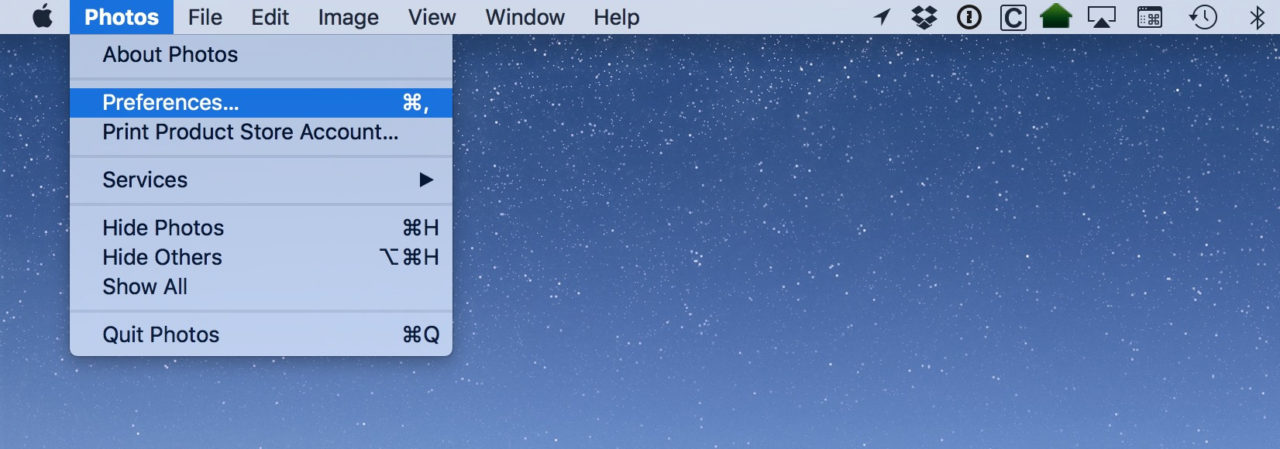
One final caveat, though: If you’re using iCloud Photo Library to sync your information between devices, be aware that doing a repair as described above could cause it to stop syncing while it updates its info. You can check on its progress by clicking on Photos > Preferences from the menus at the top…
…and then looking under the “iCloud” tab.
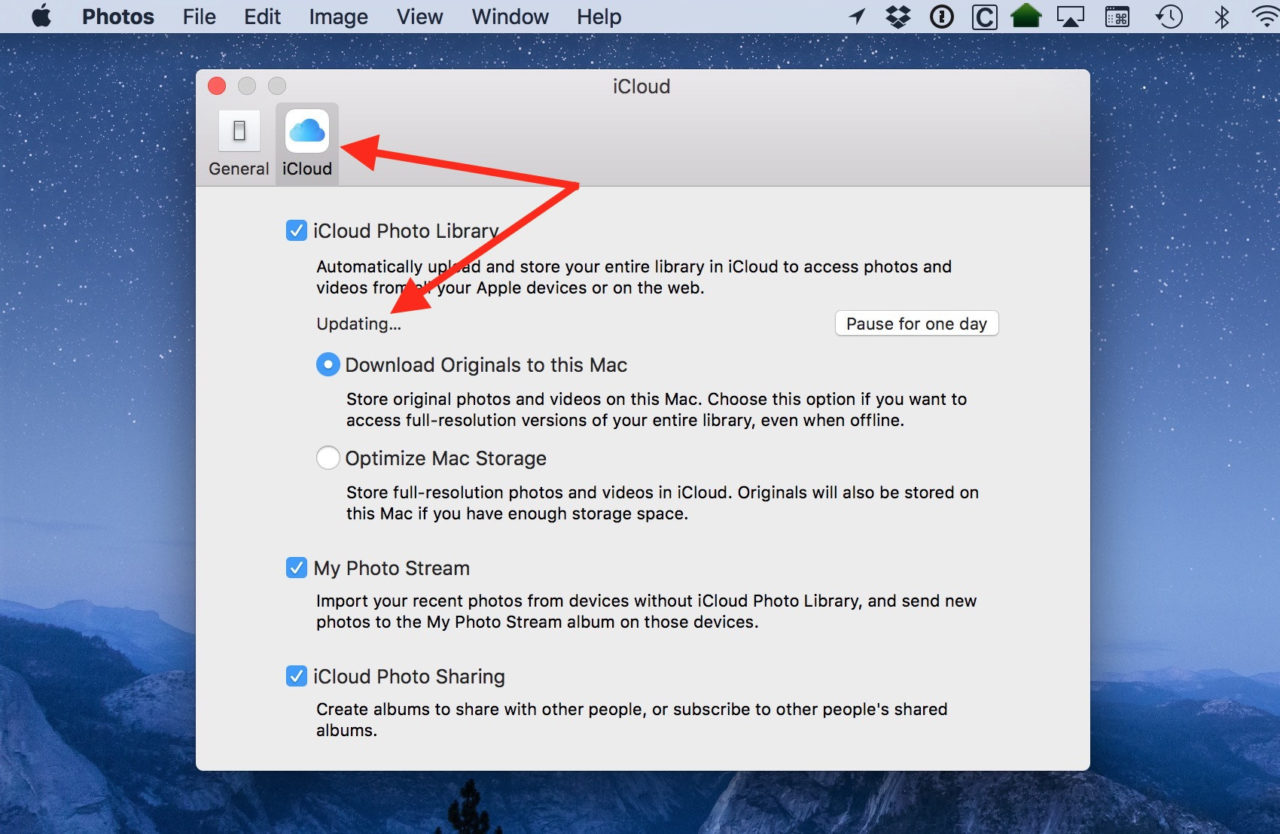
When I performed a repair on my Photos library while testing for this tip, the “Updating” process took a couple of days for my collection of about 10,000 pictures. Your mileage may vary, of course, depending on the size of your own library and other factors like your network speed, but hey! It’s worth waiting for this to complete if it means your library will be healthy again, I think.


One thought on “How to Repair Your Photos Library on the Mac”
It works when connecting to a Android Hot spot.