How to Customize the Windows 10 Start Menu
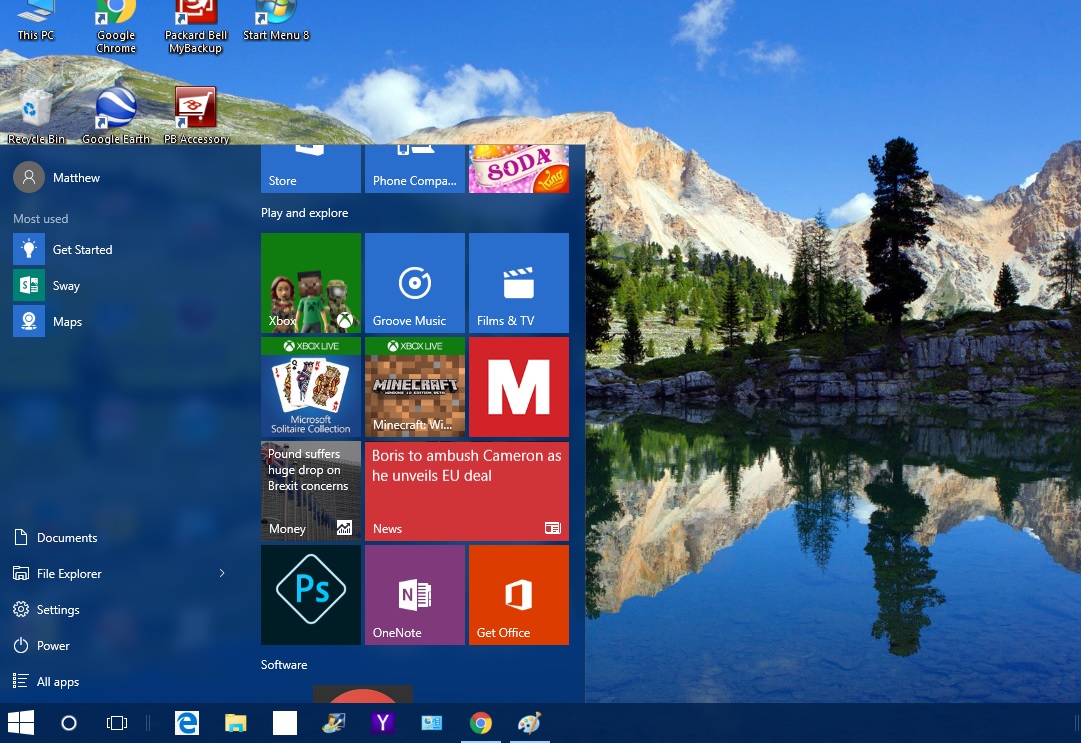
The Start menu is back with a bang in Windows 10! This revamped Start menu includes tile shortcuts on the right beside other options and settings on the left. There are numerous customization options for the new Start menu.
The first thing to note is how you can resize this Start Menu. To resize it, just move the cursor to the top or right of the menu. Then the cursor will become a resize arrow. Hold the left mouse button and drag the menu to expand or reduce it.
Adding and Removing Tiles to the Start Menu
You can, of course, add new tiles or remove them from the Start menu. Remove a tile already on the Start menu by right-clicking it and selecting Unpin from Start. That will then unpin the Start menu tile.
To add a tile to the Start menu, right-click a software shortcut on the desktop, taskbar or one already listed on the menu under All apps. Then select Pin to start from the context menu to add a tile shortcut.
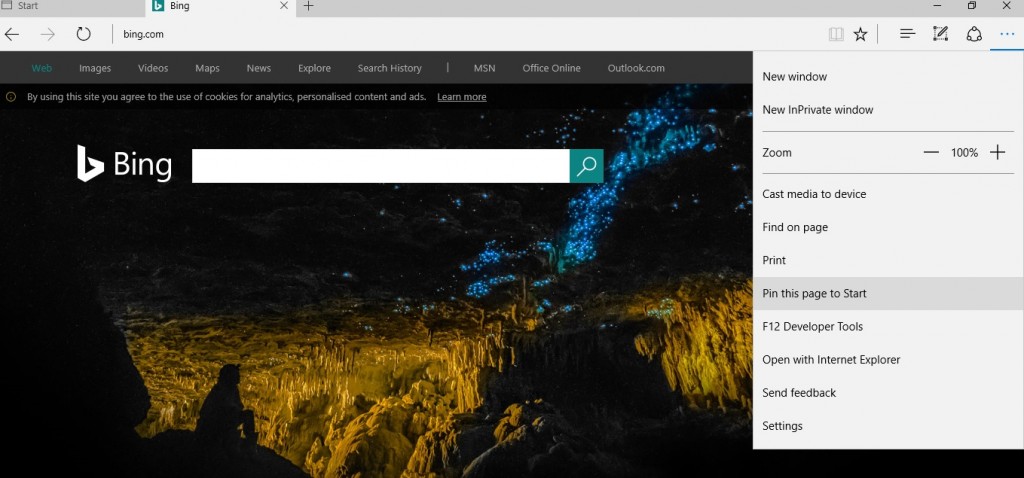
Note that tiles need not be limited to software. You can also add website tiles to the Start menu. The best way to do that is with the Edge browser, an IE replacement, as you can pin an open site directly from that browser instead of setting up a desktop shortcut for it. Open a site in Edge, click the … button at top right and then select Pin this page to Start.
To pin a site to Start menu with a browser such as Chrome, select the hamburger button at the top right of the browser’s window > More Tools and Add to desktop. That will add the site’s shortcut to desktop, which you can then right-click and select Pin to Start to include a tile for it on the Start menu.
Grouping the Tiles
You can organize the tiles on the Start menu better by grouping them. To set up a new group of tiles, expand the Start menu a little so there’s an empty area on it. Then drag one, or more, tiles into the space (by selecting them and holding left mouse button) as shown below.
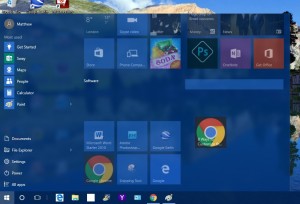
Then when you move the cursor just above the moved tile, you should find a Name group title box. Enter a title for the new group in that title box. Then you can drag more tiles into the new group. Note that you can also drag a whole group of tiles by selecting their title.
Additional Options on the Tile Context Menus
The tile right-click context menus include further options. Among them is a Resize option that you can select to adjust the tile dimensions. If you select the Resize submenu, you can choose Small and Medium options for any tile. However, some might also include Wide and Large resize options. Select one of those settings to adjust the dimensions.
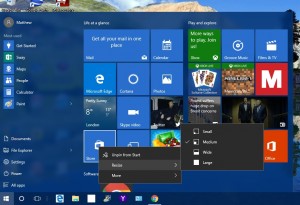
Below Resize you can also select a More submenu. That might include a Turn live tile off option for you to select. For software tiles you’ll probably also find Run as Administrator and Open file location that will open its folder in File Explorer.
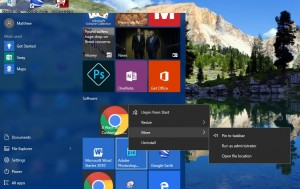
In addition, software tiles will include an Uninstall option at the bottom of the context menu. As such, you can select that option to remove the program from Windows and its tile from the Start menu.
Customizing the Left Start Menu
On the left of the tiles there’s a menu where you can select File Explorer, Settings and All Apps, which is otherwise a list of software folders and apps. You can further customize this from the Personalization window.
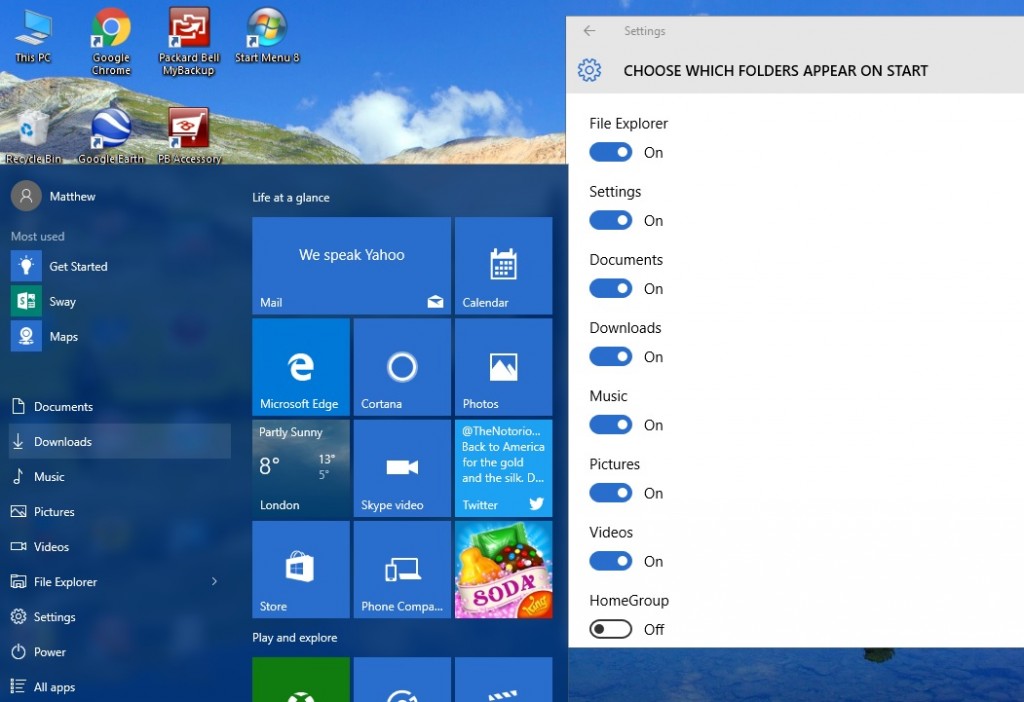
Right-click the desktop, select Personalization and Start to open the window in the snapshot directly below. That includes a few extra options such as Show most used apps. If you switch that off, the most used apps are no longer listed on the left of the Start menu. Switch off the Show recently added apps option to remove them from menu.
Below that there’s a Choose which folders appear on Start shortcut. Click that to open a list of folder options for you to toggle on or off. From there you can add extra Music, Pictures, Video folders and more besides to the left of the Start menu by switching their options on. Alternatively, you can also remove folders on the left of the menu from there.
Select Colors on the Personalization window to choose alternative colors on the Start menu. As the options there also alter the general desktop color scheme, those settings have already been covered in other TechJunkie articles. Switch the Automatically pick an accent color from my background option off, select a color from palette and make sure the Show color on Start, taskbar, action center and titlebar setting is on.
Customizing the Start Menu with Start Menu 8
Going beyond the Windows 10 customization options for the Start menu, check out some of the freeware third-party packages available. There are a few you can use to customize the Start menu with. Start Menu 8 is one of the freeware packages for Windows 10 with which you can further revamp the Start menu.
First, open this page and click on the Windows Download button to save the setup. Then click the sm8-setup.exe to install it. Once you’ve added it to Windows 10, open the window in the snapshot directly below.
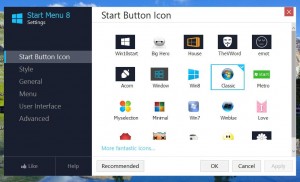
First, you can customize the Windows 10 Start menu button with this package. Select Start Button Icon on its menu. Then you can select form a variety of alternative buttons. Choose a button from there and press Apply to add it to Start menu as shown below.
Why not restore the classic Windows 7 Start menu? You can do that by selecting Style on the left of the Start Menu 8 window. Click the Classic Windows 7 Style radio button and press the Apply button to add it. Then the Start menu will be more comparable to the Windows 7 one as below. Ok, it’s not an exact match; but it’s still a pretty good replica with the search bar at bottom, account picture at top and tiles removed.
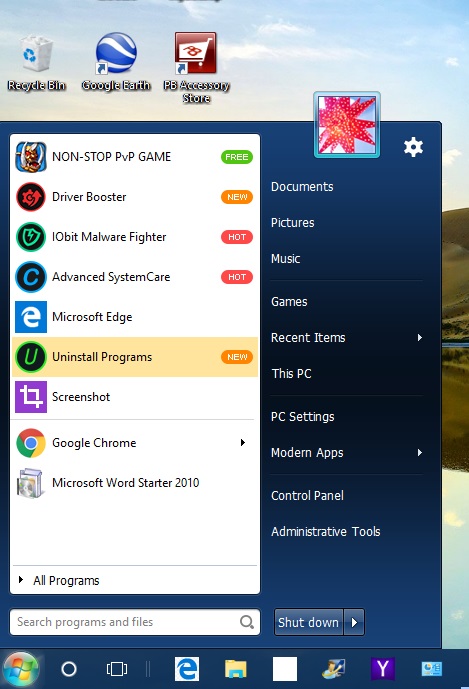
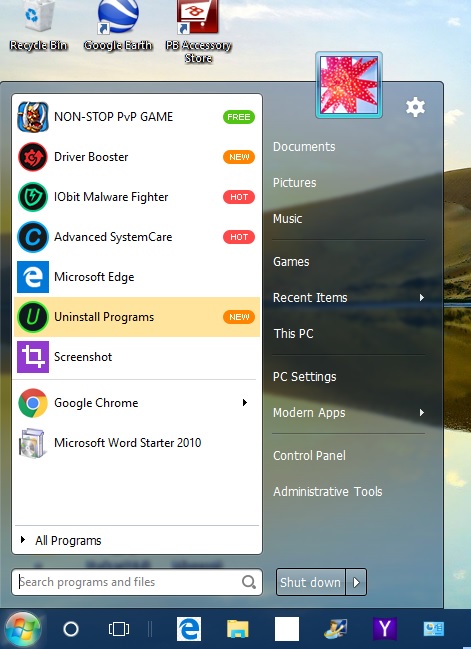
Then you can also add greater transparency to the menu. Drag the Transparency bar included with the Style options to the right and press Apply to enhance the menu’s transparency.
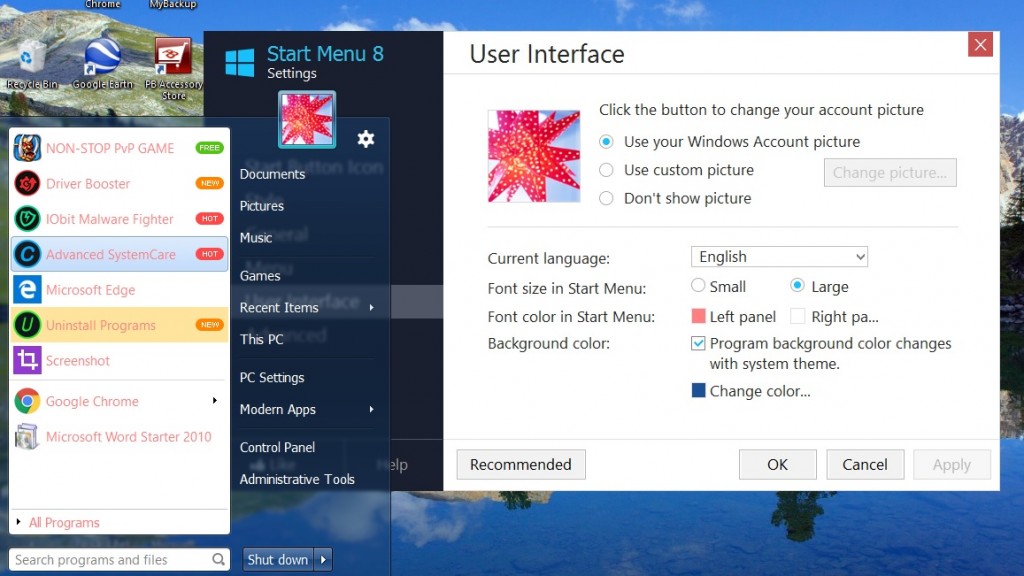
Click User Interface for further customization options. Select alternative font colors by clicking the Font color in Start Menu Left panel and Right panel boxes. Click on one of those boxes to open palettes and choose an alternative text color for the menu, and then press the Apply button to switch the colors.
To customize the options and shortcuts shown on the right of the custom Start Menu, select Menu. Then you can select a variety of menu shortcut drop-down lists. Select Show as Link or Show as a menu from the drop-down list to include the shortcuts on the Start menu.
To revert back to the Windows 10 Start menu, click General from the menu and select Run at Windows startup if its checkbox is already selected. That will remove the tick from that option’s check box, and press the Apply button to confirm. Then the Start menu will revert back to the default Windows 10 menu when you restart.
So with the Start Menu 8 software you can transform the Windows 10 Start menu into a Windows 7 alternative. Alternatively, make some more minor configurations to the Start menu with the Windows 10 customization options for tiles, colors, etc. There are also more third-party packages available for Start menu customization such as Classic Shell and Start 10.


