How to select a custom display resolution in Windows 10
Windows 10 includes a variety of display customization options. It has display options in its new Settings app along with those usually included in the Control Panel. This is how you can configure your resolution in Windows 10 and adjust some other display settings.
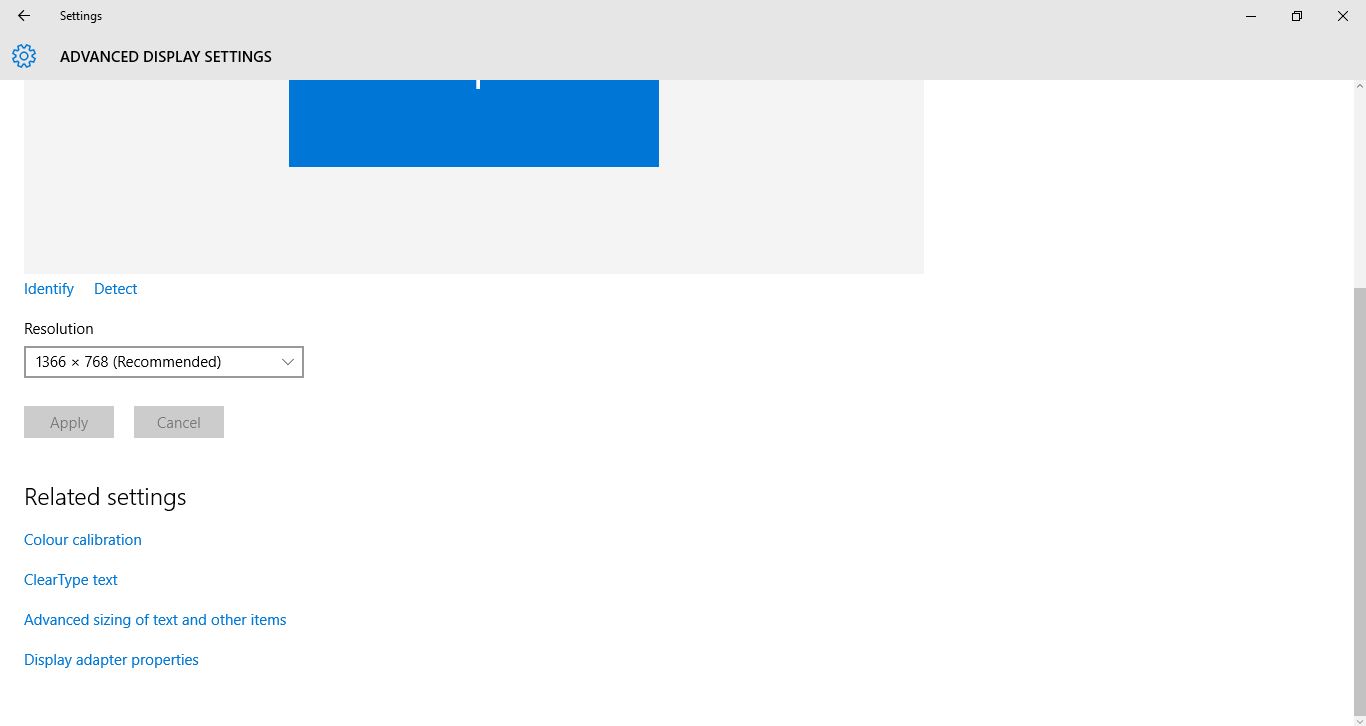
First, check out some of the options in the Settings app by right-clicking the desktop and selecting Display settings. That will open the Setting’s app display options shown below. There you can adjust the brightness settings by dragging the Adjust brightness level bar.
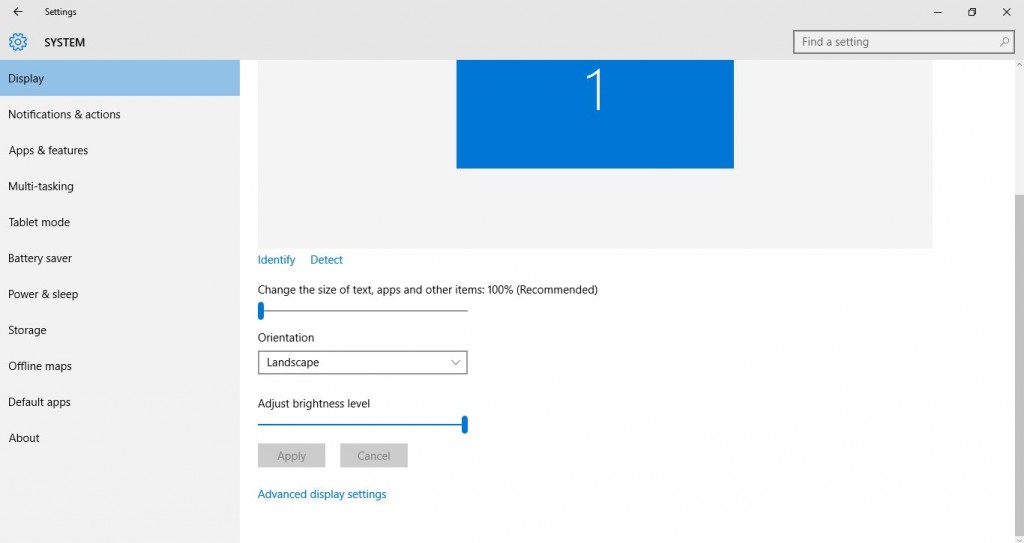
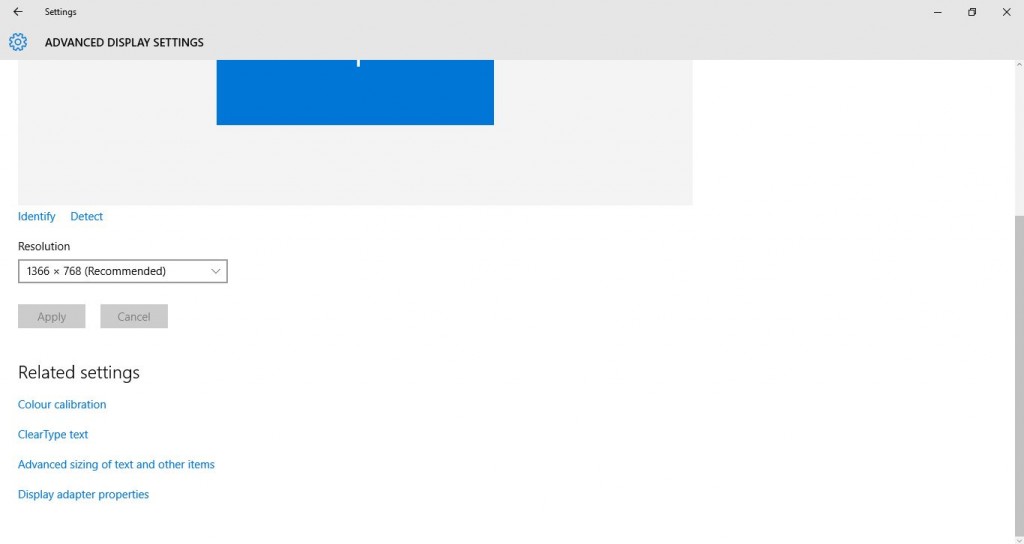
Select Advanced display settings there to open the options in the snapshot directly below. That includes a Resolution drop-down menu from which you can select resolution settings for your VDU. Choose a resolution and press the Apply button for a preview of it. Then it will ask if you wish to keep the resolution settings? If you don’t select Yes, it will revert back to the original resolution.
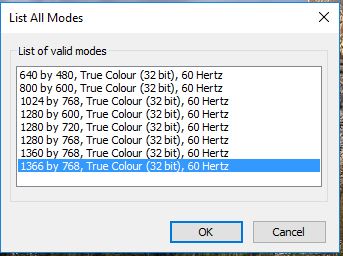
Note that the Resolution drop-down menu might not include every supported resolution. Click Display adapter properties and List All Modes to open the window shown below. That includes a full list of all supported resolutions.
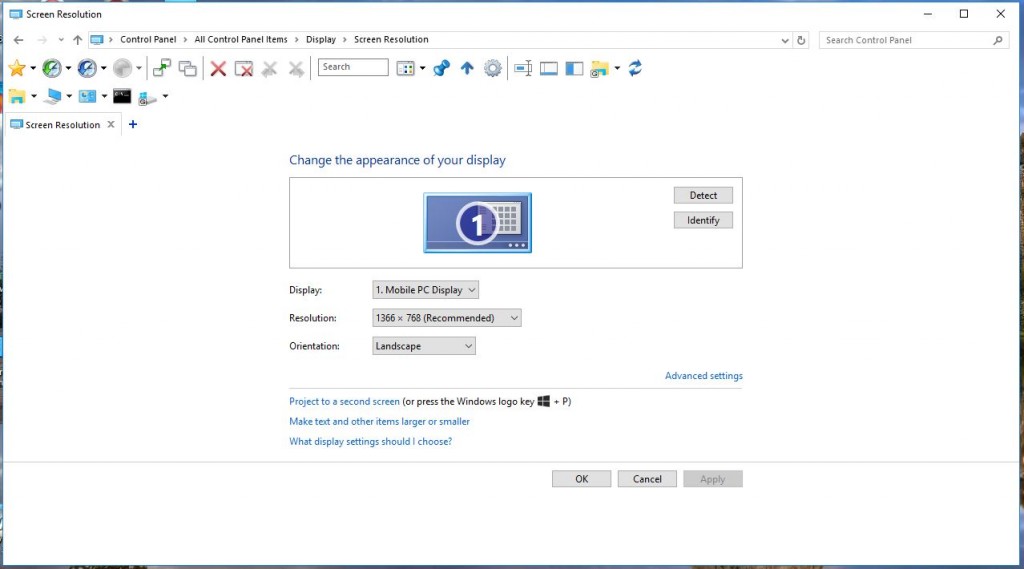
To select resolution settings via the Control Panel, press Win + R and enter ‘Control Panel’ in Run to open it. You can click Display > Adjust resolution to open the window below. The resolution options there are a little more limited than those on the Settings app. Select a setting from the Resolution drop-down menu and press Apply.
Most will probably select the highest resolution setting they can with those options. However, remember that higher display settings require more RAM. If you cut the resolution down a bit, that will also free up RAM and system resources, which could also speed up your desktop or laptop.


