How to get started with Liquid Cooling for your PC

Who wants to willingly pump a bunch of water into their high-end computer? Actually, a lot of people. Liquid cooling began a while back as an answer to power-hungry CPUs that could heat up a whole room in the dead of winter. Liquid cooling also allowed early overclockers to push relatively inexpensive processors to the same level as their arguably overpriced counterparts.
It’s evolved quite a bit by now. What started out as a hack with cobbled together aquarium parts as become a mainstay of high-end PC building. In fact, no top show PC would be complete without an elaborate color-coordinated custom liquid cooling loop. Entire companies are built around producing liquid cooling parts for computers.
What Is Liquid Cooling?
Obviously, you’re not dumping water directly into the computer to cool it. So, how does it actually work? Liquid cooling a PC is a lot like a liquid cooled motor in a car or motorcycle. A pump pulls coolant from a reservoir trough a tube and into a radiator. From the radiator, it flows into a block on a component that produces a lot of heat. Then, it travels back into the reservoir.
The entire loop is closed, so nothing should ever come out of the liquid cooling system. The coolant just circulates through the loop, passing over CPU, GPU, or anything else that gets hot enough to warrant it, and back to the reservoir. The radiator is there to cool down the coolant. It is situated with an array of fans that draw hot air away from its metallic fins, dissipating heat into the surrounding atmosphere.
Why Liquid Cooling?
CPUs have gotten much more efficient. GPUs are on their way there too. So, why resort to liquid cooling now? There’s a couple of good reasons, actually.
First, liquid cooling still cools better than air. Even though components don’t get as hot as they used to, they still get hot. That’s especially true if you plan on overclocking. Liquid cooling does result in lower temperatures, a difference which increases with more intense workloads.
The cooling that a liquid setup provides is more stable than air and less dependent on ambient temperatures. On a hot day, even the most robust air cooling solutions will struggle to keep up. A Liquid loop will fair much better. The coolant itself can hold more heat than air can. Plus, radiators provide much more surface area to dissipate heat.
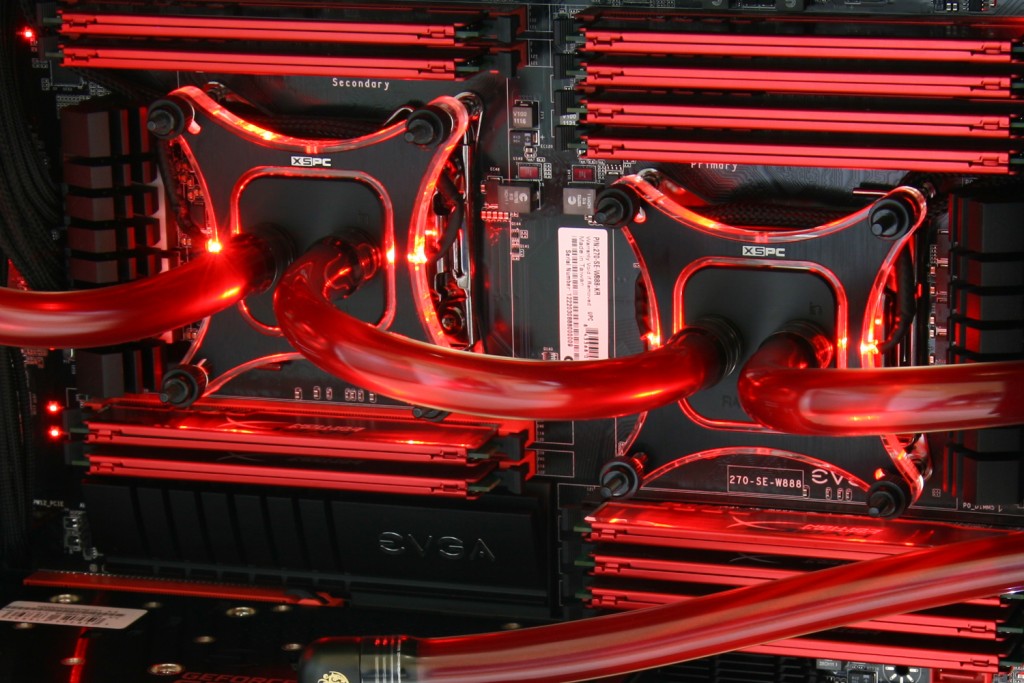
Liquid cooling just looks better. Which would you rather, a big ugly heatsink taking up a big portion of your case or a series of sleek colored tubes? Yeah, it doesn’t require a lot of thought. Liquid cooling looks better by default, and it open up a loads more customization options.
Last, liquid cooling lets you fit multiple larger RAM sticks. Bulky heatsinks often obstruct the RAM slots on motherboards. Larger higher-end RAM sticks won’t fit at all under many of them. Liquid cooling completely eliminates that problem.
AIO vs. Custom Loop
You’re probably thinking, “Great! I’ll run out and buy one of those popular all-in-one liquid cooler.” Eh, not so fast. There’s some differences there too. AIO (all-in-one) liquid coolers aren’t bad, but they’re usually not as good as the custom ones.
AIO liquid coolers are a closed loop. They’re sealed, so you don’t have to configure anything, but you also can’t modify anything. AIO coolers are the easiest way to get into liquid cooling and usually the least expensive. AIO coolers are also the “lowest common denominator” of liquid cooling. More often than not, they use the least expensive and least powerful parts. As a result, their cooling ability is often on-par with high end air coolers.
Custom cooling loops are the full packages. They come with all the risks and all the rewards. You need to select all of the right parts and fittings. That also means that you have a world of possibilities. You can build your loop to be as large or as small as you like, with as many radiators as you need. You can custom tailor your loop to dissipate the exact amount of heat generated by your computer, making it a much more capable cooling solution.
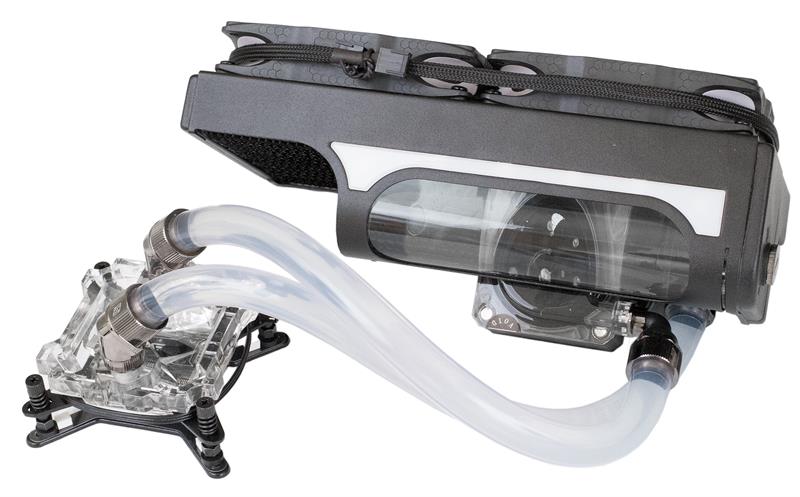
There is a middle ground, though. Some of the companies that produce individual parts for custom liquid cooling loops, like Swiftech and EK, are assembling those parts into more powerful AIO coolers. Apart from using the same parts as custom loops, these beefier AIOs can be modified and extended, if you choose. They provide a gentile introduction into the world of liquid cooling by letting you choose what parts to add and replace when.
Choosing The Right Parts
If you’ve chosen to go the full custom route, you’re going to need to know a bit about which parts to pick and why. Some of this is subjective. Other things are have more practical purposes.
Blocks
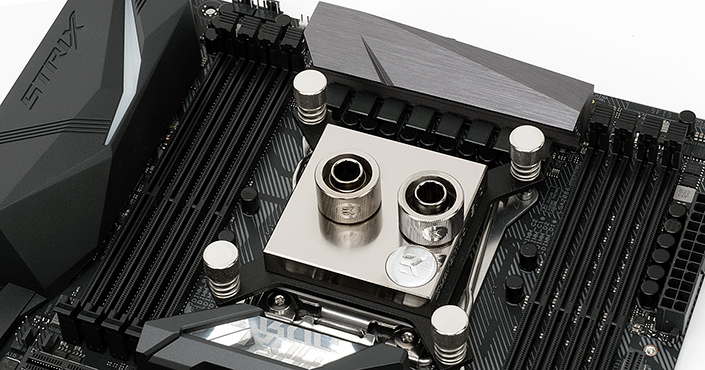
Blocks are probably the simplest components to pick out. Like a regular CPU cooler, you just need to find a block that matches your CPU socket. Some may work better than others, so read the reviews. In terms of functionality, though, they’re basically all the same. The same applies to GPU blocks.
You should make note of the metals used. The wrong combination in the loop can result in corrosion. If you don’t want to pay attention to that, choose copper for everything.
Radiators
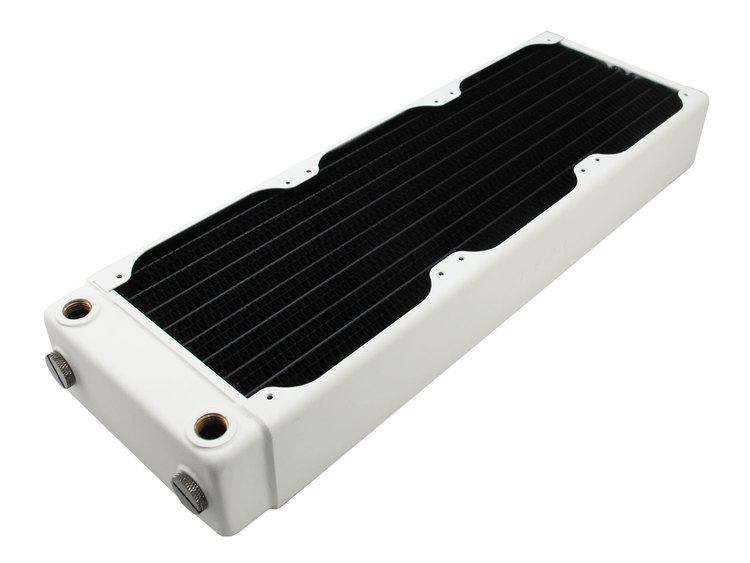
There are a couple of things to take into account here. It’s best to start from the simplest thing. Radiator sizes are determined by the amount of fan slots they take up. For example, a 360 radiator occupies three 120mm fan mounting slots. There are radiators that occupy other fan mounting slots. A 280 radiator would fill two 140mm fan mounts.
There’s no hard rule for how big of a radiator you need. The general wisdom on the question is to allow two 120mm sections of radiator for each component that you’re cooling. So, if you’re just looking to cool a CPU, a 240 radiator would probably work. If you’ve got a GPU and a CPU, you could use two 240 radiators or a 360 and a 120. That estimation is a minimum, though. If you want to overclock a lot, consider adding in some more as a buffer.
Radiator thickness and fin density also matter. Thinner radiators tend to be more dense. That means they need faster and more powerful fans to cool, and they’ll be louder. Thicker radiators with less density can be run with slower quieter fans.
Pumps
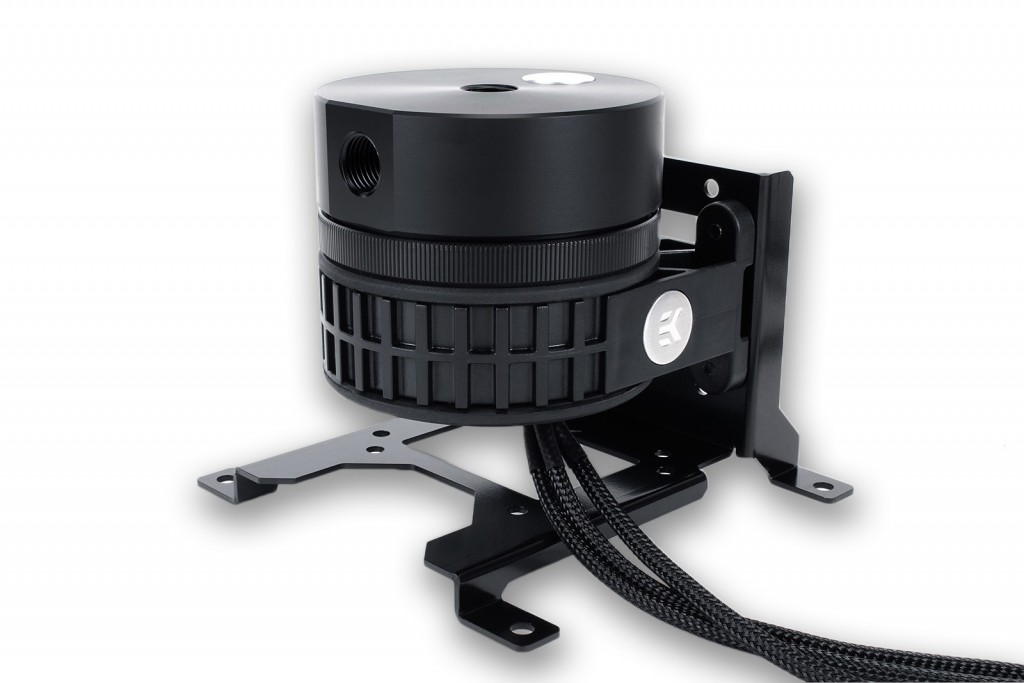
It’s hard to nail down an exact formula for which type of pump you should use. A pump’s power is measured by its flow rate. The higher the flow rate, the faster it can move the coolant around the system. Different types of pumps are better at more and less restrictive configuration, but really, it can be simplified.
Just about any pump will work for a loop with just a CPU block. You shouldn’t have to worry about that. When you add an additional block, you need at least a DDC pump. If you go for anything more, a D5 is mandatory. Of course, overkill won’t hurt, so if you want to invest in a D5 on the outset, that’s alright too.
Some pumps come with a built-in reservoir. There’s nothing particularly good or bad about that. Pick what’s right for your computer and your configuration.
Fittings And Tubing
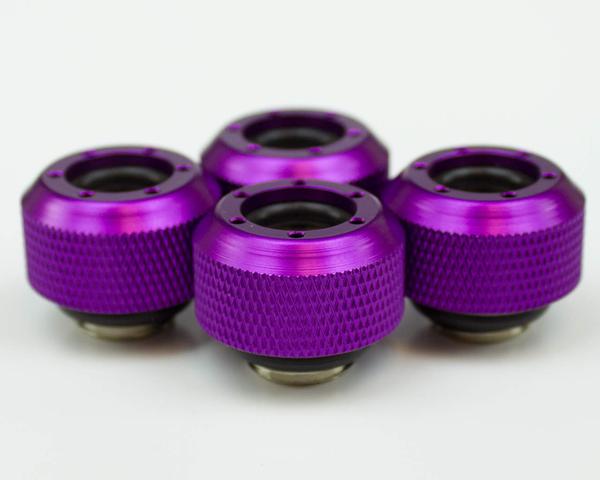
There are two basic types of fittings, barbs and compression fittings. Barbs look like a nozzle, and you just fit tubing over them. Compression fittings are similar, but they have an additional ring that slides over the tube, pressing it down, and connects to the base barb piece. Compression fittings are more secure and look better. Go with them whenever you can.
Tubing doesn’t quite matter as much. The diameter of the tubing can help to control pressure and flow rate. A smaller inner diameter limits flow but increases pressure. With a wider diameter, the coolant flows more freely but at a lower pressure. Make absolutely sure that the inner diameter of your tubing matches your fittings.
Finally, you have the option for hard tubing. There are multiple options for materials with hard tubing, but the most common is acrylic. Hard tubing looks better than soft tubing, and it’s more secure, since it doesn’t move. It also requires extra work to bend. If you choose hard tubing, select compatible hard tubing compression fittings.
Coolant
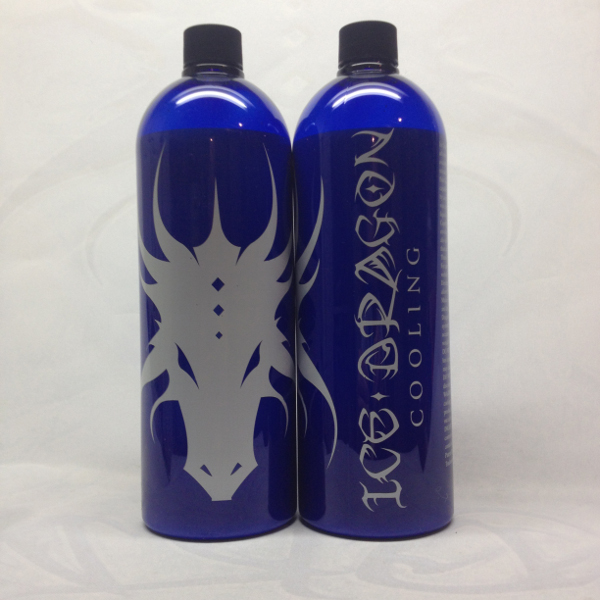
Again, you have options. Coolant shouldn’t matter too much, but it can have a minor impact on temperatures. Any of the non-conductive coolant options should work well. If you’re interested in a specific color, you can mix up dyes with your coolant. There’s some great options.
There are two other options. Nanofluid coolants are very good, but they’re also expensive. They do tend to lower temperatures over more conventional coolants, though.
If you’re more adventurous, you can run plain distilled water in the system. By some accounts, it cools even better than nanofluids. If not, it’s still close. The obvious drawback to distilled water is the risk. If one drop of water leaks out, there’s a good chance your whole computer will be fried. You also need to run some form of anti-microbial protection in the loop to prevent algae and the like from developing.
All coolant needs to be changed. Most conventional coolants can last for around a year. Nanofluids can sometimes go up to two years. Change distilled water every six months.
Is Liquid Cooling Worth It?
The value of liquid cooling is very subjective. Liquid cooling is expensive. Try pricing out a loop. Even the most basic custom liquid cooling loop will run around $200, and that’s very basic.
CPUs and GPUs are getting more efficient, and air cooling solutions are usually able to keep up. AMD’s Ryzen processors can even be overclocked to speeds approaching their upper limit on the stock coolers that they’re bundled with. There’s no need for liquid cooling there.
So, is liquid cooling worth it? It only is if you want it to be. Liquid cooling is more of an aesthetic choice and an additional aspect to the hobby of PC building and customization. If you enjoy building computers and want to add a new dimension to that, liquid cooling might be perfect for you. If you’re looking into liquid cooling to get more out of your CPU, you’re probably better just buying a more powerful CPU. It’ll probably be cheaper. If you’re looking for a solid cooler to overclock with and don’t want a huge heatsink, consider the better AIO solutions. They’ll solve your problem with minimal hassle.




One thought on “How to get started with Liquid Cooling for your PC”