How to Stop Svchost.exe (netsvcs) Causing High CPU Usage

Believe it or not, the issue of Svchost.exe (netsvcs) causing high CPU usage has been around since the early days of Windows 7. It is still something that plagues Windows users almost a decade on and still needs manual intervention to tackle when it happens in Windows 10. If you want to stop Svchost.exe (netsvcs) causing high CPU usage, there are a few things you can do.
Svchost.exe is a ‘parent’ service that manages Windows ‘child’ services. It is an essential and integral part of Windows and isn’t actually the service causing the problem. The culprit is ‘netsvcs’. The netsvcs service includes some important elements of Windows such as Windows Update, Event Viewer, Themes, Profiles, Task Scheduler and a few others. So it isn’t as if we can disable it.
So what can you do to stop Svchost.exe (netsvcs) causing high CPU usage? You first need to run a malware and antivirus scan. Then, if the issue remains, you can delete any large Event Viewer files and tweak Windows Updates. One of these three will fix the majority of issues.
Malware and antivirus scan to stop Svchost.exe (netsvcs) causing high CPU usage
One of the key causes of netsvcs using resources is malware that uses up too many Windows ports to connect to the internet. While it certainly isn’t the only cause for the issue, it is a primary one. So before you do anything, check your computer security. If you use Windows Defender, make sure it is enabled and run a scan. If you use a third-party security platform, do the same.
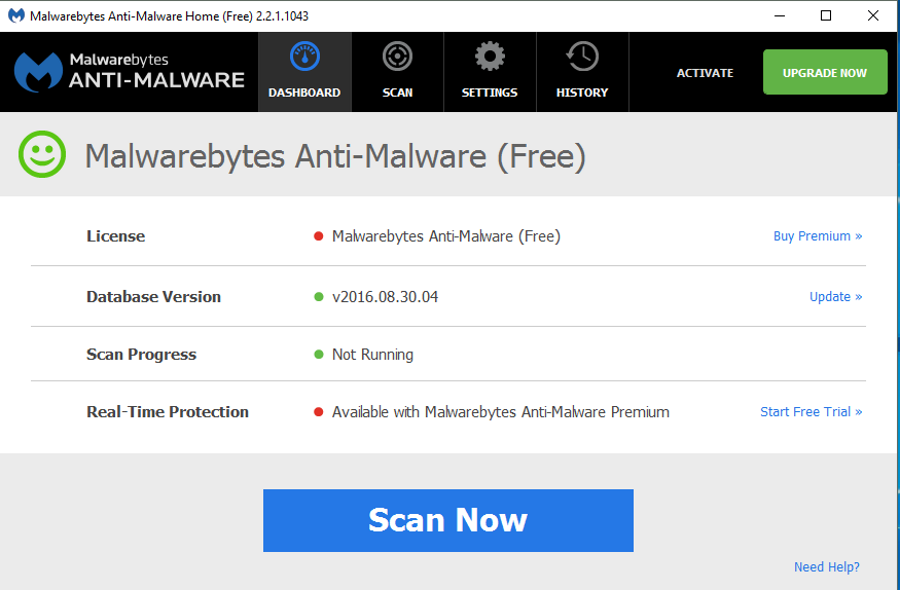
Unless you use it already, download Malwarebytes (Free), install and run it. It is very good at capturing errant malware that can slip past many antivirus programs. Once you have performed the scans, reboot your computer and retest.
If that doesn’t work, try this.

Clear out Event Viewer logs
For some reason, having overly large Event Viewer logs causes this internet-based service problems. As clearing them out is simple and can fix the issue, we will do that next.
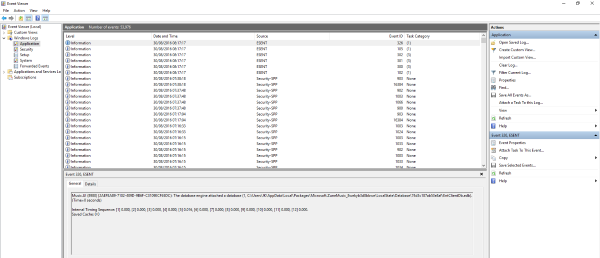
- Press Windows key + R and type ‘event’ to open Event Viewer.
- Open Windows Logs and highlight Application.
- Right click Application and select Clear Log. Select ‘Clear’ and confirm.
- Reboot your computer and retest.
If that didn’t work, we will need to tweak Windows Update.

Tweak Windows Update to stop Svchost.exe (netsvcs) causing high CPU usage
Tweaking Windows Update shouldn’t be taken lightly. There are a couple of simple changes that we can make first before the big one.
- Navigate to Settings and Update & security.
- Click the Advanced options text link in the Update Window then ‘Choose how updates are delivered’.
- Turn off ‘Updates from more than one place’. This uses a BitTorrent-style distribution arrangement to share Windows Updates between networked computers or others on the internet. The protocol can be resource intensive and can result in netsvcs being overworked.
- Reboot your computer and retest.
If that doesn’t work, try turning off Windows Update. This will stop Windows updating itself which could leave you vulnerable. That’s why it is the step of last resort. If you do this, remember to periodically enable it to keep your system up to date.
- Type ‘services’ into the Search Windows (Cortana) box and select Services.
- Navigate to the Windows Update service.
- Right click the service and select Disabled. Then stop the Windows Update service.
- Reboot your computer and retest.
This final step is the last of the usual suspects when troubleshooting netsvcs. Hope one of these steps works for you!


One thought on “How to Stop Svchost.exe (netsvcs) Causing High CPU Usage”