How To Add YouTube to Roku
Want to add YouTube to Roku? Want to know how to add any channel to Roku? Need to troubleshoot lack of audio? This tutorial will cover it all.
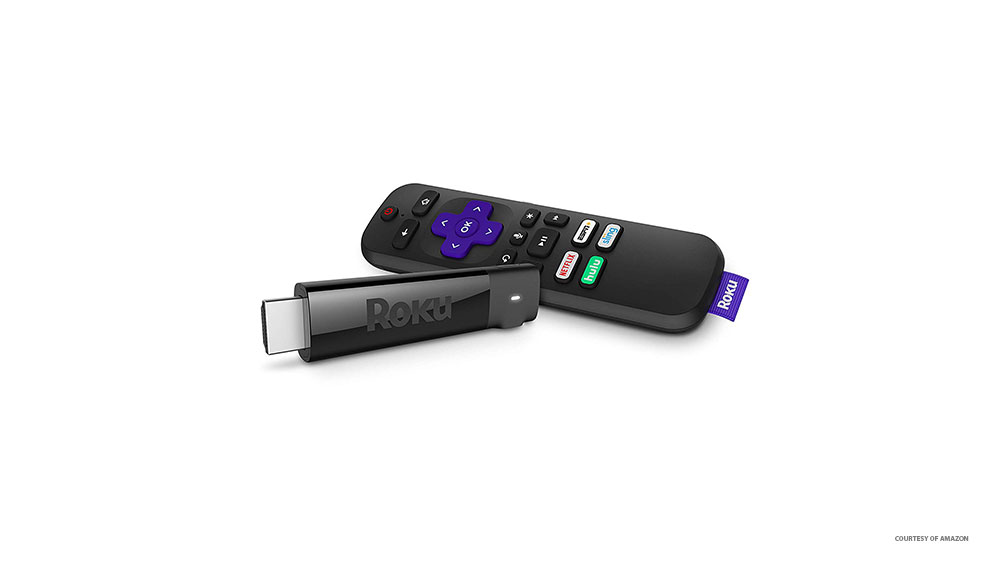
Roku is an awesome device that competes well with the Amazon Firestick, Chromecast and other cable alternatives in what is becoming a very crowded market. It comes as a streaming stick and connects via HDMI to your TV. It’s a great little package with a lot of power and can handle up to 4K streams with ease.
For something not much larger than a USB drive, there is a lot going on with the new Roku streaming sticks. It packs decent hardware, a proprietary power cable, WiFi, a remote and Roku OS 8.
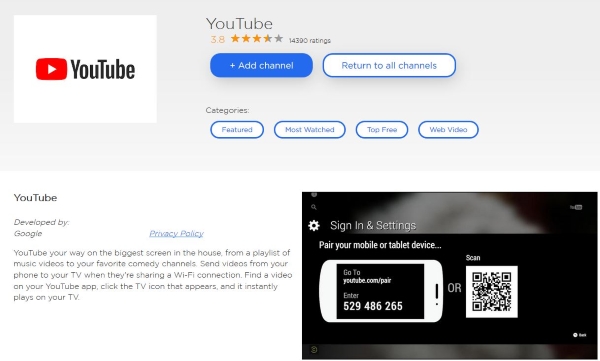
Add YouTube to Roku
If your version of Roku didn’t come with YouTube as part of the installed channel package, it is so simple to add it. Once you have added YouTube to Roku, you will be able to repeat this process for any available channel to add those too.
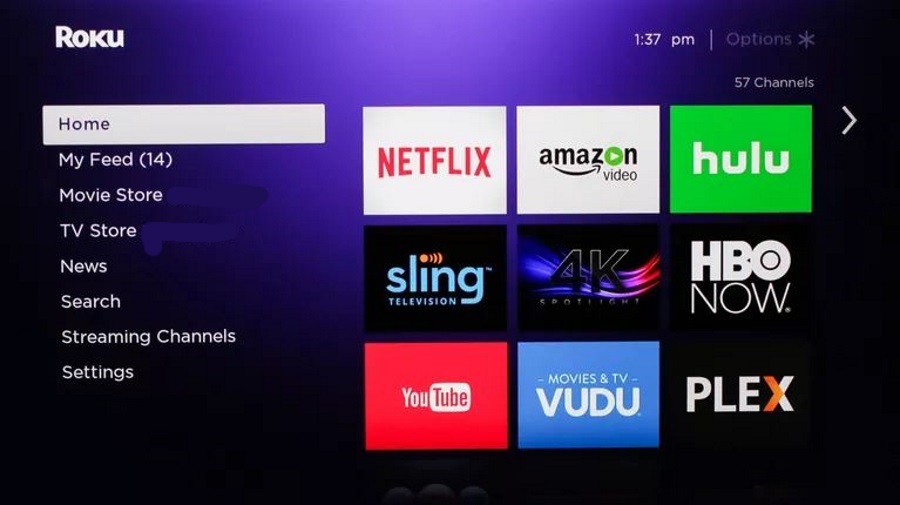
- Turn on your TV and load into Roku.
- Select Streaming Channels from the menu on the left.
- Select Search Channels from the left menu.
- Type ‘You’ with the remote to bring up YouTube TV.
- Select the right YouTube TV menu item.
- Select Add channel from the selection on the next screen.
That’s all there is to it. The channel may take a few seconds to load but will be immediately available once the icon appears in full color.
You can use this exact same process to add any available channel to your Roku. Available channels differ by region but you can find out from the Roku channel guide what is available in your area.
Troubleshooting channels in Roku
For the most part, adding channels is a painless exercise in Roku. It loads quickly and works well and as long as you have a decent WiFi signal, will stream your TV show or movie seamlessly. There are a couple of common problems with all versions of the Roku though. I’ll show you how to fix them here.
No audio from channels
This can be an issue occasionally when adding new channels and then tuning in to them. You see the video fine but there is no audio. Even though other channels play audio fine, your new channel may not. That’s an easy fix.
Sometimes the channel defaults aren’t set correctly. A quick manual change will have it working again.
- Select Settings and Audio in your Roku menu.
- Change the audio setting to the default for your device.
If you’re connected via HDMI on a newer Roku, you will likely need Dolby Digital or Stereo. Occasionally, it will set itself to optical audio which is for surround sound systems and not direct TV connections. Change the setting to the correct one and audio should play.
No video from channels
While I haven’t experienced this myself, I have heard of the same issue affecting video when adding new channels to Roku. You can use a settings change to correct this too.
- Select Settings and Network.
- Select About and make sure you see ‘Connected’ as the status.
- Select Check Connection to perform a network test.
Even if the Roku menu and search is working fine, for some reason this apparently gets video working again. If it doesn’t just reset your Roku and try again. Select Settings and System and then select System Restart.
Poor quality video on Roku
If you’re streaming in HD or 4K, you’re going to need a decent WiFi network to carry that signal. A 4K broadcast uses around 7GB of data per hour so signal strength needs to be strong to cope with that. If you’re experiencing poor quality video, chances are that it’s your network and not your Roku at fault.
Use the above steps to check your connection and see if it improves. If it doesn’t, download a WiFi analyzer app for your phone and check your signal strength by the streaming stick. If you see other WiFi networks using the same channel there could be interference.
Change your WiFi channel on your router some one that isn’t being used by those around you. If you have the luxury of a few free WiFi channels, select a channel two away from the closest channel for a little extra freedom. Your poor picture issues should now be fixed.
Hard reset your Roku
I have used Roku for three years or so now and have never had to hard reset mine but that doesn’t mean I won’t at some point in the future. You should see a Reset button on the streaming stick. Press that button and hold it for 20-30 seconds until the indicator light begins blinking. Release and allow Roku to load.


