How to Use Bookmarks in Pages on the Mac

Pages, Apple’s competitor to Microsoft Word, used to have the ability to add bookmarks within documents. These bookmarks would let you link to specific text locations within your document. For example, if you wanted to reference another location in your document (e.g., “see page nine,” or “as explained here”), you could add a bookmark that would take readers directly to the referenced location when they clicked.
Apple unfortunately removed the bookmarks feature from Pages a few years ago, but, thankfully has now brought this excellent feature back in the latest update. Hooray! So in this article, I’m going to talk about how to use bookmarks in Pages on the Mac and how your readers can use them. Bookmarks are especially useful when you’re exporting PDFs from Pages documents, so we’ll go over that too.
Creating Bookmarks in Pages
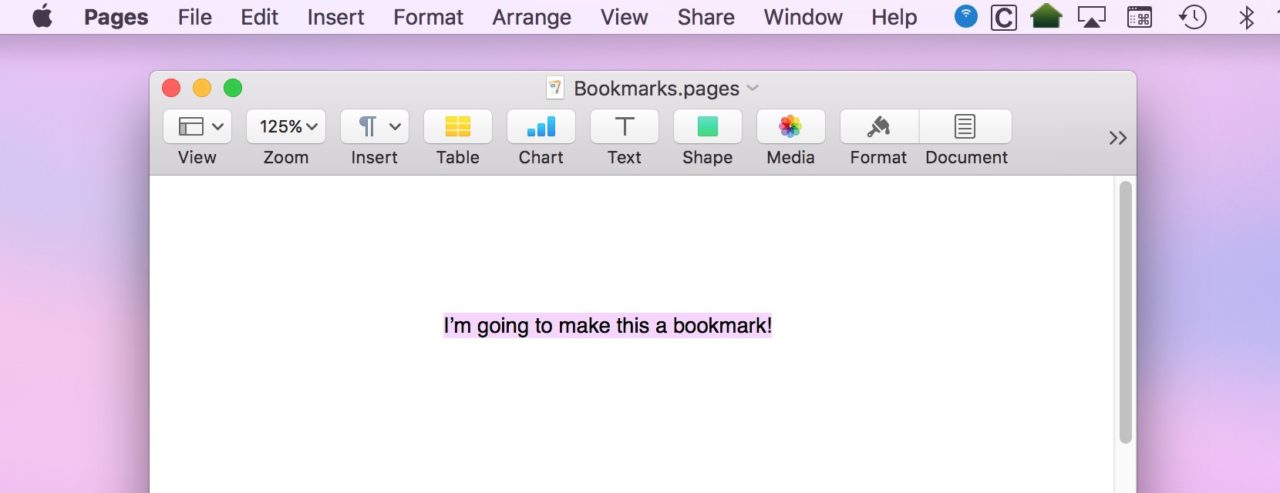
The first step in the process is to find the text you want to link back to. This can be anything that you’d like—a particular reference, say, or that shining example of a well-written sentence that you just know you’ll want to make your readers look at again and again. Once you’ve identified the text you’d like to link to a bookmark, use your cursor to drag and select it.
With your text selected, click the Document button in the Pages toolbar, and then, from the sidebar that will now appear, select the Bookmarks tab.
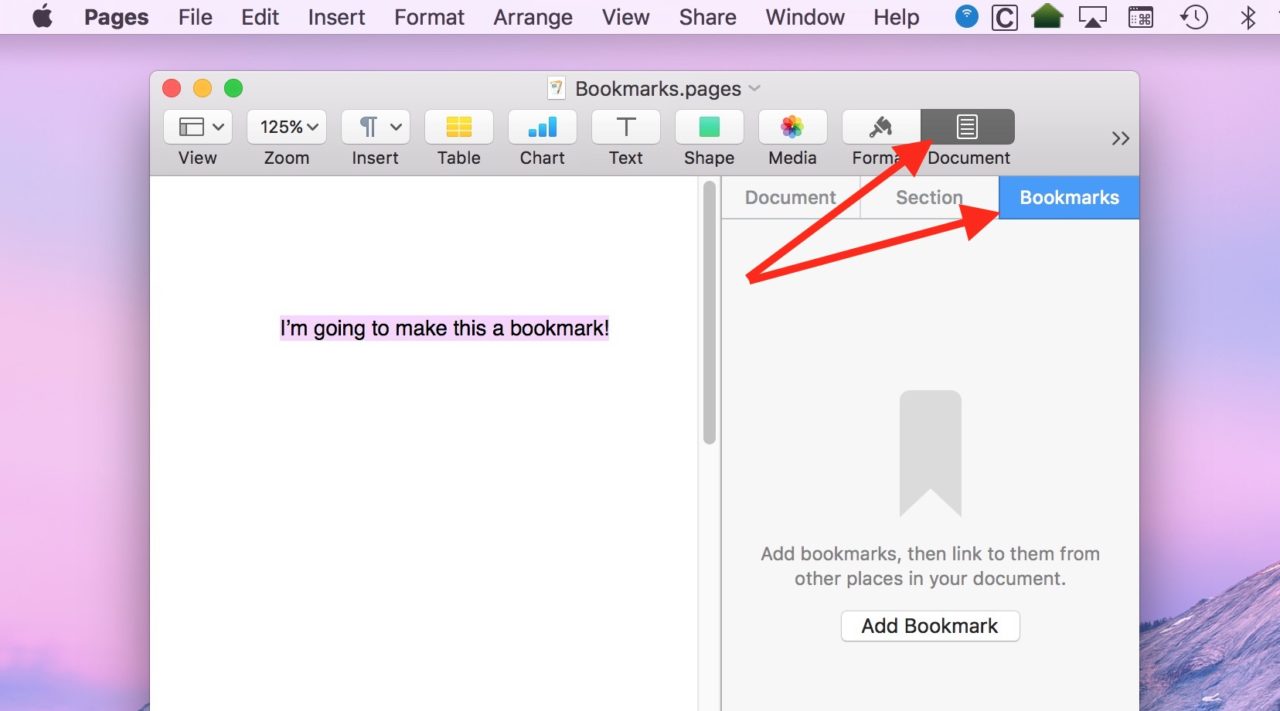
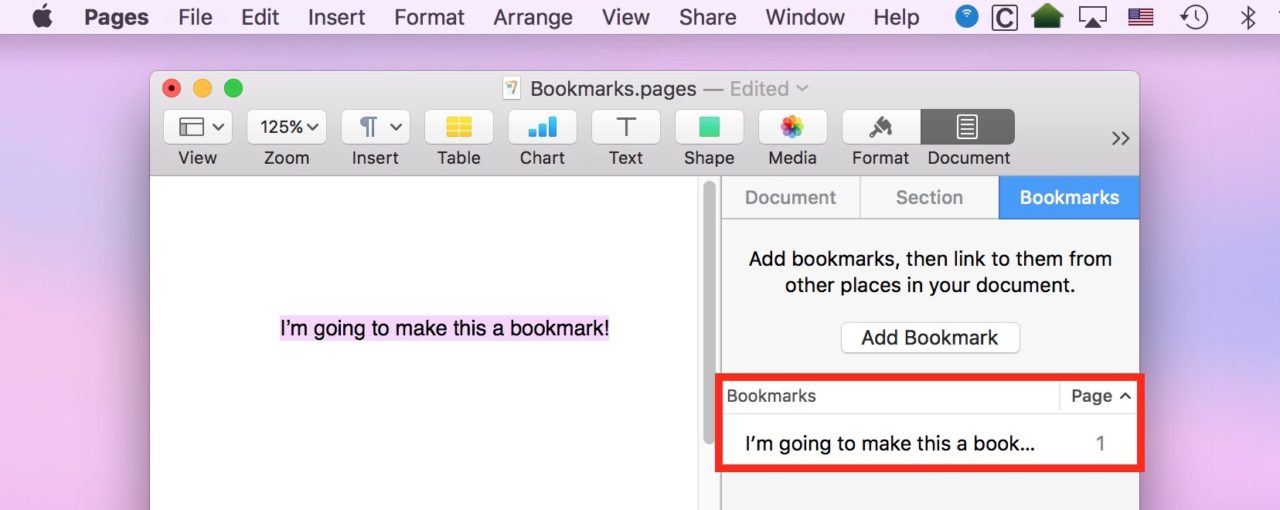
See that Add Bookmark button near the bottom of my screenshot above? Select that, and the text you had highlighted will then show up in the list of created bookmarks.
Alternatively, you can create a bookmark by highlighting your text and then selecting Bookmark from the “Insert” drop-down menu in the Pages toolbar:
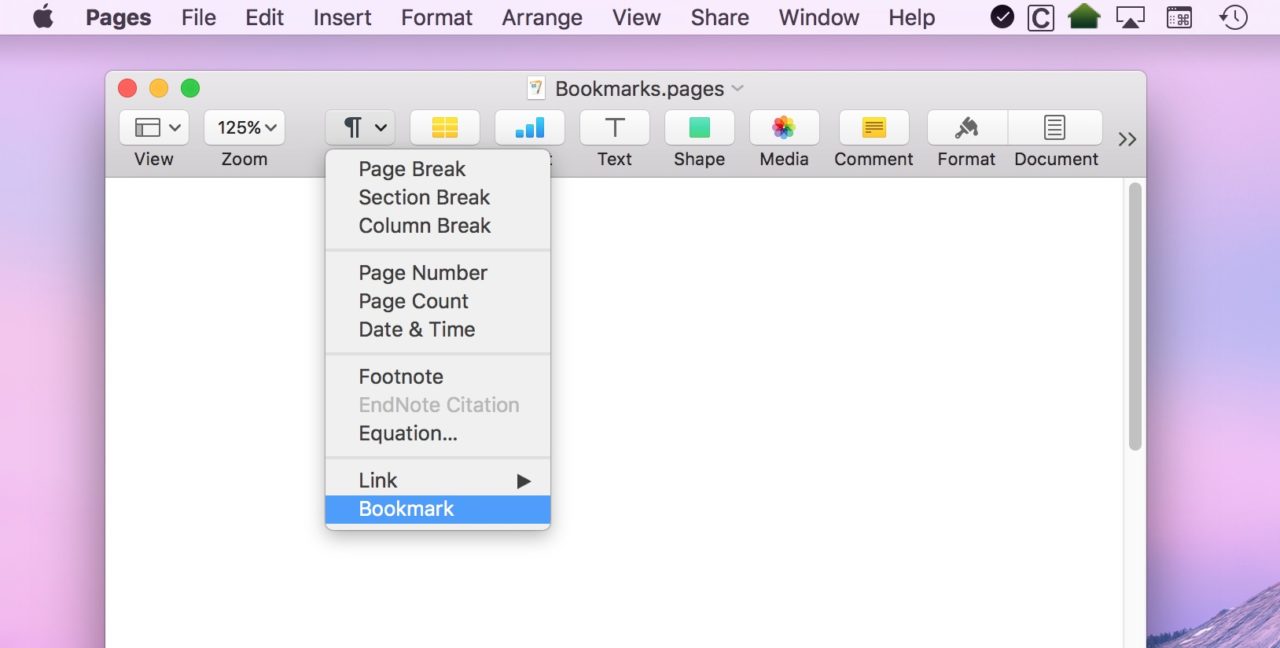
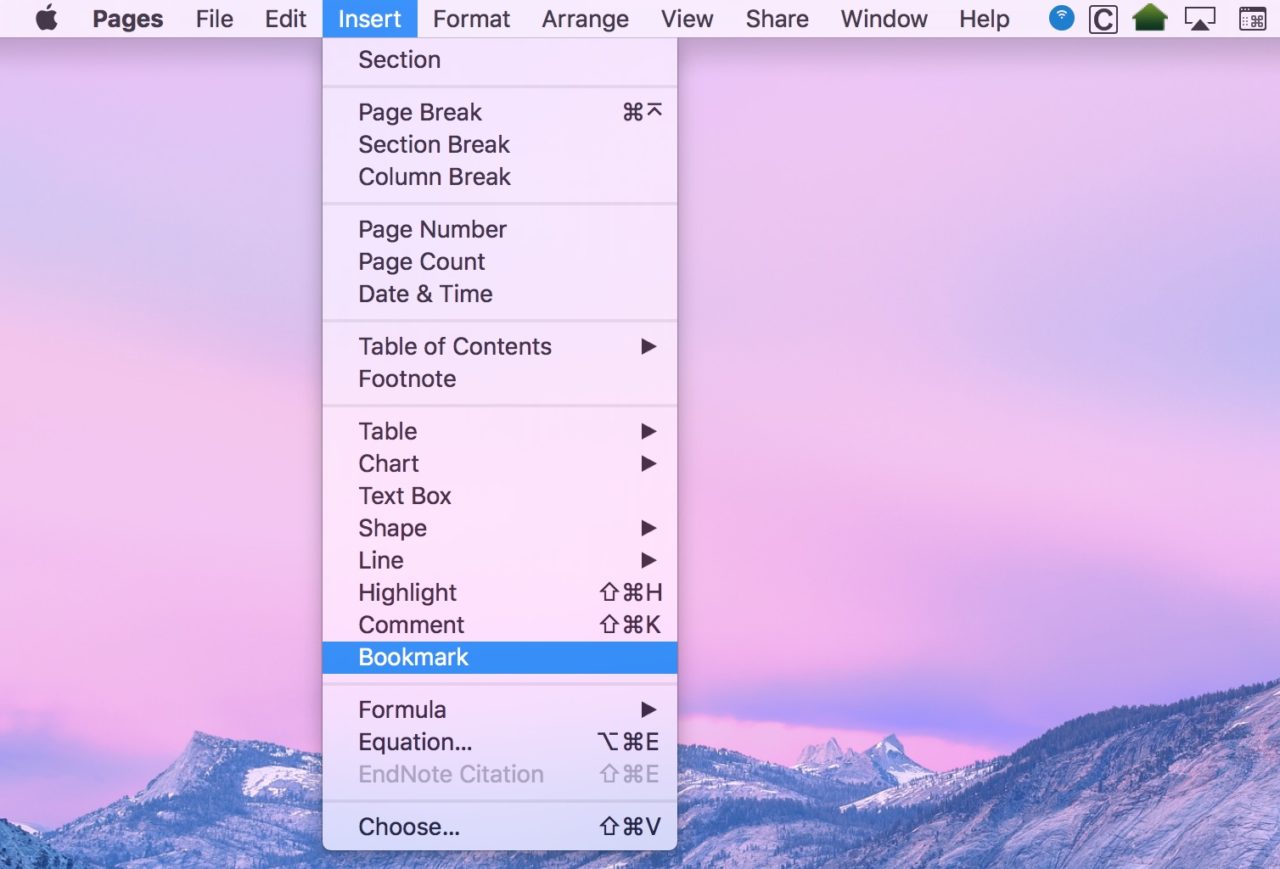
But maybe you’re feeling more like using menus than buttons! If so, you can also add a bookmark by heading to Insert > Bookmark from the Pages menu bar. There’s apparently like a million ways to do this.
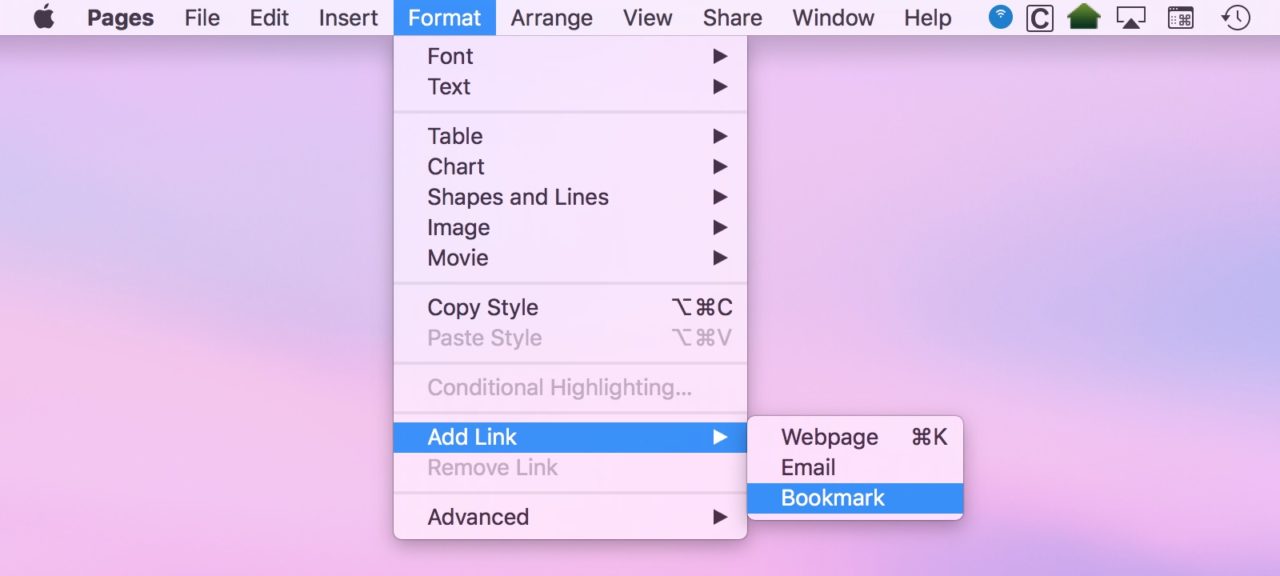
Anyway, you now have your bookmark created, but how do you link back to it? Well, go to the point in your document where you’d like to insert a link to your bookmark and select the text you want to add the link to. This will likely be where you’d want to say something like “Click here to go back to the reference point!” so that your readers will know what to expect. But once your text is selected, you’ll just choose Format > Add Link > Bookmark from the menus at the top.
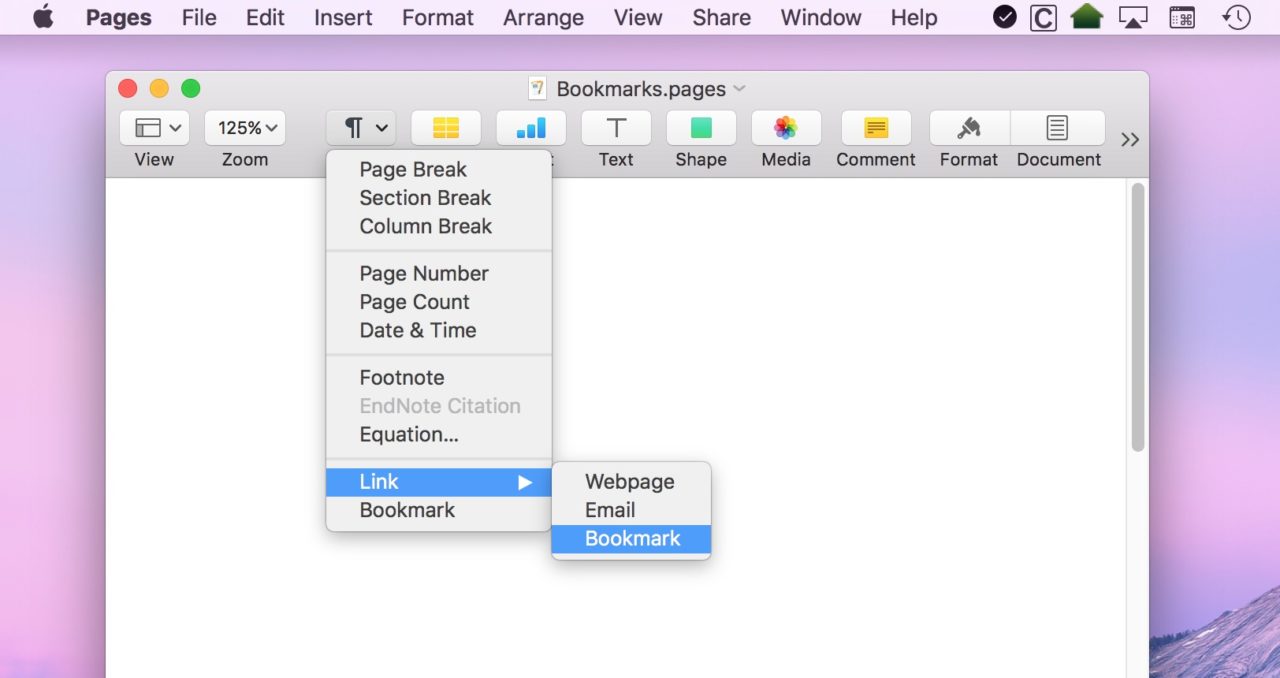
Or pick the Link > Bookmark option from that previously mentioned “Insert” button in the toolbar.
Pages will then reveal a little pop-up from which you can pick the particular bookmark to link to if you’ve got more than one. Just click on the “Bookmark” drop-down to do so.
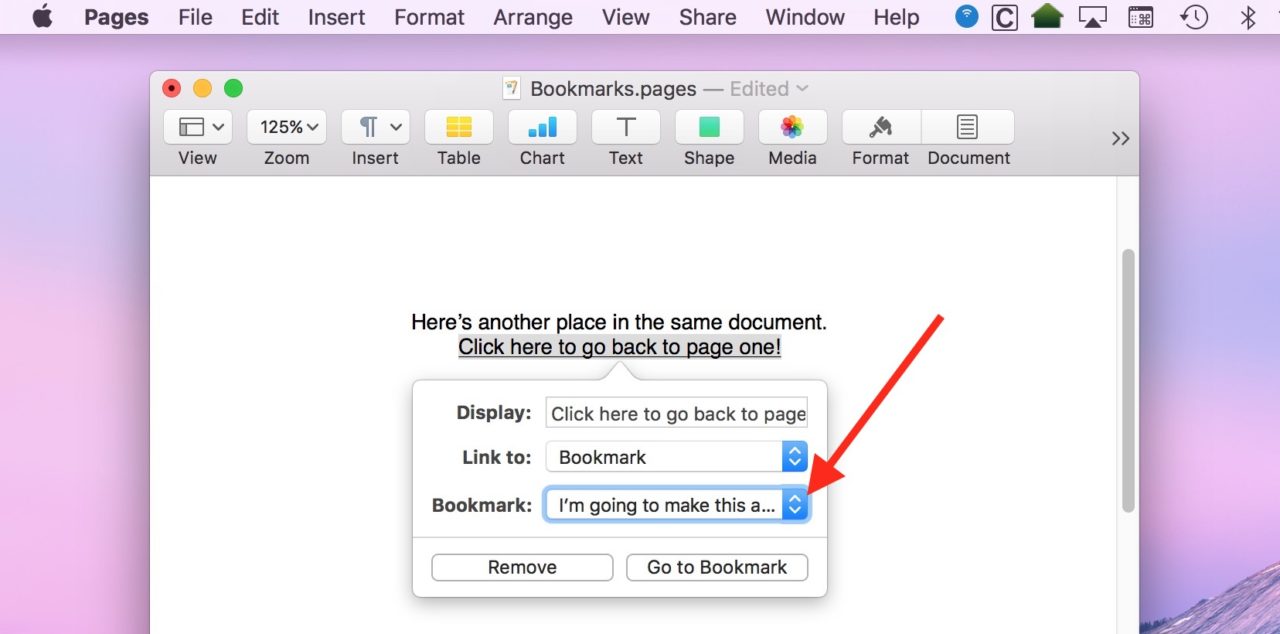
When you’re done, just click anywhere outside of the pop-up window and Pages will save your change. Your readers will now see something like this underlined sentence:
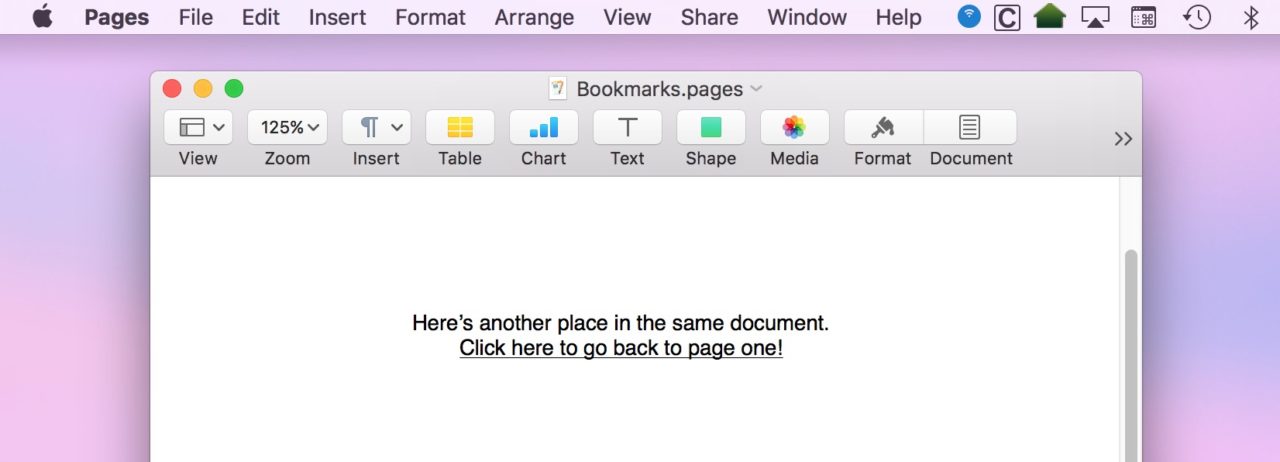
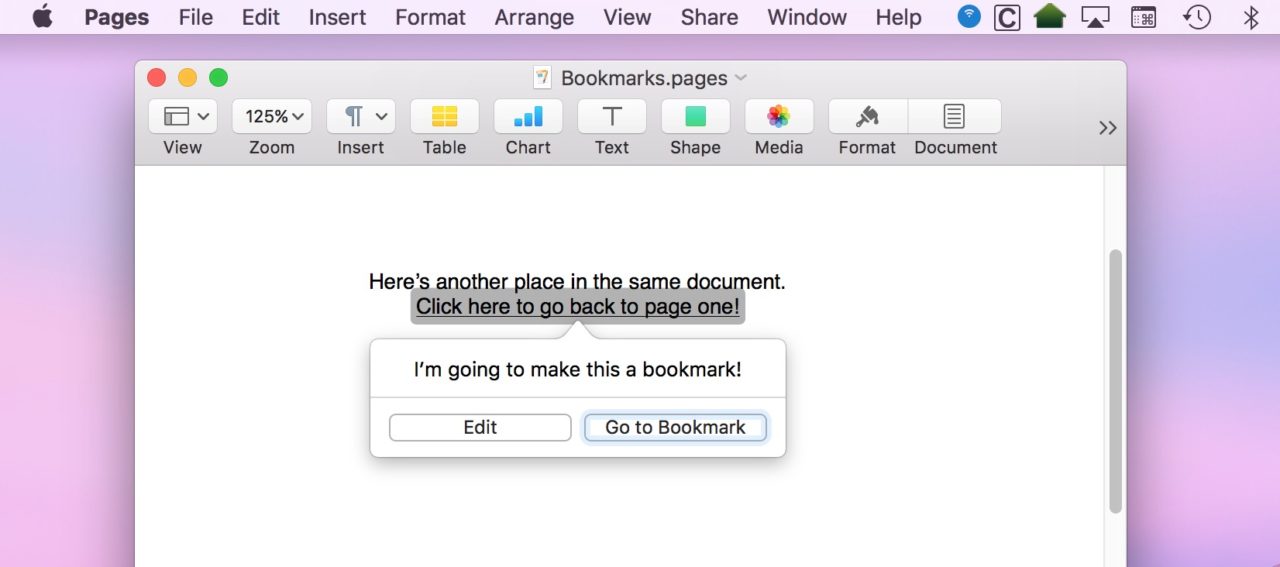
If they click your link, there’ll be an option to go to that reference point along with the actual text you bookmarked shown right in the box:
Pages Bookmarks & PDFs
Now, as I said, I think this is pretty handy when you’ve exported your Pages document to a PDF, which is good to do before you share your file anyhow. Since Pages is a Mac-only program, PC users won’t be able to view your document unless you do so! To export your Pages document to PDF, head to File > Export To > PDF from the Pages menu bar.
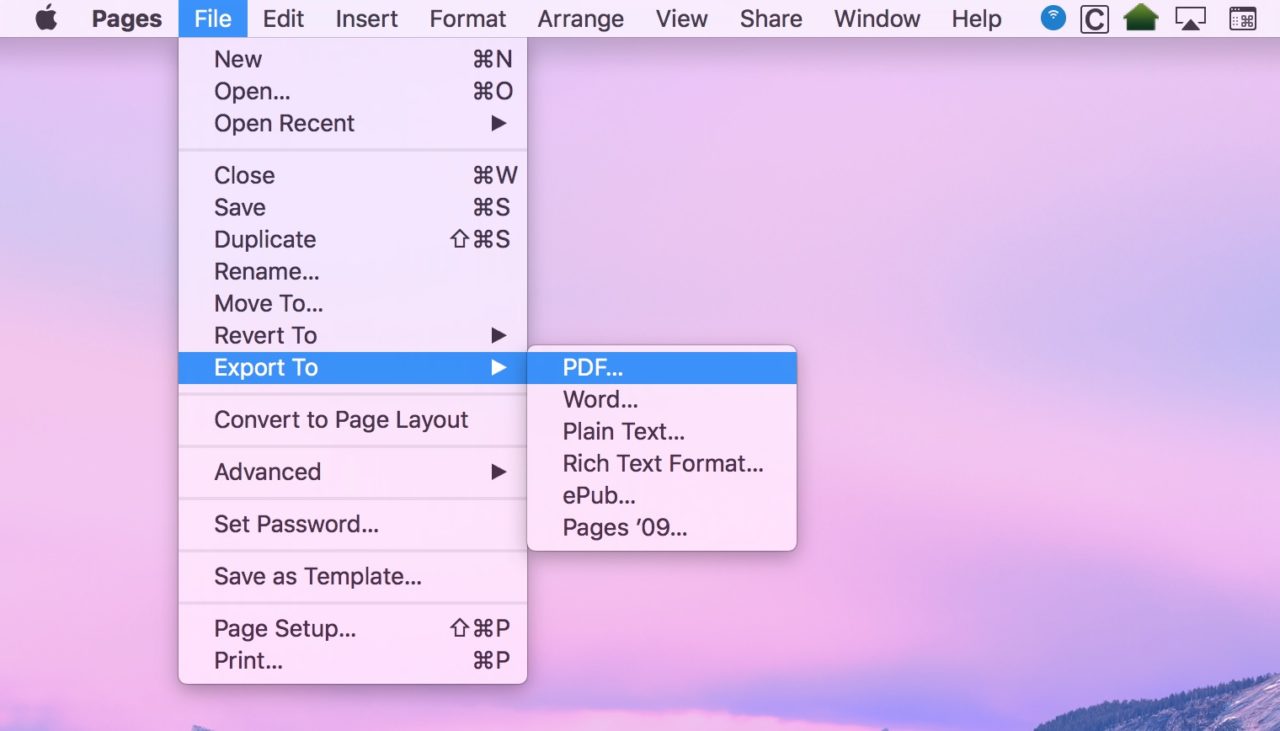
If you pick that, you can choose how good you need your images within your document to look…
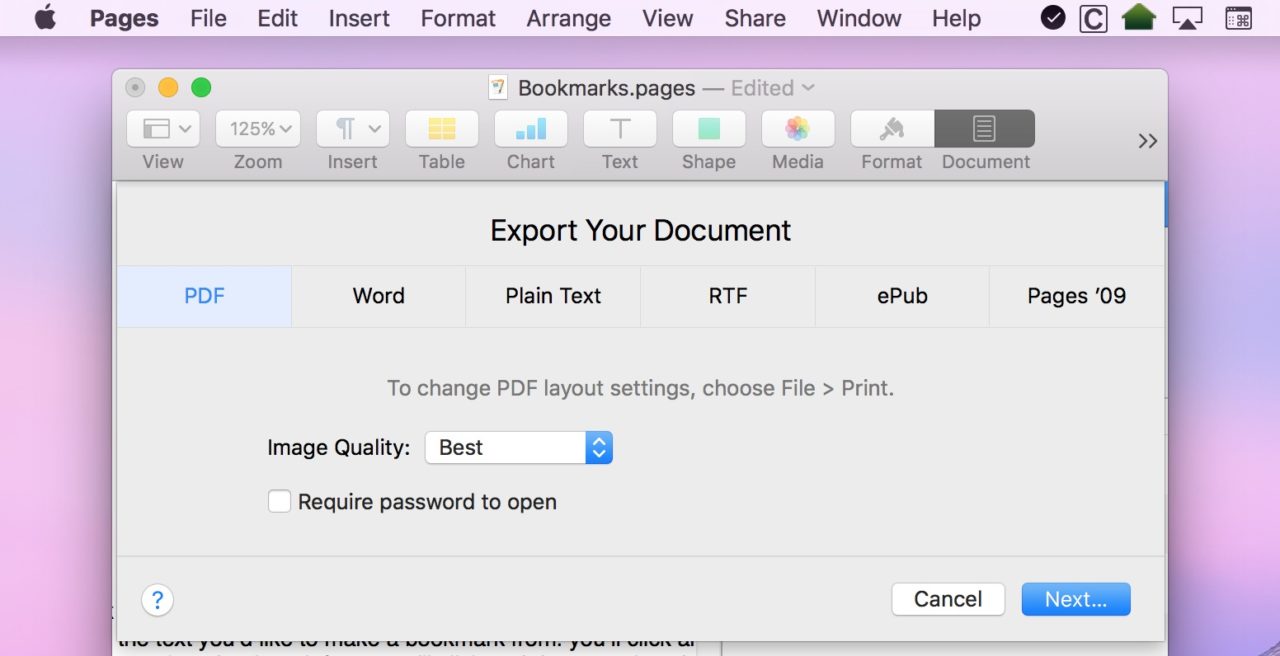
…but after clicking “Next,” you’ll then save your PDF out as you would any other file, and this exporting process will retain the clickable bookmarks you created in your new PDF! Nifty.
Editing & Deleting Bookmarks
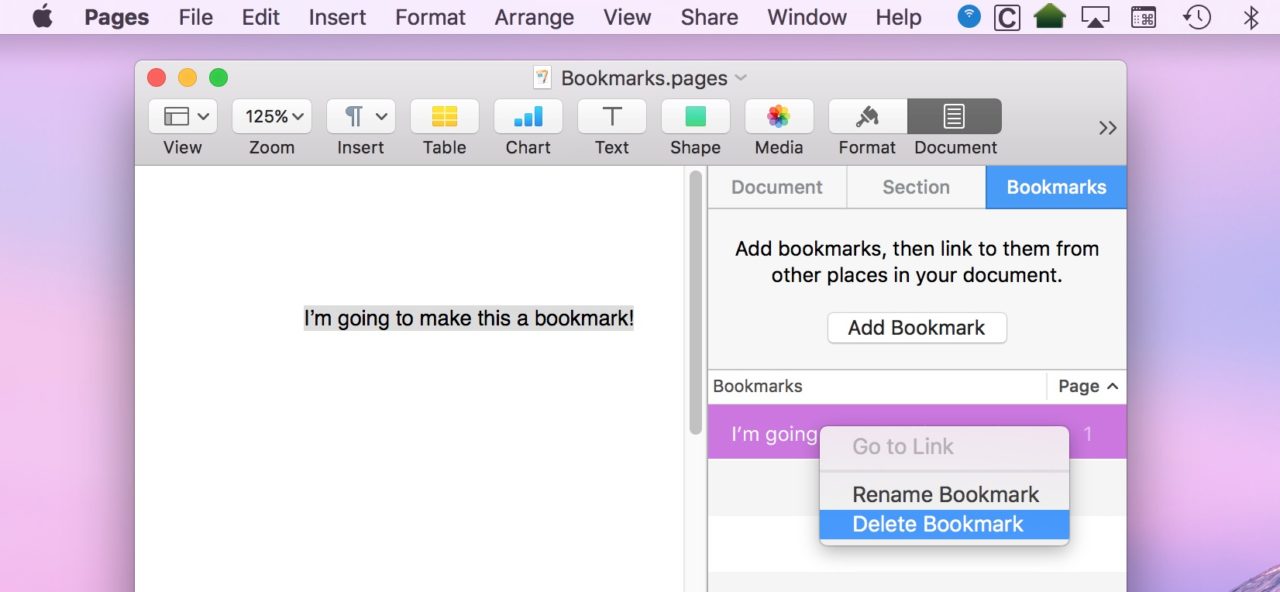
Finally, know that if you need to edit a link you’ve added, first find and click on the bookmark in the Document > Bookmarks sidebar. Right-click (or Control-click) on the bookmark and you’ll be able either rename it or delete it. To change the text of your bookmark, simply locate the bookmark in your document and edit it as desired.
Whew! I’m really glad Apple brought this feature back, as the software felt kind of crippled without it. I don’t expect Pages to have all of the bells and whistles that Word does—after all, it’s meant to be more user-friendly and easier to learn! But man oh man, I thought this was a glaring omission. Good call adding it back in, Apple.


