macOS: How to Browse Other Backup Disks With Time Machine

If you have multiple onsite backups—and you should, because redundancy is your best defense against data loss—then you need to know how to access the info on each one if you’re using Apple’s Time Machine feature. We’ve discussed before how to recover files using this handy built-in backup tool on your Mac, but things can get a bit more complicated if you’re backing up to more than one external drive.
So let’s start by looking at my Time Machine setup, and you’ll see what I mean. We can check out Time Machine status and options by clicking on its icon in the menu bar, which looks like a clock with a counter-clockwise arrow around the edge. From there, select Open Time Machine Preferences.

If you don’t have Time Machine enabled or don’t see its icon in your menu bar, click the Apple icon at the top-left of your screen and select System Preferences > Time Machine.
See a List of Your Active Time Machine Disks
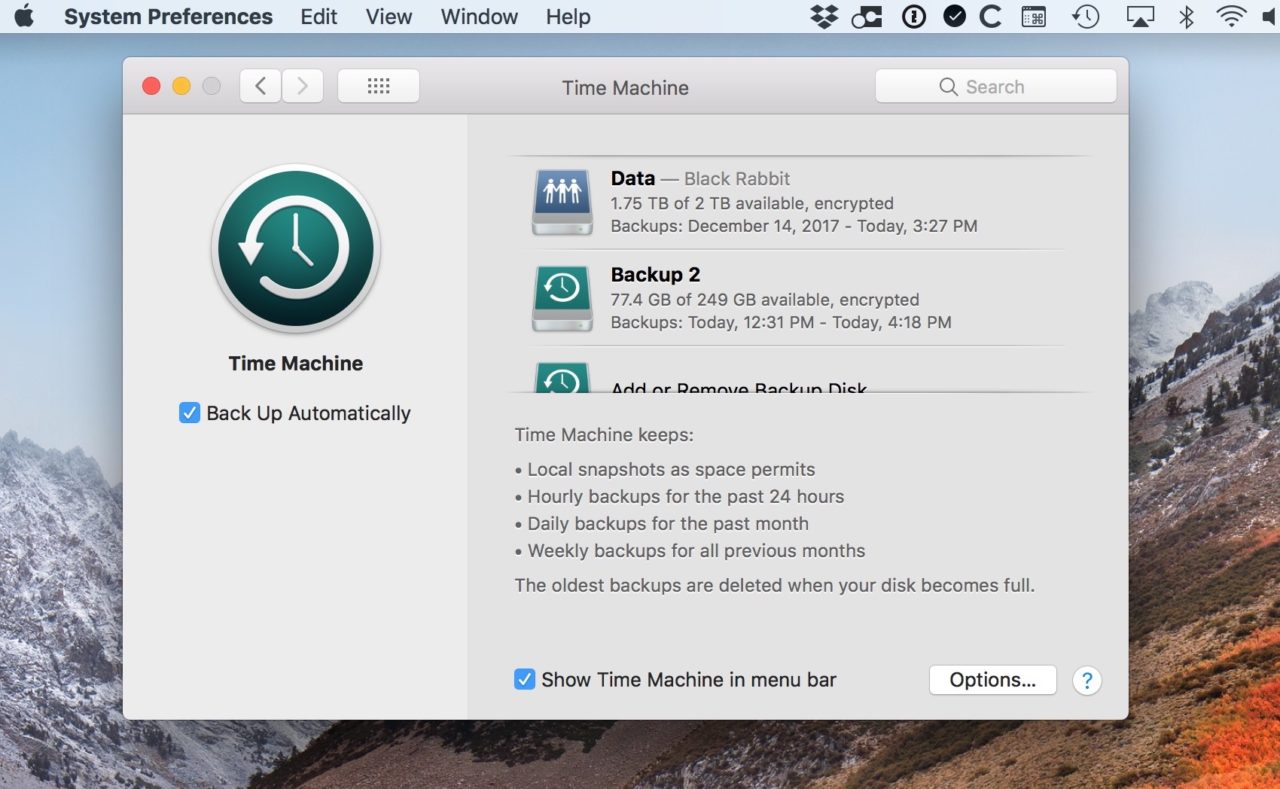
Once the Time Machine preferences are open, you’ll see a list of disks on which you have Time Machine backups. In my example screenshot below, I have a networked Time Capsule (“Data”) as well as a locally attached external hard drive (“Backup 2”).

If I want to restore an item from either of those backup locations, all I have to do is click the Time Machine icon in the menu bar and select Enter Time Machine.

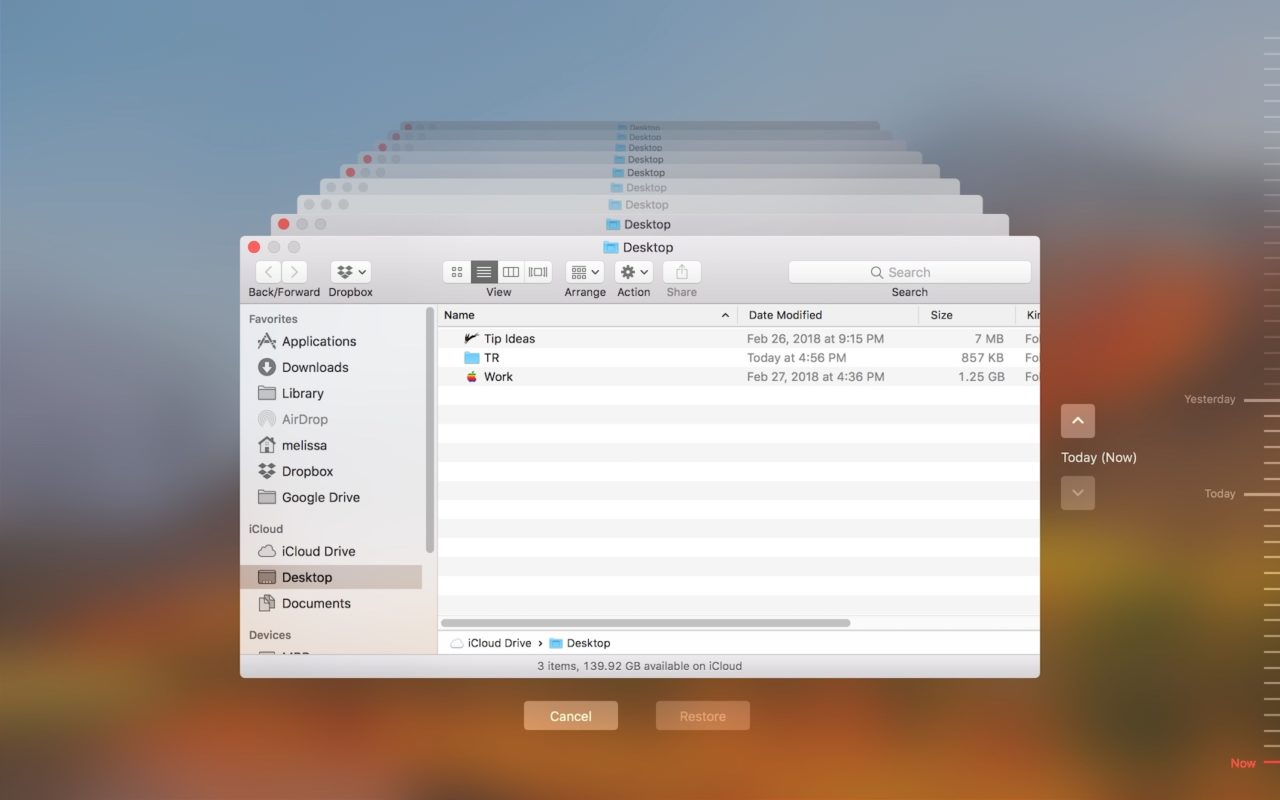
When I do that, I’ll see the familiar Time Machine interface, which I can use to recover lost files per Apple’s instructions.

So if you’re backing up to more than one location like I am, entering the Time Machine program in this way will show you all available backups from any connected drives. For example, if I’m on my home network with my Time Capsule and I’ve got my external drive plugged in, I’ll be able to recover files from either place just by using this “Enter Time Machine” prompt.
Browse Other Backup Disks
But there is a somewhat hidden way to access the timeline just for a specific disk, and that’s by holding down the Option key on your keyboard and clicking on the circle-clock icon in your menu bar.

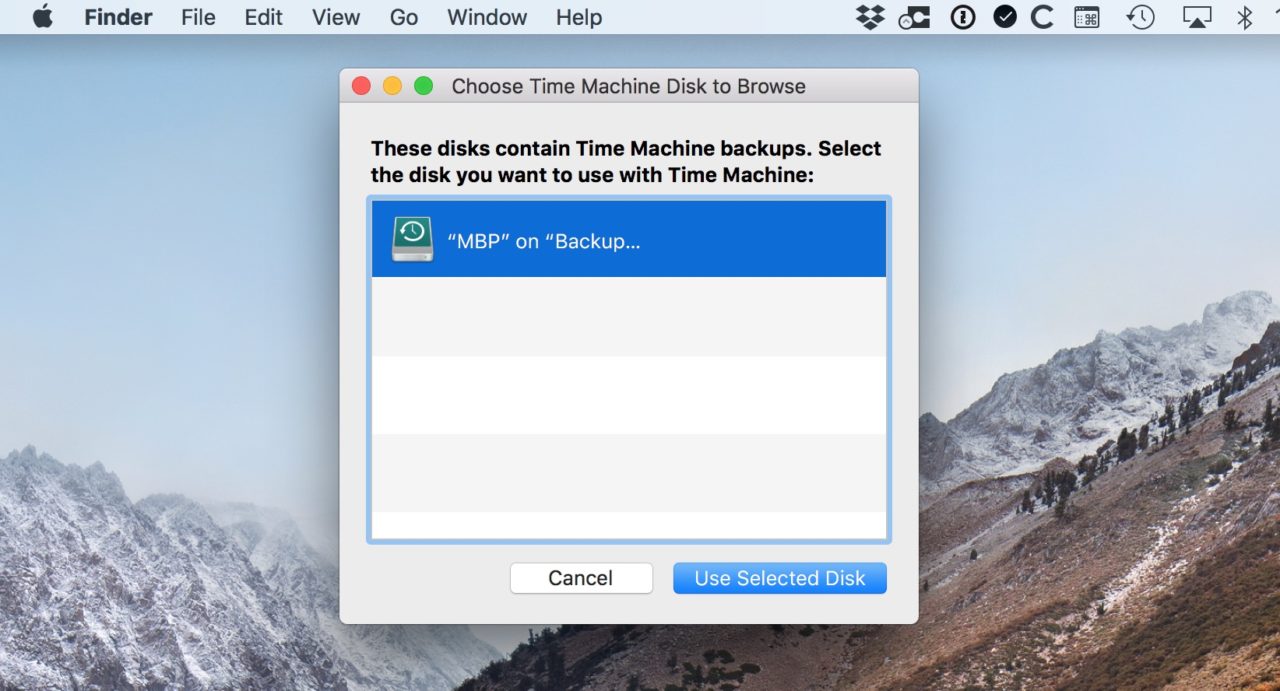
As you can see, holding down Option with this menu open makes “Enter Time Machine” switch to “Browse Other Backup Disks.” If you pick that, you can choose the specific disk from which you’d like to recover files.

I can see this being handy if you knew you wanted to restore a file from a specific drive without having to peruse the backup history for all of them at the same time. It’s useful that Apple included this feature! Less useful is the fact that they hid it behind the Option key. Oh well, I suppose every little choice can’t be on every single menu, right?


