How to Change or Remove the Windows 10 Mail Background Image

The Windows 10 Mail app displays a high quality background image by default in any white space (i.e., any space not occupied by messages). If you don’t like Microsoft’s default choice for your Windows 10 Mail background image, here’s how to change it or, going a step further, how to get rid of the background image altogether.
Change the Windows 10 Mail App Background Image
To get started, launch the Windows 10 Mail app from your Start Menu or by searching for it via Start Search or Cortana. If this is your first time launching the Windows 10 Mail app, you’ll need to set up at least one email account first before you can proceed. Once that’s done, you’ll find yourself looking at your email account(s) set against one of the default background images chosen by Windows.
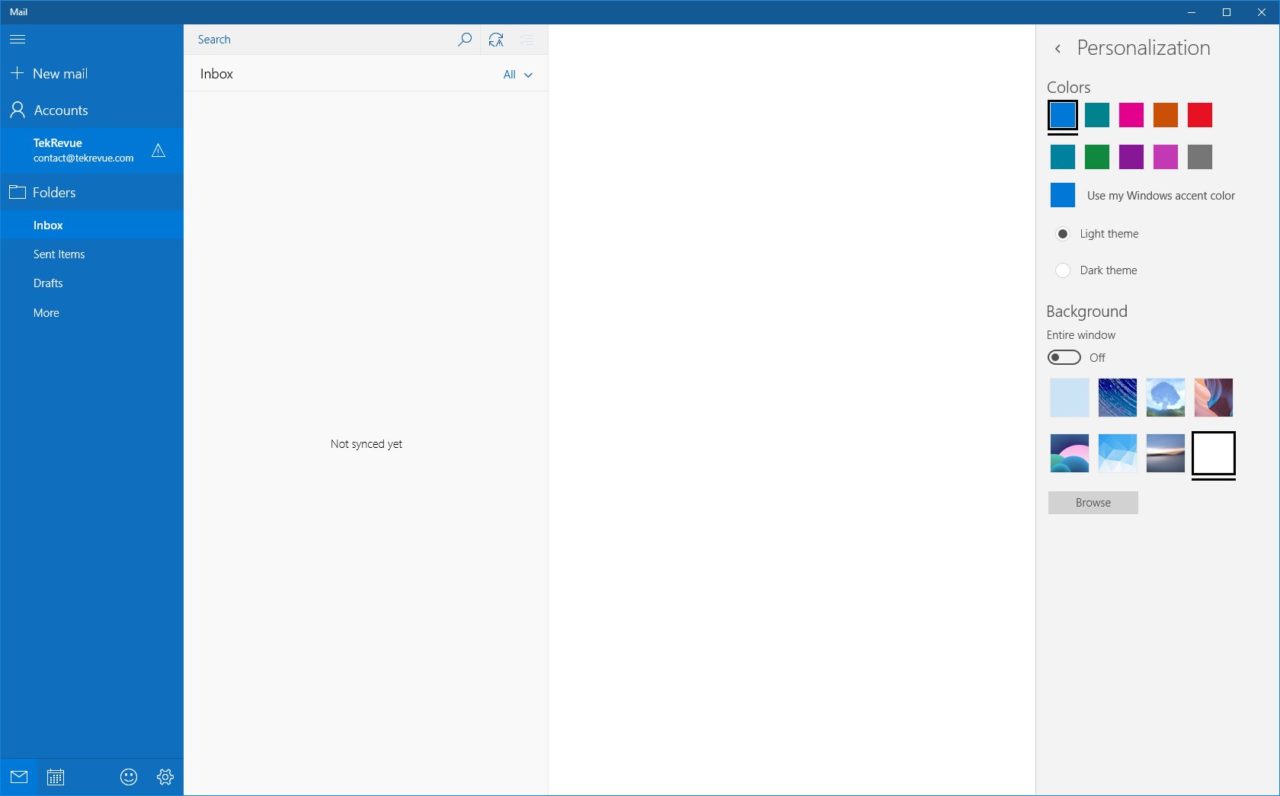
To change this background image, click the Settings icon (depicted as a gear on the right side of the leftmost column) and choose Personalization from the Settings list that appears on the right side of the Mail window.
From the Personalization menu, locate the Background section. This is where you can choose from one of the default Windows 10 Mail backgrounds or select your own image by clicking Browse and navigating to the image of your choice. Supported file formats are Bitmap (.bmp), Portable Network Graphics (.png), and JPEG (.jpg or .jpeg). Note that the Windows 10 Mail app will scale smaller images up to fill the available white space in the application window, so make sure you choose a custom background image of sufficient resolution to avoid degraded image quality.
As soon as you make your selection of either a default or custom background image, you’ll immediately see the background of the Windows 10 Mail app change. If you’re satisfied with the new look, you can now close the Settings sidebar and return to using the app.
Remove the Windows 10 Mail App Background Image
The process of removing the Windows 10 Mail app background image is bit tricky, as the app doesn’t provide an official user option to simply disable all background images. Instead, we can achieve the same effect as disabling the the background image by selectively using the option to change the background image, as discussed above.
The steps involved in this process are simple in hindsight: we simply need to set a custom background image that is a solid color that matches our Windows 10 theme. For our example, we’ll assume that you’re using the “light” theme and that you want a blank white background.
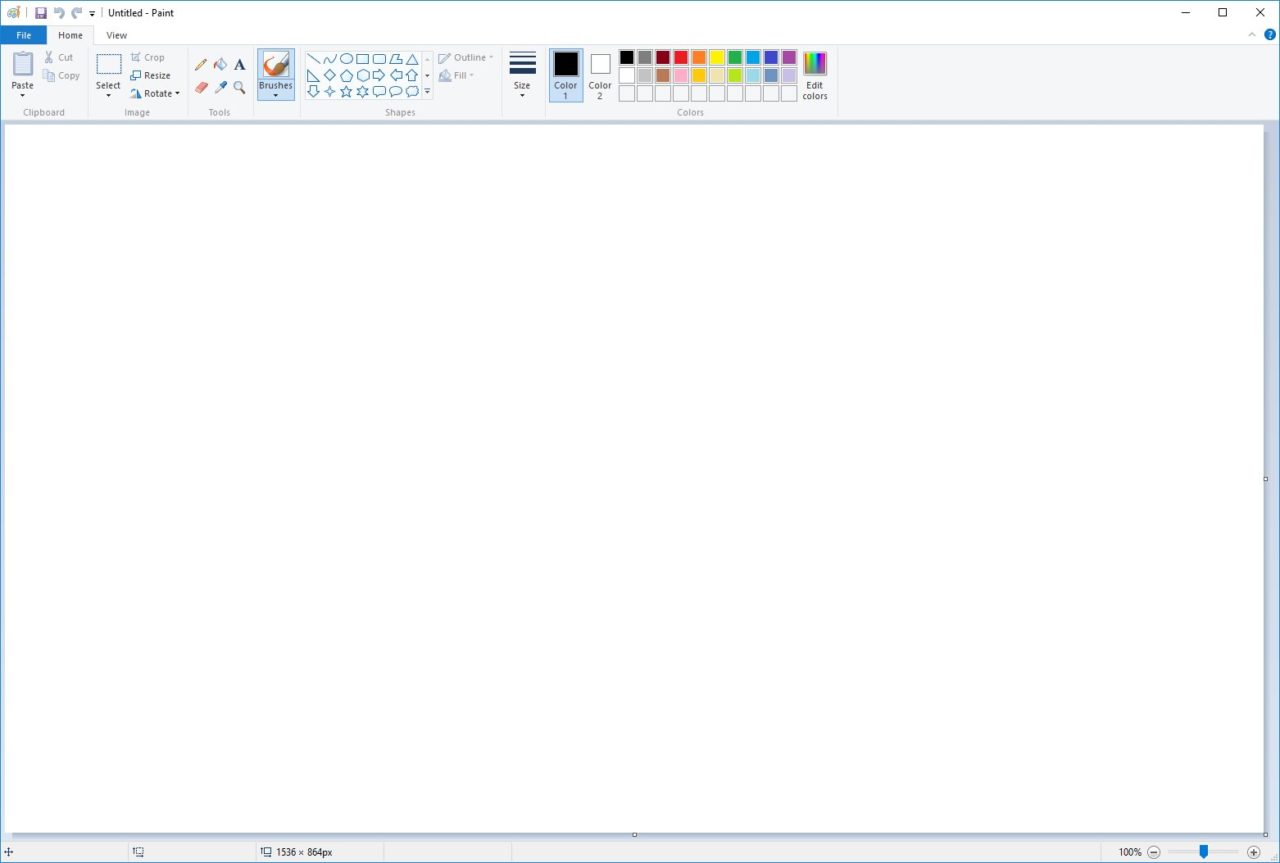
The first step is to create your blank background image. You can use any image editing application for this, but the easiest method is to rely on Microsoft Paint, as it is already available on every Windows 10 installation.

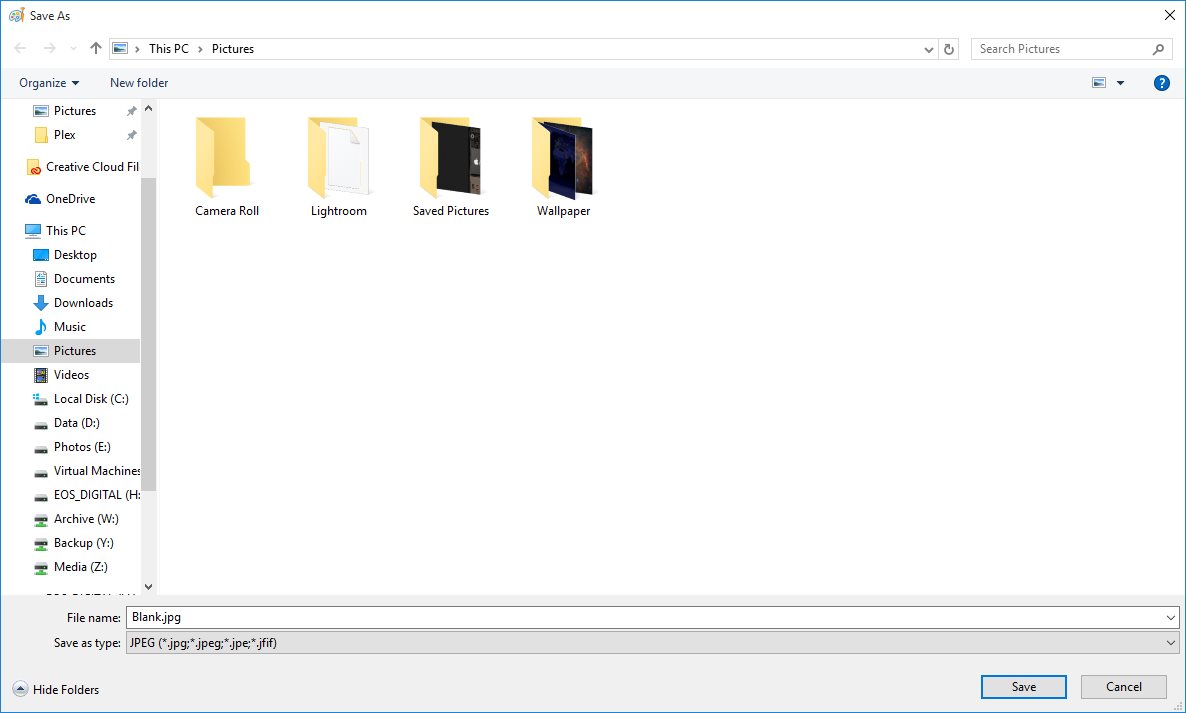
To get our blank background image, we’ll just create a blank white image in Paint. The size doesn’t matter much, as the blank white image will maintain the same appearance even if it’s stretched by the Mail app. With your blank image created (which should be the default after opening the app unless you’ve previously changed Paint’s settings), simply save it to a convenient location on your PC’s hard drive, such as the Pictures folder.

Now, head back to the Windows 10 Mail app and repeat the steps outlined above for changing your background image. This time, however, select the blank white image you just created. You’ll immediately see that all unused space in the Mail app is now white, and the app appears as if the background image feature has been completely disabled.

Our example was for a white background, but if you’re using the Windows 10 dark theme you may want a blank gray or black background. To achieve this look, just repeat the steps above but create a blank gray or black image in Paint instead of a blank white image.
If at any time you decide that you want to once again have a nice background image for your email browsing pleasure, just head back to Settings > Personalization > Background and choose a new image.


3 thoughts on “How to Change or Remove the Windows 10 Mail Background Image”