Chromebook Won’t Auto Rotate – How to Fix
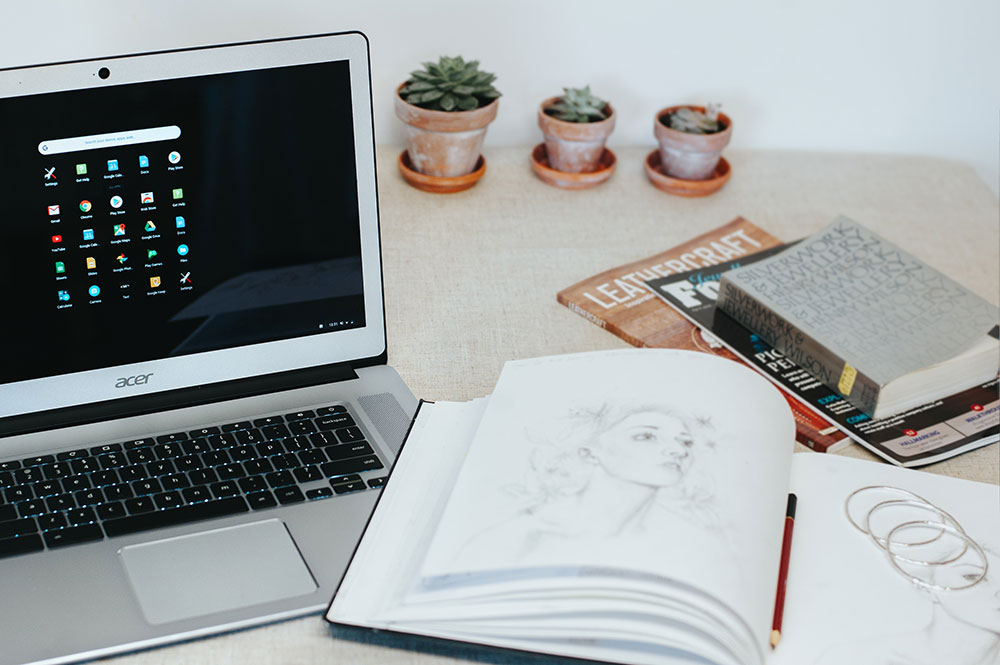
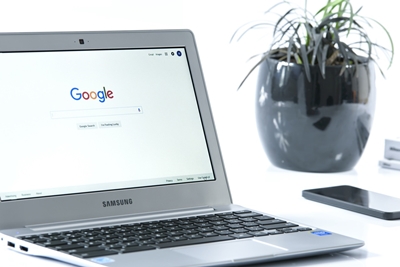
Chromebooks are made to be used in both portrait and landscape screen modes. When the device gets stuck in either and refuses to auto-rotate, it might be due to a multitude of software-related issues.
In this article, we’ll go over the most probable causes and some of the common solutions. Let’s dig in.
Disconnect All USB Peripherals
When a Chromebook device won’t auto-rotate the screen, it is most likely due to the fact that some USB peripherals are connected to it. When they’re connected, it means that the device gets in “laptop” mode and it’s assumed that you intend to use it as a conventional laptop computer.
However, if you’d like to use your Chromebook in “tablet” mode, unplug all USB devices, including the mouse. This should solve the problem if there are no software issues plaguing your Chromebook.
In case the problem persists and your Chromebook keeps refusing to rotate the screen, continue down the list.
Disable Bluetooth
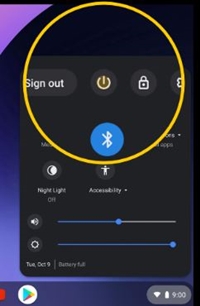
Sometimes, Bluetooth issues might prevent a Chromebook device from auto-rotating. Your best bet, in that case, is to disconnect all Bluetooth devices you have connected to Chromebook and disable Bluetooth altogether.
Here’s how to disable Bluetooth on your Chromebook.
- Click on the time at the bottom-right corner of the Home screen.
- When the pop-up menu appears, click on the Settings option. It should be at the bottom of the menu.
- Next, when the Settings window opens, click on the Advanced button.
- Scroll down and click on the Bluetooth section.
- Uncheck the “Enable Bluetooth” box.
- To turn it back on, click once more on the “Enable Bluetooth” box.
Hard Reset
If your Chromebook is still stubborn and refuses to auto-rotate, you might consider treating it to a hard reset. This method has been known to solve many software-related bugs, issues, and glitches. Here’s how to hard-reset a Chromebook.
- Turn off your Chromebook completely.

- Press together the Power and Refresh buttons.
- Keep holding the Refresh button until the device boots up.
- Release the Refresh button when it’s booted.
In case you have a Chromebook tablet, here’s how to perform a hard reset.
- Press together the Power and Volume Up buttons.
- Keep them pressed for 10 or more seconds.
- Release them and wait for the device to reboot.
Some laptops have their own, special ways to reboot. Visit this page and look under the “Other ways” section. If you find your Chromebook model on the list, follow the instructions.
When your Chromebook reboots, you should check whether the problem is solved. If it isn’t, it is time to call in the heavy artillery.
Powerwash
In case all previous methods failed to bring the desired result, you might want to try with a powerwash. Have in mind that a powerwash will delete all your account settings, files, and apps from the device. Therefore, it would be wise to back all important things up. Also, you should sync your account settings with your Google account.
Data Backup
There are two main ways to back up important data and files – copy them to an external hard disk or save them to Google Drive. To do the former, connect a supplementary hard disk and transfer the files you’d like to keep.
To save a file to Google Drive, follow these steps.
- Browse your local storage for the file you’d like to upload.
- Once you’ve found it, right-click on it and select Save. Alternatively, click on it and press Ctrl and S.
- Name your file and, if you want to, select an alternative file extension.
- Select a folder on your Google Drive as the destination.
- Click the Save button.
Account Synchronization
Here’s how to synchronize your account.
- Click on the time at the bottom-right corner of the screen.
- Click on the Settings option in the menu that appears.
- Next, go to the People section.
- Select the Sync tab.
- Select what you’d like to synchronize with your Google account. The “Sync everything” option covers files, settings, and data.
- Optionally, you can protect your synced data with a password. Go to “Encryption options” and set the password.
Factory Reset
Now you’re ready to powerwash or reset your Chromebook to its factory settings. Follow these steps.
- Sign out of your Chromebook.
- Click on the time at the bottom-right corner of the screen.
- Select the Settings option in the pop-up menu.
- Click on the Advanced button.
- Pick the Reset Settings tab.
- Click on the Powerwash option.
- Click on the Restart button.
- Select the Powerwash option again to confirm.
- Select Continue.
- Chromebook will then perform the powerwash.
- When it finishes and boots up, log in.
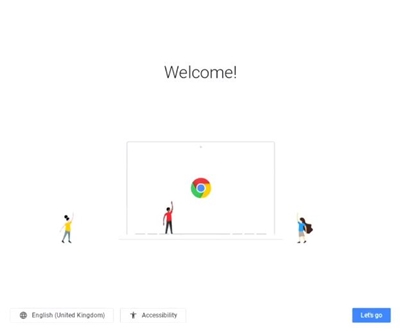
- Follow the on-screen setup wizard.

Check whether the screen auto-rotates.
Viva Auto Rotate!
These solutions should help you restore your Chromebook’s ability to auto-rotate the screen. However, if they don’t, you might want to update/reinstall the OS or contact Google help.
Have you ever had a problem with auto rotation? How did you solve it, what method worked for you? Do you have additional tips for our readers? Feel free to leave them in the comments section below.






2 thoughts on “Chromebook Won’t Auto Rotate – How to Fix”
Google does seem to be aware of this, and there are a couple of bug reports, which you can follow here:
https://bugs.chromium.org/p/chromium/issues/detail?id=884096
https://bugs.chromium.org/p/chromium/issues/detail?id=882410
You have to log in and then click the star to receive updates. You can also submit feedback using their Google Docs link here:
https://docs.google.com/forms/d/e/1FAIpQLScvKrIeKPgASEb8uQc-fa6l0_TricSvQdV_BvbfdReUWiZRog/viewform?fbzx=-2634762966407382854