Spruce Up Your Desktop with Custom Folder Icons in macOS

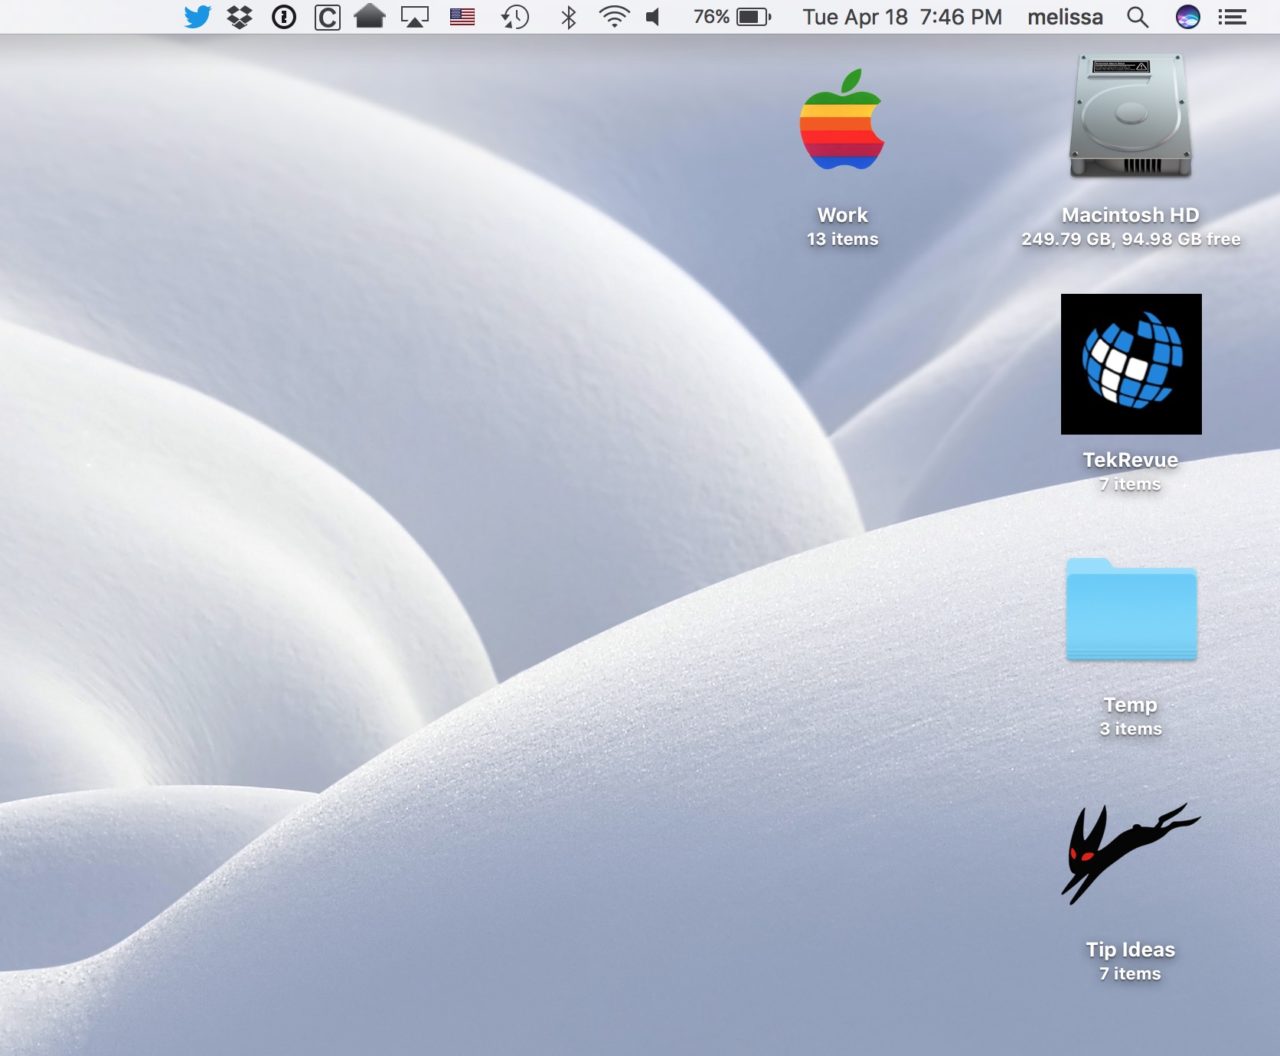
Are you tired of looking at the same old default folder icons in macOS? I mean, sure, the Mac’s default folder image is fine and all, but nothing beats custom graphics. And the good news is that it’s easy (and fun!) to use custom folder icons in macOS!
So if you’d like to use a rainbow Apple logo or almost any other custom image as a folder icon, let’s learn how to do it!
Add Custom Folder Icons
To get started with custom folder icons in macOS, first select the folder you’d like to customize. My screenshots in this article show folders on the desktop, but this process also works for folders you’re looking at in Finder. Just find or create your folder and click once to select it.

With your folder selected, head to File > Get Info from the menu bar at the top of the screen. Alternatively you can use the keyboard shortcut Command-I.
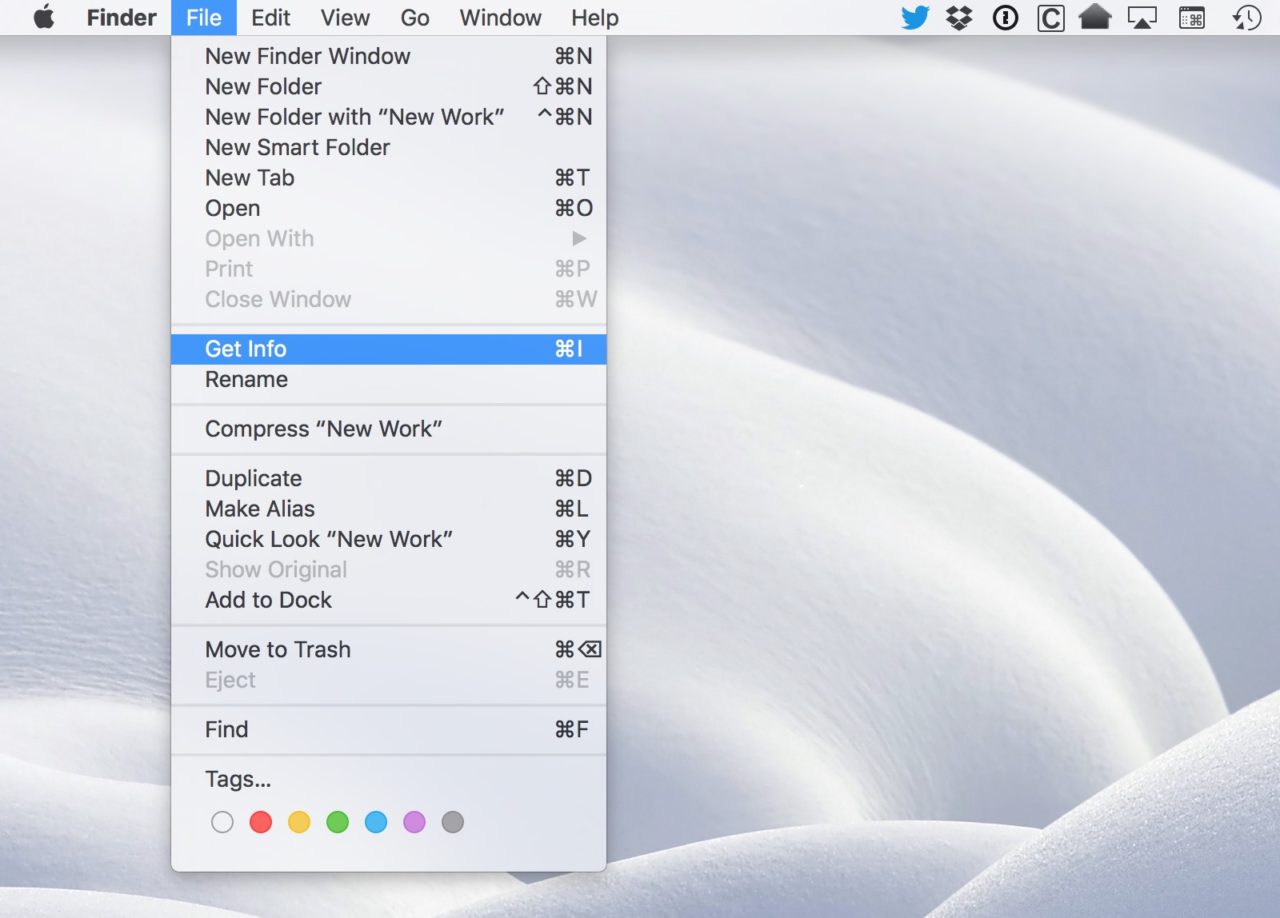
The Info window for the folder will appear which, if you’re not familiar with it, has all sorts of cool uses such as seeing the exact size of a file or folder, determining when the file or folder was created or last modified, and viewing or modifying sharing and user permission settings.
![]()
But for the purpose of setting a custom folder icon, we’re going to focus on that little folder icon at the top left of the Info window. Normally, this shows the default macOS icon for your folder or file, but we can change it by pasting a compatible image on top of it. To do so, we’ll need to find your desired custom image, which can be a JPEG, PNG, or TIFF file.
Once you’ve found your image, open it in the Mac’s Preview app and use the keyboard shortcut Command-A (or select Edit > Select All from the menu bar) to select the entire image. If you’d like to edit the image — for example, crop it — you can do that first before selecting it.
Related: How to change which application opens a particular file type in macOS
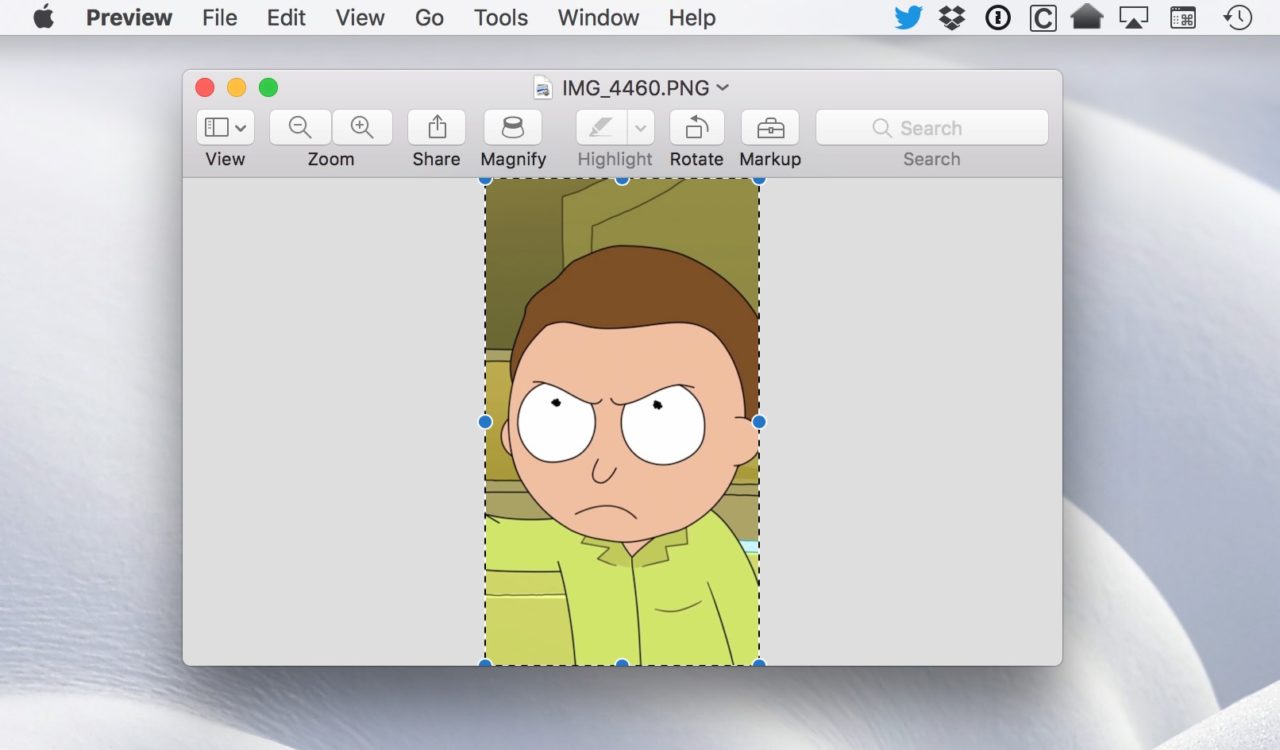
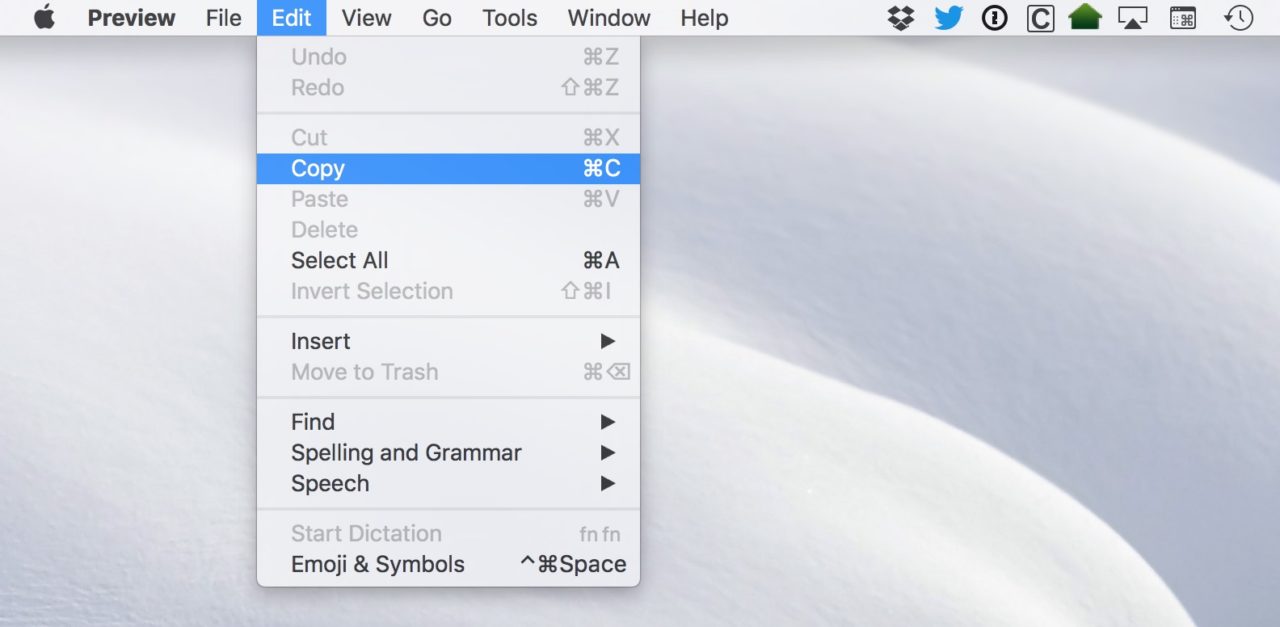
Once the image is selected, use the keyboard shortcut Command-C (or select Edit > Copy) to copy it.
After your picture is copied, go back to that “Get Info” window and click to select the aforementioned blue folder icon at the top. You’ll see the folder icon subtly outlined in blue. Finally, use the keyboard shortcut Command-V (Edit > Paste) to drop your picture in.
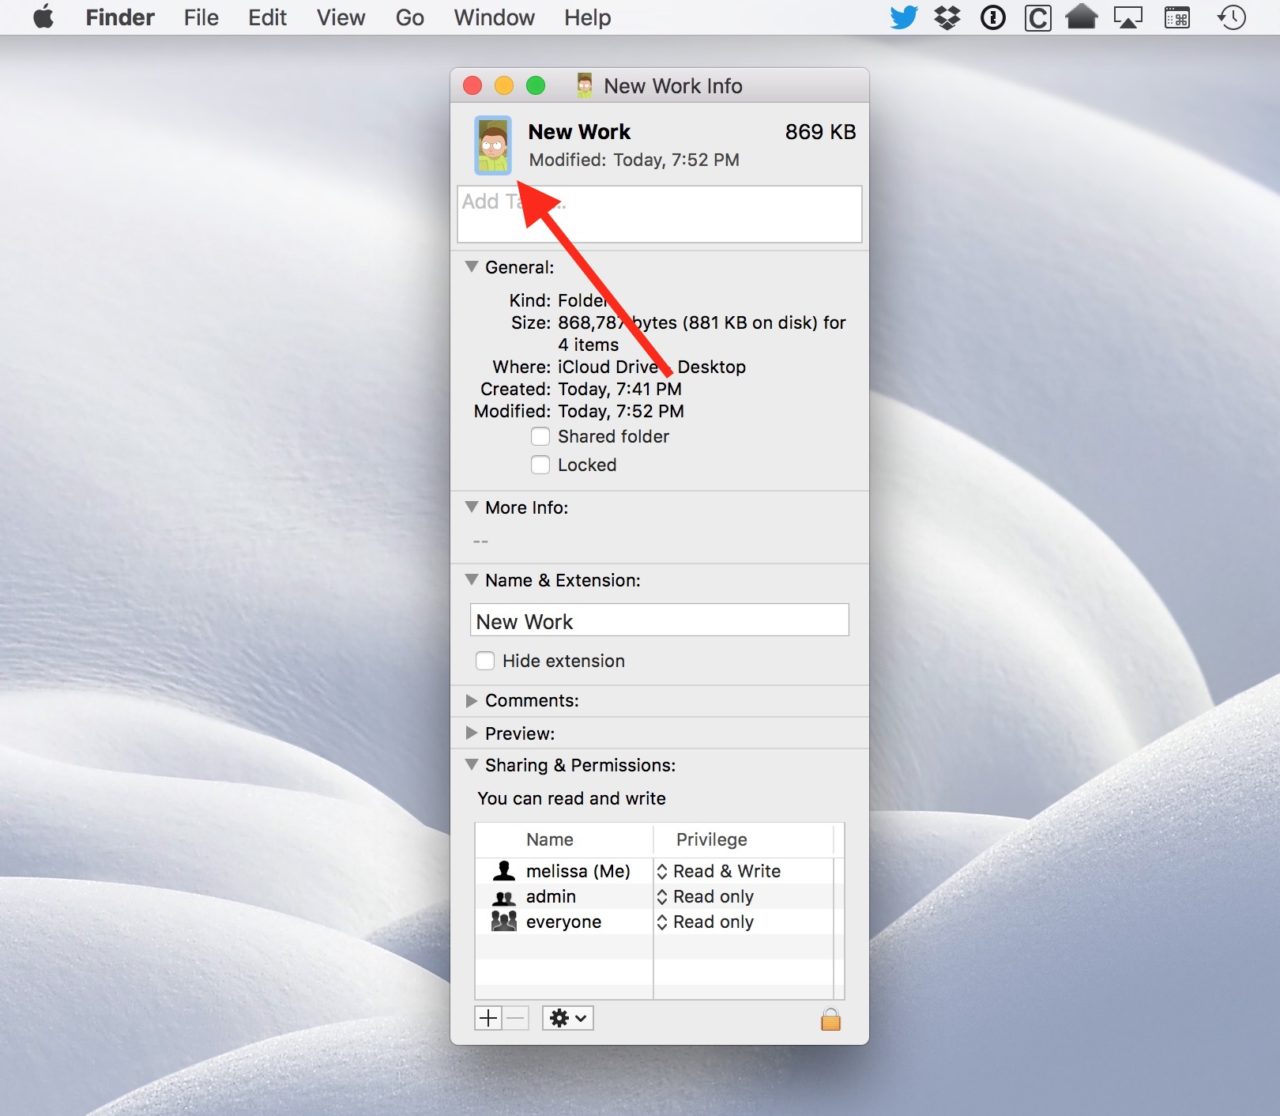
Your custom icon will appear both in the Info window as well as on your desktop (or in Finder) in place of the default macOS folder icon.
![]()
Remove Custom Folder Icons
So you’ve added custom icons to your folders. Great! But what if you change your mind and want the default macOS folder icon back? The good news is that this is a super simple process. Just find the folder with your custom icon and use Command-I or File > Get Info to bring up its Info window. Now, click once to select the folder’s custom icon at the top left of the window (it will be outlined in blue again, just like when we added the custom icon) and press the Delete key on your keyboard. The custom icon will be removed and you’ll see the default macOS folder icon appear again.
Custom Folder Icon Tips
You can use almost any compatible image for your custom folder icon, but if you’d like things to look their best, here are some tips.
- Thanks to the advent of high-resolution displays, you need to make sure your icon image has a high enough resolution to look good on your Retina MacBook or 5K iMac. Apple’s default folder and file icons have a maximum resolution of 1024×1024 pixels, so use this resolution if possible for the best image quality.
- You can use a standard square or rectangular image, but if your image has an irregular shape against a solid color background, you can try to convert it to a PNG with background transparency. For example, the TekRevue folder icon in my screenshots below is not transparent and has a square solid black background. But the classic Apple logo icon has a transparent background. If it was sourced from a non-transparent JPEG, for example, it would have a solid color background like the TekRevue icon.
Finally, one of the reasons I enjoy doing this so much is because I really like being able to drag folders into the right side of my Dock and have them show these custom icons. This makes things much easier to find, I think.

If you do drag your newly customized folder into your Dock and don’t see the icon you added, though, be sure to right- or Control-click on it and pick Display As > Folder from the contextual menu.
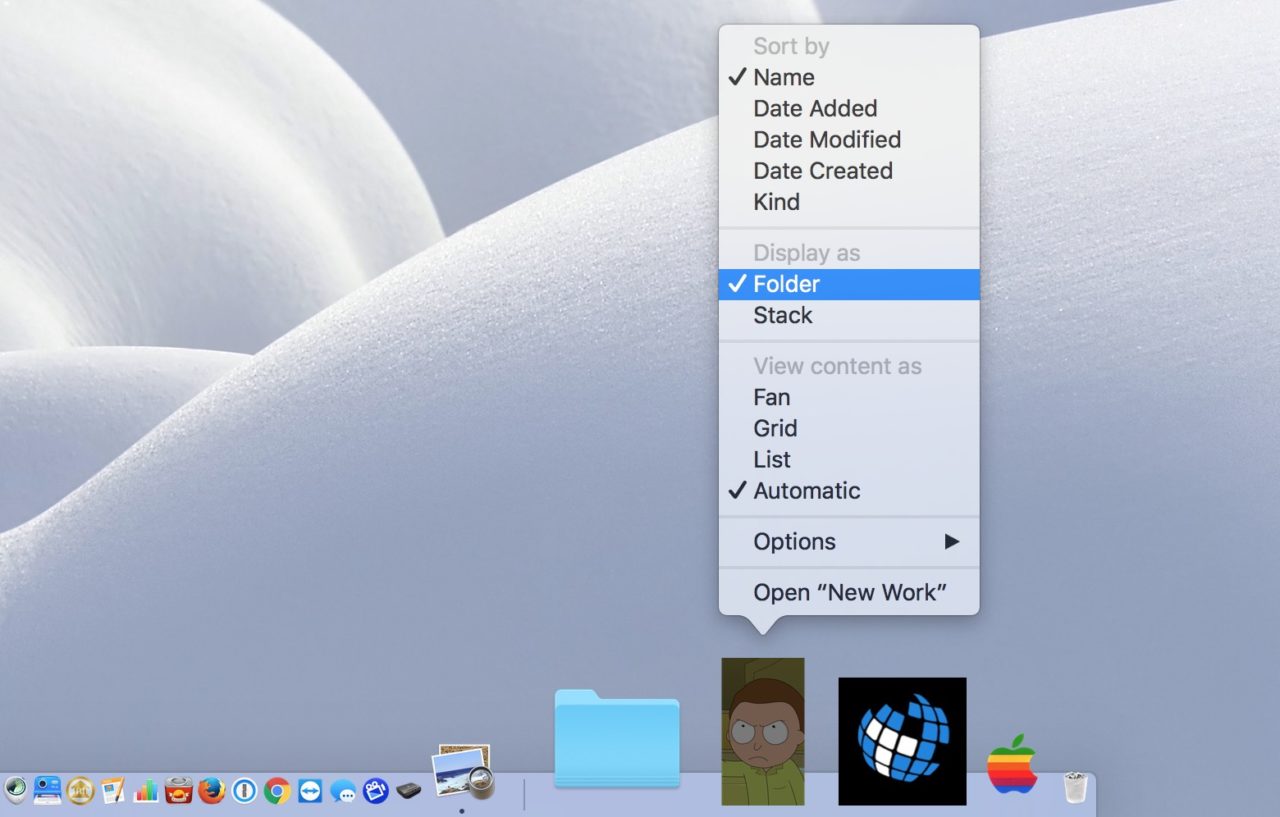
That will make your icon show up, and all will be right with the world. OK, all will be right with your Dock. If only fixing the world were as easy and fun as this.




2 thoughts on “Spruce Up Your Desktop with Custom Folder Icons in macOS”
So I removed all custom icons and rebuild them using preview. No more IconServices misbehaving.
However, this trick does NOT seem to work with alias link icons. Drag/drop, Command+V all deem to do something, but no change to the icon in the end.