How to Use "Do Not Disturb While Driving" on Your iPhone
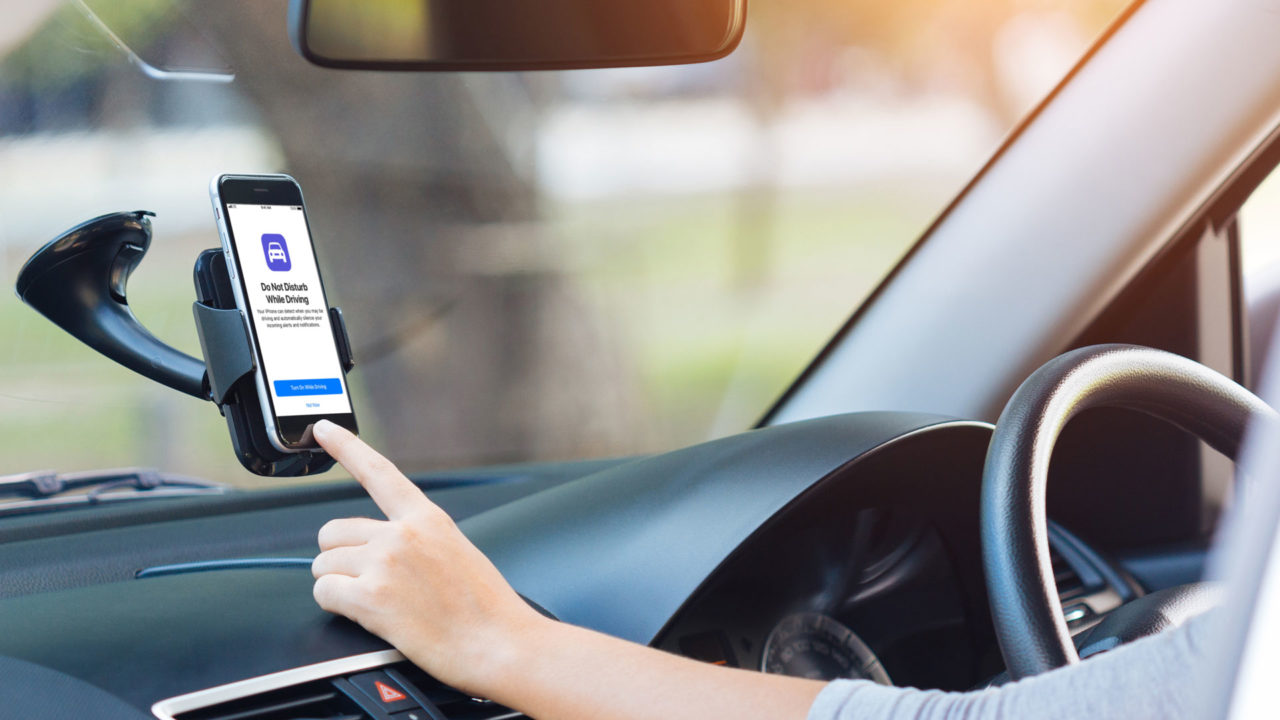
Distracted driving is a serious problem, one which Apple has thankfully started to address with the new Do Not Disturb While Driving feature in iOS 11. The feature works similarly to the existing Do Not Disturb setting, but with one important difference: your iPhone can detect when you’re likely driving and automatically enable it for you.
When you upgrade to iOS 11 or first set up a new iPhone running iOS 11 or later, Apple presents the option to enable Do Not Disturb While Driving. If you didn’t enable it at that point, here’s how to get started with the feature.
What Happens When Do Not Disturb While Driving Is Enabled?
First, let’s quickly touch on exactly what this feature will do when enabled. When activated with the default settings, your iPhone will remain silent and dark when new text messages, notifications, or non-excepted phone calls arrive. You won’t hear anything and your iPhone’s screen won’t turn on. If you use the steps below to allow certain phone calls or urgent text messages, you’ll see only those. You’ll also see notifications in a few special cases, including emergency alerts, expired timers, and alarms set via the built-in Clock app.
If your iPhone is connected to your car via Bluetooth, you’ll receive phone calls via Bluetooth only. If you’re using the Apple Maps app for GPS navigation, you’ll see only those turn-by-turn directions on your lock screen.
The one exception to all of this is CarPlay. If you have a CarPlay-enabled vehicle and connect your iPhone to it, Do Not Disturb While Driving won’t automatically activate, so you’ll still be able to interact with all of the normal iOS features via the CarPlay interface.
At any time, you can turn Do Not Disturb While Driving off by tapping the “I’m Not Driving” button that will be visible on your lock screen. This is helpful if your iPhone doesn’t automatically recognize the end of your drive, or if it automatically activates while you’re the passenger.
Setting Up Do Not Disturb While Driving
Now let’s get started with setting this feature up. First, launch Settings and select Do Not Disturb:
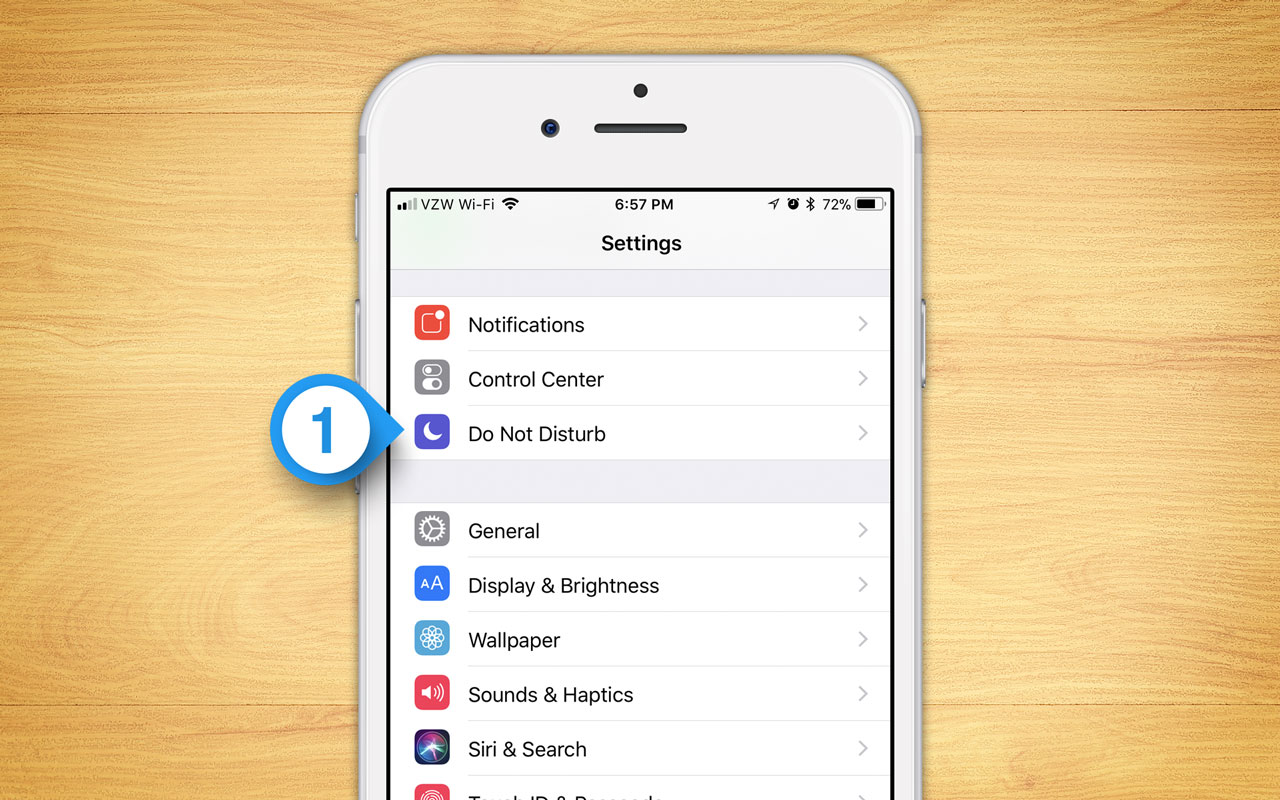
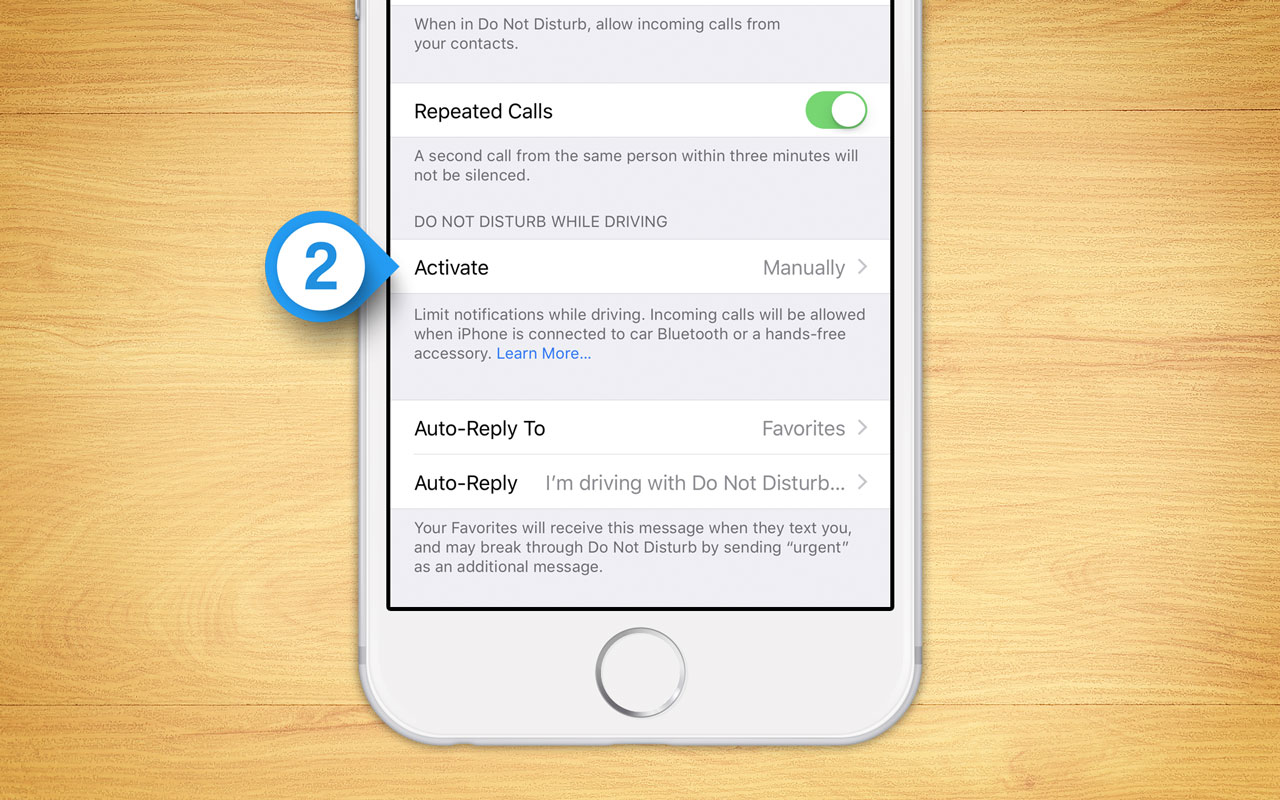
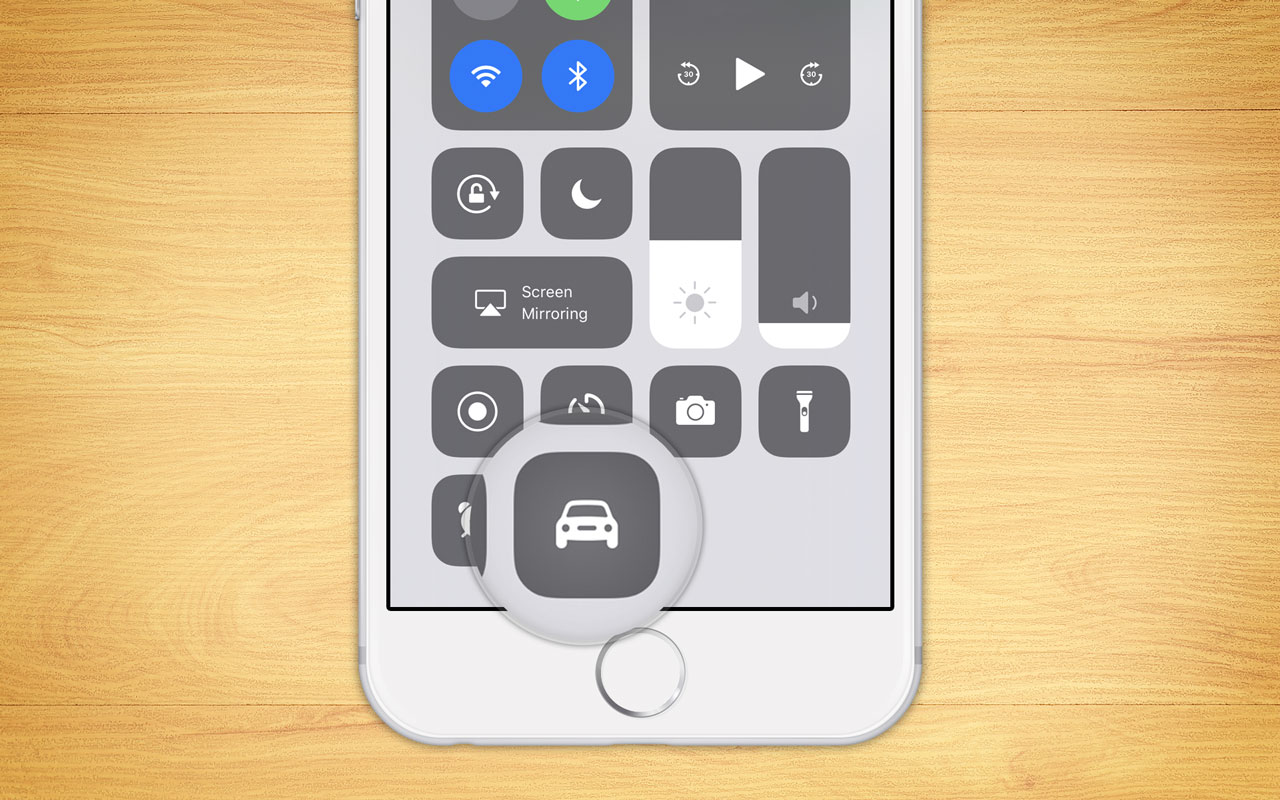
From the Do Not Disturb settings, scroll down to find the Do Not Disturb While Driving section. If you didn’t enable the feature during iOS 11 setup, the Activate option will be set to Manually. When in this mode, you manually activate the feature via the iOS Control Center. But, in order to do so, you’ll need to use another new iOS 11 feature, which is the ability to customize Control Center.
Head to Settings > Control Center > Customize Controls. Find the Do Not Disturb While Driving entry (a purple icon with a white car outline) and tap the green plus button to add it to your “Includes” list. After doing so, you’ll find it in the list of your Control Center actions:
Back in Settings > Do Not Disturb, tap Activate to change how Do Not Disturb While Driving operates.
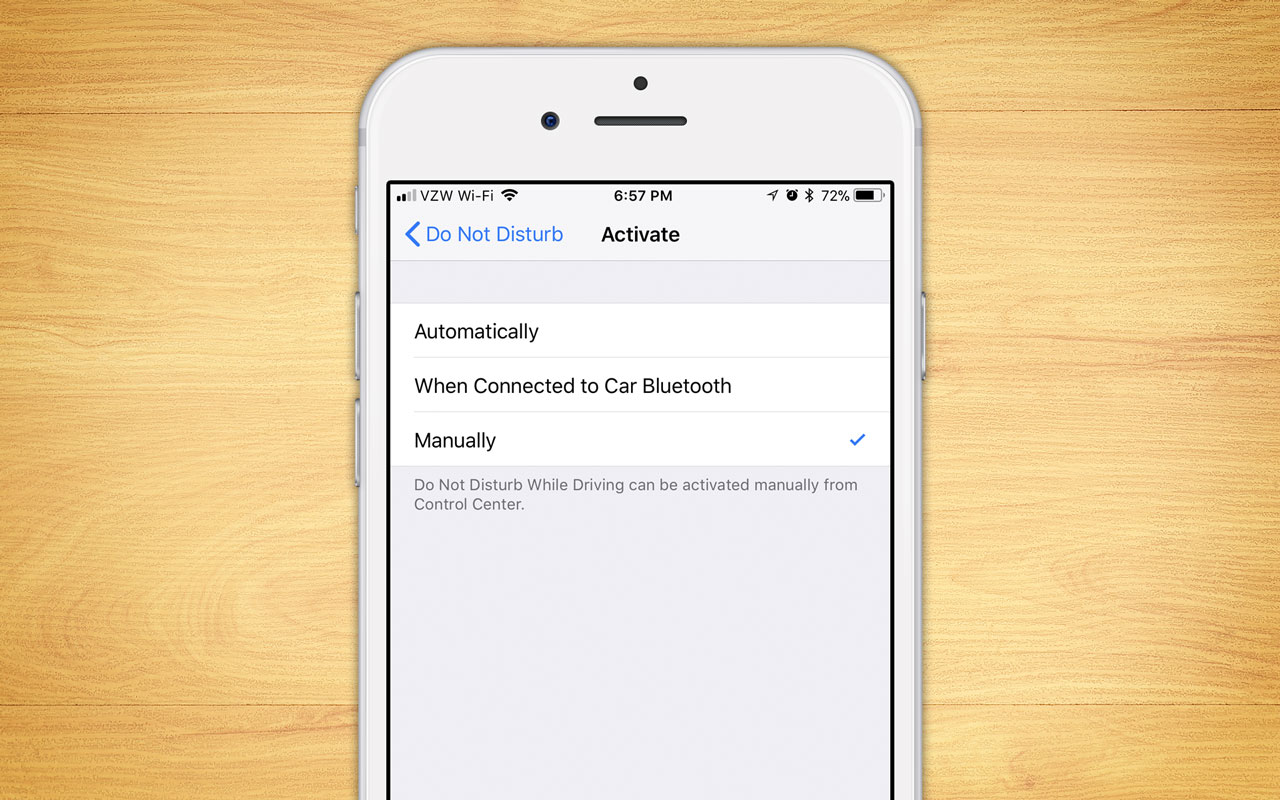
Your three options are the aforementioned Manually in addition to:
Automatically: Your iPhone will use your location data and motion sensor to try and determine if you’re driving. For example, if it detects that you’re rapidly leaving a parking lot while following the road, Do Not Disturb While Driving should activate. But if it detects you rapidly leaving a train station near the tracks, it should assume that you’re a rail passenger and not activate.
When Connected to Car Bluetooth: If you’ve paired your iPhone with your car via Bluetooth, it will turn the feature on when it detects this connection. Note that some older cars might not properly identify their Bluetooth connection so your iPhone may not detect the connection as “a car” (as opposed to a Bluetooth speaker device, for example). Note also, however, that this option may be best for carpoolers, as it will active when you’re driving your own car, but leave your iPhone free to use while you’re the passenger in another person’s car.
Regardless of which option you choose, be sure to test it out first before relying on it to stop all distracting events. Once you’ve selected an activation option, you can customize what message your contacts will receive if they send you a text message when Do Not Disturb While Driving is enabled. To do so, head back to Settings > Do Not Disturb and select Auto-Reply.
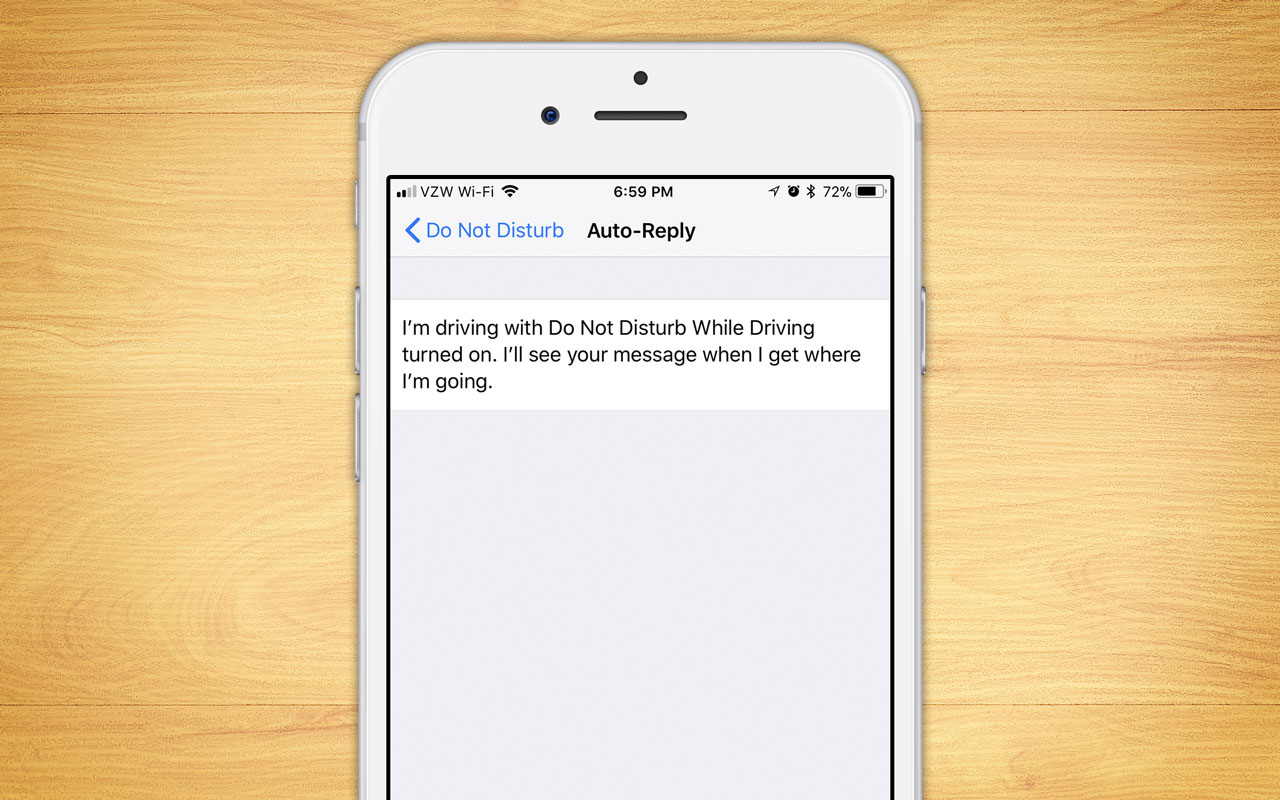
Apple provides a default message, but you can customize it as desired. If you receive a message from a designated contact while Do Not Disturb While Driving is enabled, they’ll receive this plus a second message explaining that they can override the feature and force their original message to go through by replying with the word “urgent.” This is a nice option to have because, as distracting as text messages can be on the road, sometimes it’s necessary to be alerted to an urgent message.
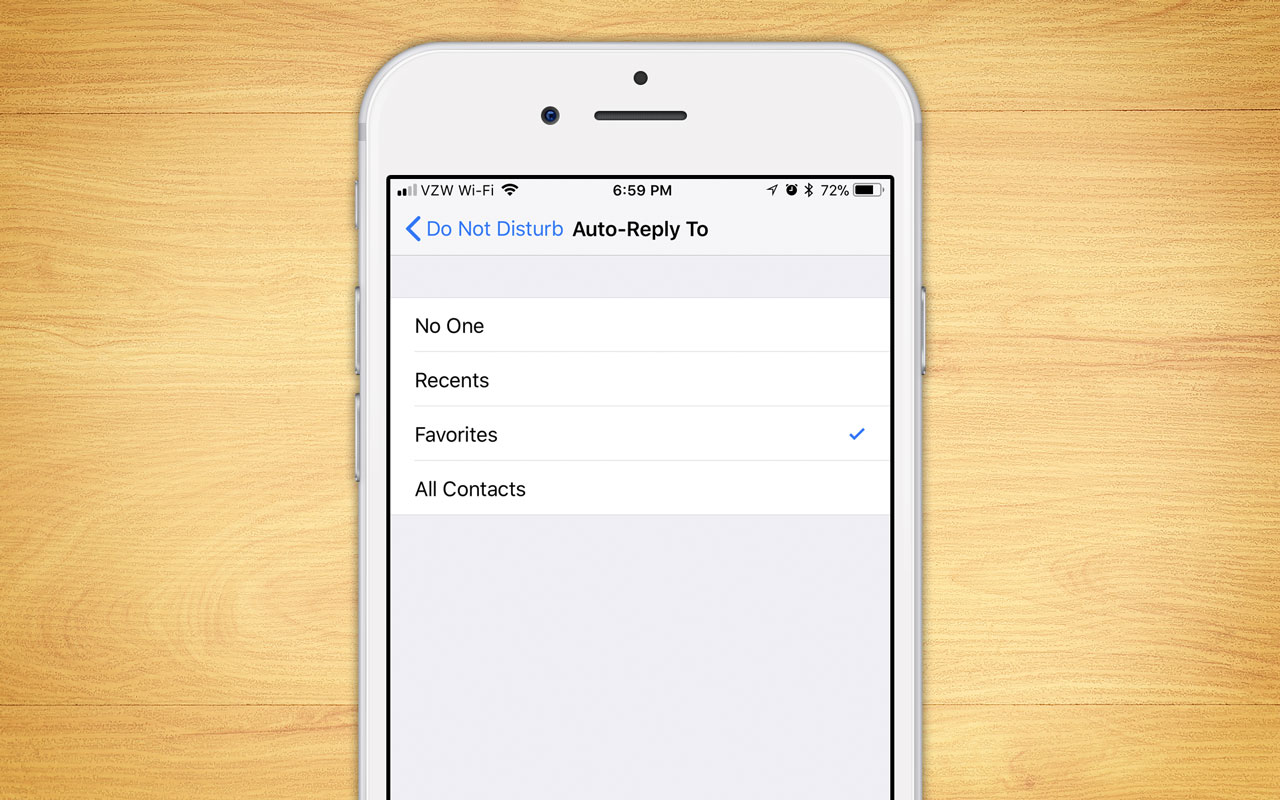
Of course, you may not want this message to go out to everyone who texts you while driving, so you can head to Settings > Do Not Disturb > Auto-Reply To in order to configure which folks will see it. Options here include No One, Recents, Favorites, or All Contacts.
Refining Do Not Disturb While Driving Settings
Once you have the basic options configured, you can further refine your Do Not Disturb While Driving settings via the standard Do Not Disturb settings. For example, you can allow calls from your favorite contacts, or repeated calls from the same number in a short period of time. Just note that phone calls will only be allowed when Do Not Disturb While Driving is activated if your iPhone is connected to a Bluetooth device.


