Quickly Enable Do Not Disturb on Your Mac with an Option-Click

Notifications and alerts from your Mac’s Notification Center can be incredibly useful, but sometimes you don’t want to be bothered by a constant barrage of badges and banners. That’s why Apple introduced a “Do Not Disturb” feature that lets you temporarily silence and hide notifications when you’re trying to concentrate on another task, such as watching a movie or giving a presentation.

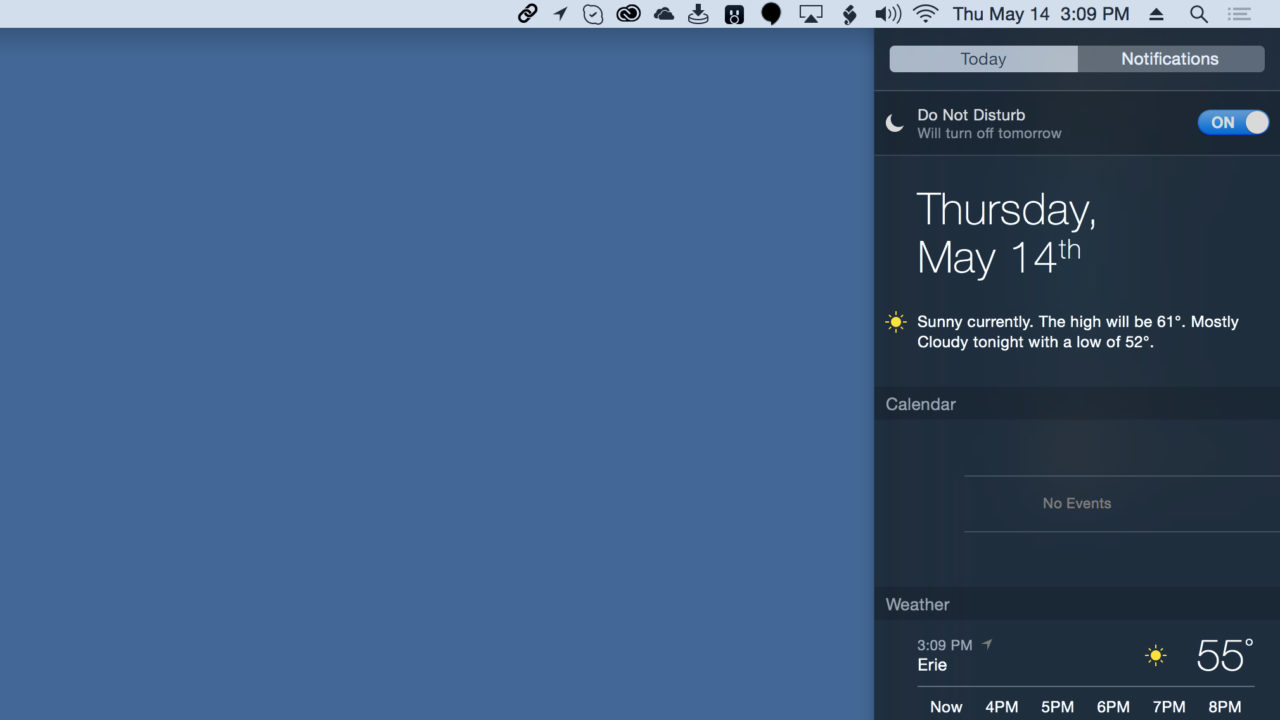
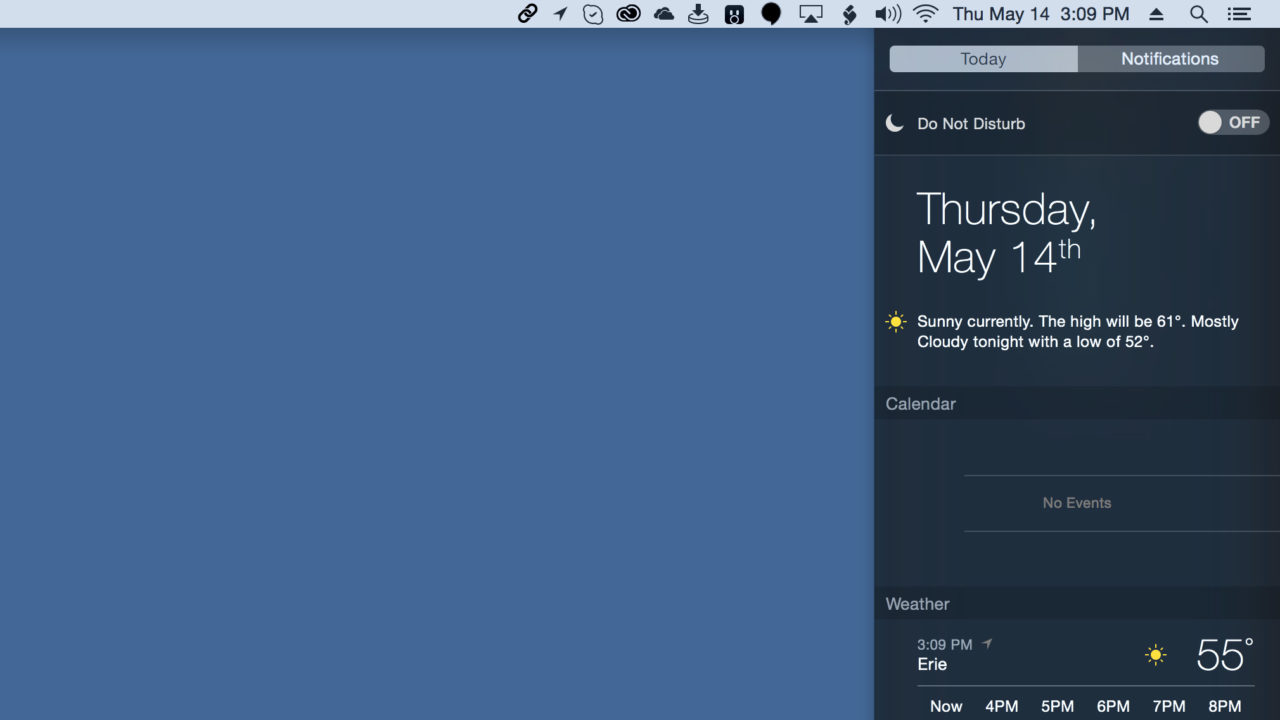
The standard way to enable Do Not Disturb is to open Notification Center on your Mac by swiping in from the right of your trackpad or by clicking the Notification Center icon (represented by a series of bulleted lines) in the Menu Bar. Once Notification Center is open, you can scroll or swipe down to reveal the Do Not Disturb switch hidden at the top of the list. Simply clicking the button to turn it to “On” enables Do Not Disturb.

That’s a relatively quick process, but you can make it even quicker with the help of the handy Option key. Instead of opening Notification Center and scrolling down to reveal the Do Not Disturb setting, simply hold the Option key on your keyboard and click once on the Notification Center icon in your Menu Bar.

The Notification Center icon will turn gray, signifying that Do Not Disturb is enabled. Hold Option and click the icon again to disable Do Not Disturb.
Notification Center’s Do Not Disturb mode is best used with a proper time-based schedule, found in System Preferences > Notifications > Do Not Disturb, but for those who only need to use the feature occasionally, or for an unusual event like a presentation, Do Not Disturb can be easily enabled or disabled with just an Option-Click.


