How to Enable the iPhone Camera Grid

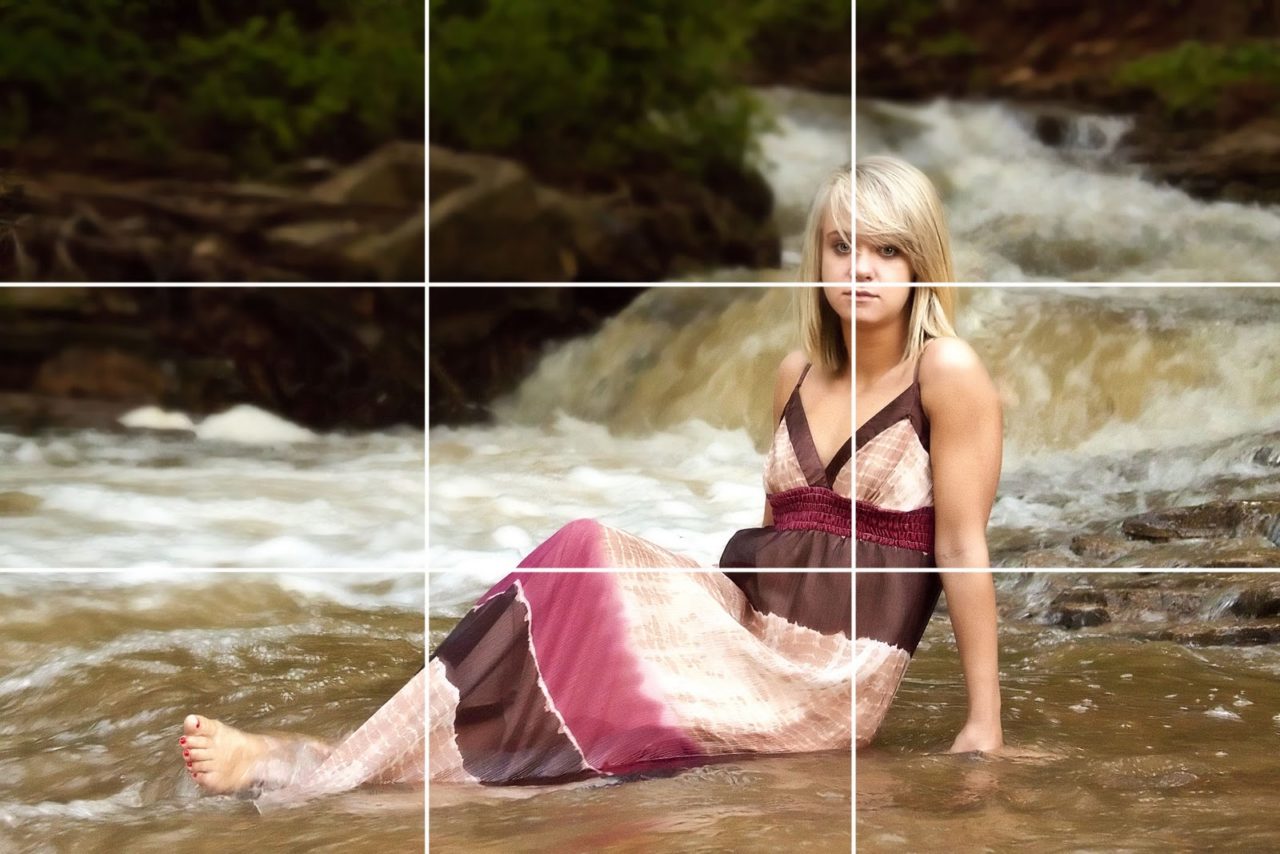
An important aspect of professional photography is composition, and one of the most fundamental techniques in photographic composition is the Rule of Thirds. In short, imagine a photograph divided into thirds both horizontally and vertically, with four points where the lines dividing these thirds intersect. The general rule is that you should try to position the primary subject of your image at one of these intersecting points, as this creates a more balanced and interesting image for the viewer.

Image via Robert Griffith
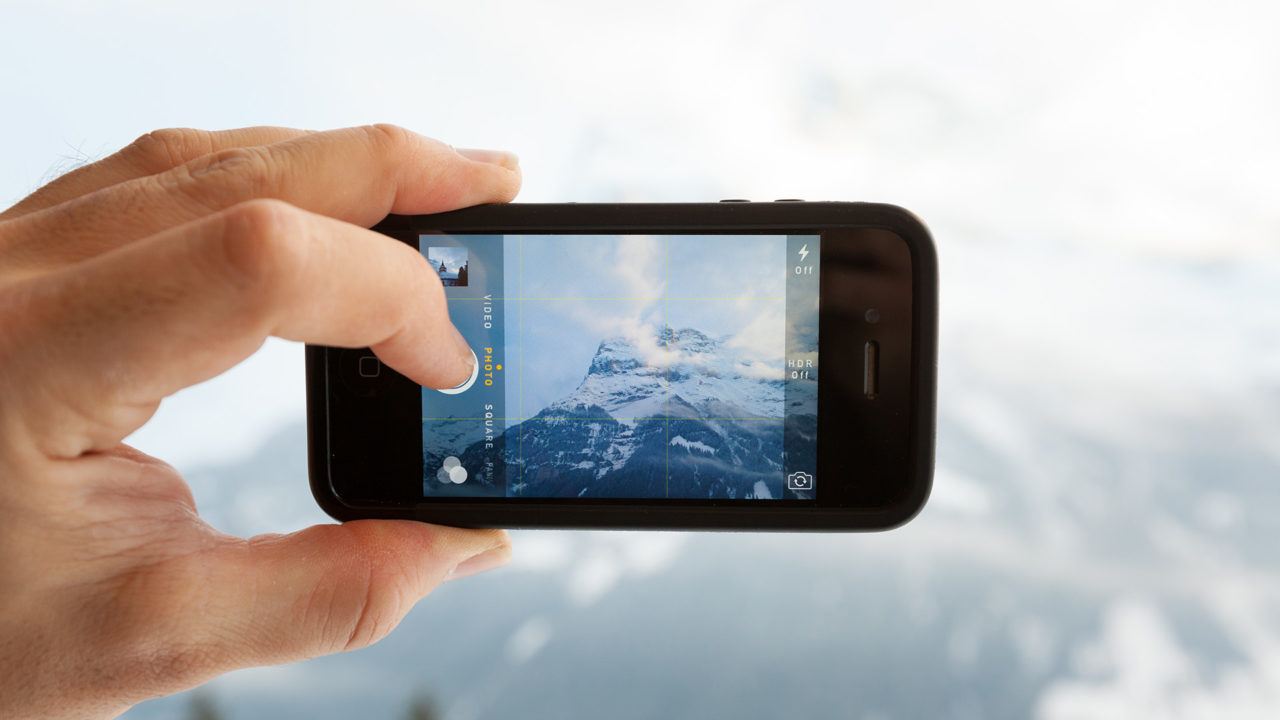
Professional DSLR cameras, and many consumer point-and-shoots, have an optional grid overlay that provides a perfect canvas for composing your shots based on the Rule of Thirds. As an increasingly capable and handy camera, budding photographers will be happy to know that the iPhone has a grid overlay, too, but it’s disabled by default. Here’s how to enable the iPhone camera grid.

In earlier versions of iOS, users could find the option to enable or disable the grid inside the iPhone’s Camera app itself. Starting with iOS 7, however, and continuing with the upcoming iOS 8, that option is instead found in the main iOS Settings app.
First, head to Settings and locate the Photos & Camera section. Tap it, and scroll down a bit to find a toggle labeled Grid. Switch it to On and then load the Camera app.

You’ll now see that a grid is overlaid in your camera preview window. Don’t worry, the grid won’t show up in any of your pictures, it’s merely there to help you compose your shot.

If you find that you prefer the default preview without a grid, simply head back to Settings > Photos & Camera and switch Grid back to Off.
In addition to composing shots based on the Rule of Thirds, the iPhone camera grid overlay can also help you take level shots of things like horizons and cityscapes, as well as make creative shots easier, as you’ll have a better perspective on the angle and positioning of the objects you want to photograph.
Featured image via Shutterstock.


