How To Fix Windows 10 Update

Microsoft updates Windows 10 usually to fix things and enhance the platform’s reliability. The Windows 10 Anniversary Update was the last most notable update, and you can find further details for that at this page. However, sometimes an update installation might fail, which can then create a blockage for further updates. This is how you can fix a stuck update in Windows 10.
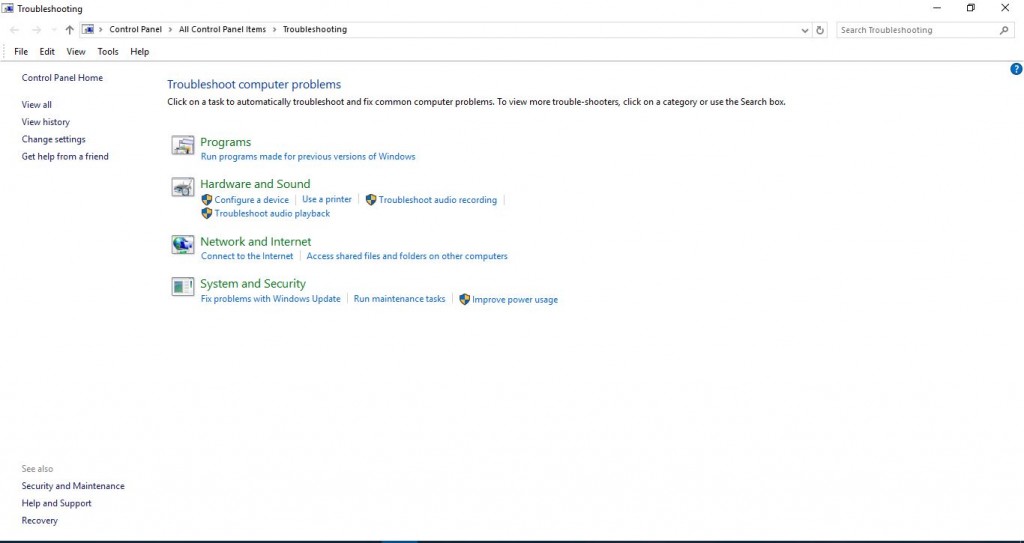
Firstly, check out the Troubleshooting tool included in Windows 10. Click the Cortana button on taskbar and enter ‘troubleshoot’ into the search box. Then select Troubleshooting to open the window shown below.

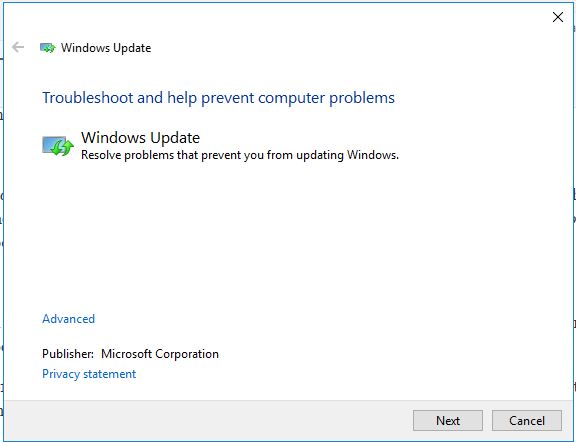
There you can select a Fix problems with Windows Update option. Click that to open the window in the snapshot directly below. You can fix the Windows Update with this tool by selecting Advanced and Run as administrator. Click Next for the troubleshooter to work its magic.

Then it will tell you if it fixed anything. If it did the trick, the Windows Update will now be fixed. There’s also another way you can fix Windows Update by deleting the cache.
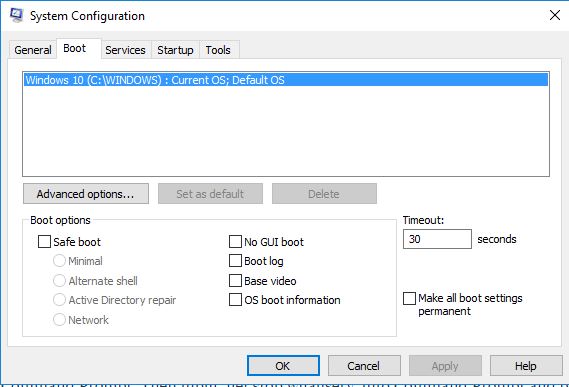
To do that, restart Windows 10 in Safe Mode. You can restart in Safe Mode by pressing the Win key + R. Then type ‘msconfig’ into Run. Select the Boot tab, click the Safe Mode check box and restart Windows.

Next, stop the Windows Update with the Command Prompt. Press the Win key + X hotkey and select Command Prompt (Admin) to open the Command Prompt. Then input ‘net stop wuauserv’ into Command Prompt and press Enter to switch off the Windows Update.
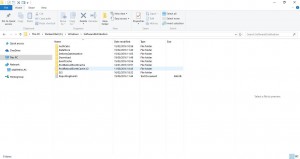
Now go to C:\Windows\SoftwareDistribution in File Explorer as shown below. Select all the files in the folder and then press the Delete button to erase them and clear the cache. Restart Windows Update by entering ‘net start wuauserv’ into the Command Prompt.

Then you can restart Windows 10. Windows Update should now be fixed, and it will now update the platform as before. You can also fix Windows Update with the System Restore tool that restores Windows 10 to a previous date.


