Galaxy S9: How To Calibrate Auto Brightness

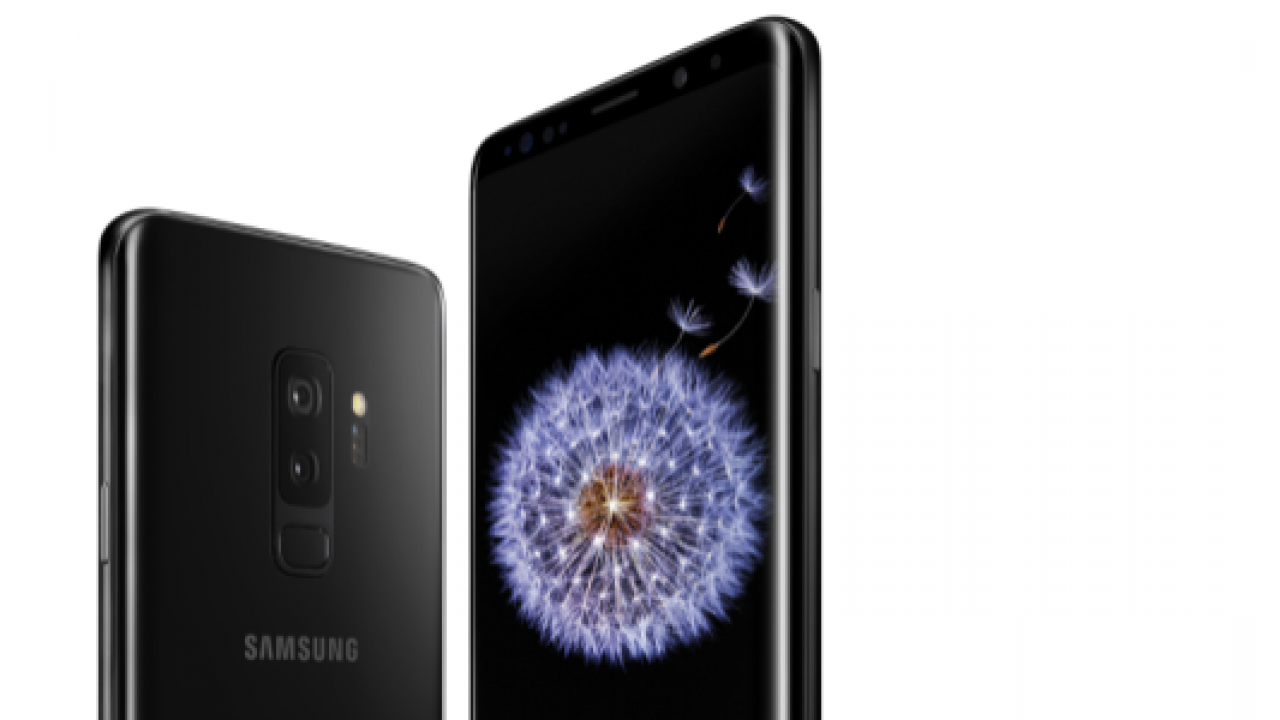
Most of the Samsung smartphones have made the auto brightness feature a brand signature. How does the auto brightness feature work? Well, if you are also wondering the same then the answer is quite simple. The Samsung smartphones are built with a special sensor which takes note of the ambient brightness. The sensor is mounted next to the earpiece. This automatically increases or decreases the screen brightness depending on the surrounding light intensity.
It works in such a way that during the times when you are seated in a dark place, the brightness of your smartphone will decrease. But when you are in a brightly lit place, your screen’s brightness will increase. This setup is of great significance since it enables you to take advantage of the optimal display brightness at all times.
It however comes a time when you realize that the auto brightness feature on your Galaxy S9 is no longer working as before. When this happens, you tend to wonder what could be the problem. In such a scenario, you will realize that the brightness of your screen will remain dim even when it should be getting brighter. As a result of the lack of optimal screen display brightness, you may not be able to see whatever is being displayed on your screen.
One recommended DIY solution to this problem is calibrating the Auto brightness sensor. We have gone ahead and consolidated the instructive points into major steps as shown below on how you can calibrate the Auto brightness sensor on Samsung Galaxy S9 smartphone.
How to Calibrate Auto-brightness on Galaxy S9
- Take your Galaxy S9 and cover the sensors mounted on the left side of your earpiece. This is meant to send a signal to the device that you are in a very dark place
- Using your other free hand, swipe down the status bar
- While the sensors are still covered, you need to swipe the brightness control to its extreme left
- Now you need to activate the auto brightness and deactivate it thereafter while ensuring the sensors are still covered
- Move the phone to brightly lit place preferably under a lamp and remove your hands from the sensors
- Then swipe the brightness control to the maximum level
- When you are done with the sixth step proceed to activate the auto brightness feature
Follow the steps we have suggested above keenly. You should be able to successfully calibrate your Samsung Galaxy S9’s auto-brightness sensor. Now, it is restored to its full functionality.


