Galaxy S9: How To Shoot Photo In RAW And Other Mode

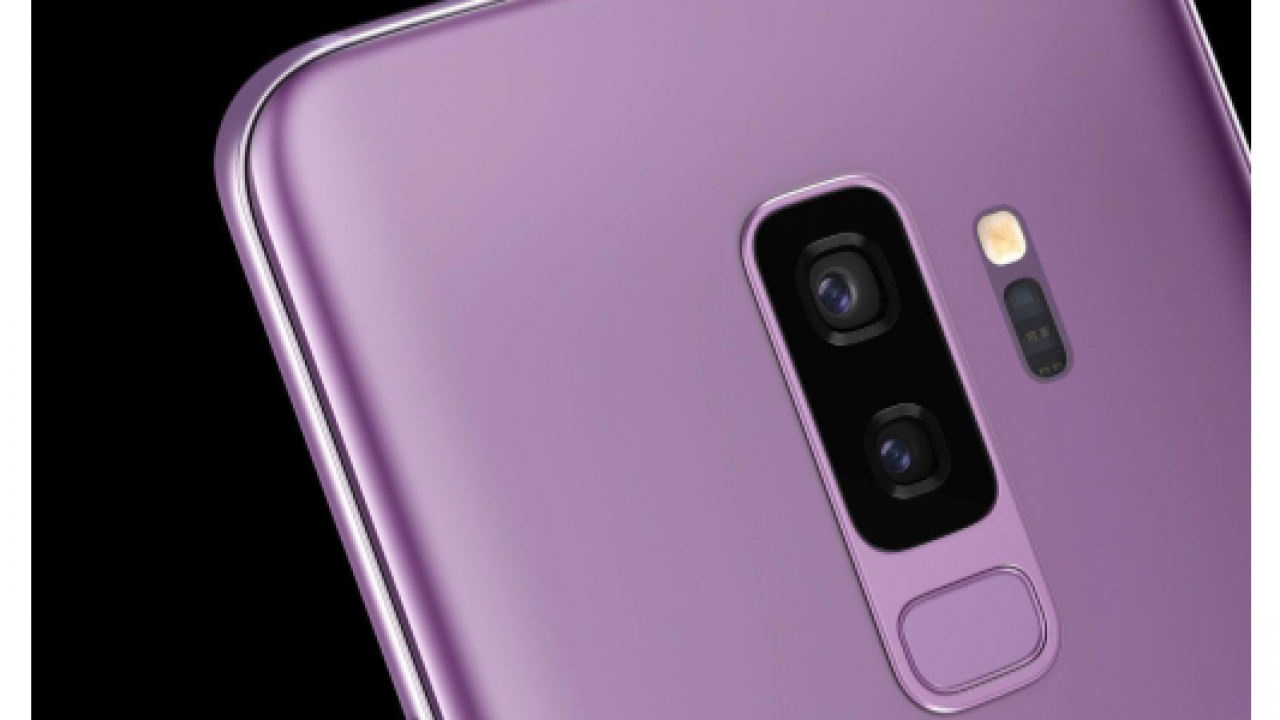
The new Samsung Galaxy S9 is an amazing device that has a lot of great features. If you are a lover of pictures, then the Samsung Galaxy S9 is the right choice for you to pick up. This is because it comes with a dual pixel camera that is fast and easy to use to capture quality images.
With options like the RAW mode that you can use to capture great moments with your loved ones. I can assure you that it’s definitely worth trying. In this article, I will explain everything that you need to know about the camera that comes with the Galaxy S9.
The Things You Need to Know About the Galaxy S9 Camera
- Your Galaxy S9 has a camera with multiple preinstalled shooting modes that you have full access to use anytime;
- If you will like to make use of the RAW mode, you will need to change the mode from the default camera mode to the Pro Mode.
- To do this, you will need to click on your Camera app, tap on Settings, click on Mode and then locate the Pro mode placed under the mode options, and click on Pro;
- It’s important to let you know that saving pictures using the RAW mode will consume, more space and you will also need to activate RAW mode to save images on your SD card. This will make sure that the RAW mode option does not take up your memory space.
- To achieve this, locate Settings on your camera app and move the toggle to activate RAW mode. As soon as you do this, any image that you capture will be saved as RAW and JPG. This will make it possible to save the RAW pictures on your SD card.
- After you’re done, there are other cool camera modes you can try out by downloading them
- If you will like to download more modes, you will need to return to the Mode menu. Then tap the Download option. Tap on download. You will find other modes that you can use to take better pictures on your Galaxy S9.
By now, you should know how you can easily have access to other camera modes. Use them to capture quality pictures on your Galaxy S9.


