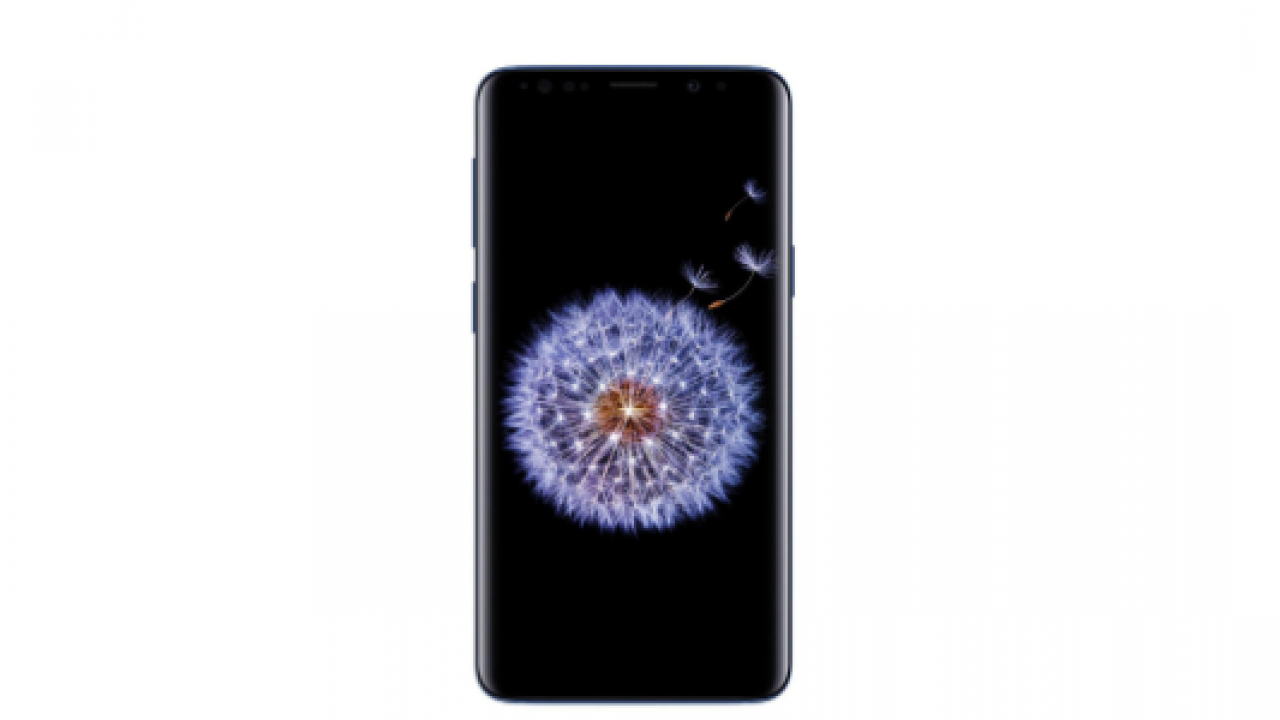
Get To Know The Samsung Galaxy S9 And Galaxy S9 Plus Camera Settings

What is one of the first things we check out before purchasing a smartphone? The camera, of course. Who doesn’t love selfies, pictures, and videos? One of the smartphones that have the best camera features this 2018 is the Samsung Galaxy S9 and S9 Plus. Both of the front and the rear camera is tackled here. We all know that they have added more options to their Camera app. This article will give you a guide on what the options are and how to use them. Moreover, all these settings are so many that’s why you can’t see them right away after you launch the Galaxy S9 or S9+ camera app.
If you want to know where you can see all the stuff about your camera is on its camera settings page. By getting onto this page, you’ll be able to see and have a closer look at all the available settings, the difference each makes, and how to use them.
Galaxy S9 and Galaxy S9 Plus Camera Settings
Your Galaxy S9 and S9 Plus cameras are packed with a lot of features and settings you can tweak.
Video Size
This setting is what you need to adjust first if you like to record a video. This directly affects the Galaxy S9’s rear camera since it allows the user to set the frame rate and even the resolution taken from your rear camera. So the guide for choosing the correct size depends on your storage space. If you still have a huge space for that video you’re about to take, then go and try the maximum and resolution to get the best quality.
Motion Photo
Short motion photo is more like a GIF but a smooth one. It’s like a very short video taken several seconds right after you click the shutter button. This has been available to the Samsung Galaxy S9 because the camera is equipped with the fast focus camera sensor. This is incredibly made for capturing those short moments.
You just have to remember that the Samsung Galaxy S9 stop motion takes extra space in your storage and it is saved on the save motion photos. Once you’ve taken the stop-motion perfectly, you can go back to the captured sequence of frames and choose the perfect moment from the short clip you have captured.
Tracking AF
AF means the “auto-focus”. With the Samsung Galaxy S9, you’ll be able to use the tracking AF. It can be used especially for moving the object and works perfectly good with a still subject. The camera has the ability to track a certain subject and automatically focus on it whether it is moving or not. This feature can also adapt the change in position and camera’s position. It’s a pretty cool feature and if you want a more detailed guide to using the Samsung Galaxy S9 or S9+, you can search the web.
Video Stabilization
From the name itself, its sole purpose is to stabilize the video. If you switch on this feature, you’ll be activating the anti-shake effect which reduces and eliminate the blurry frames from the video. With this feature turned on, you won’t have to worry now about the shakes on your video recording from now on. But the thing is, it isn’t possible to have the tracking AF and the video stabilization feature turned on simultaneously – you only have to pick one.
Grid Lines
If you’re into photography, grid lines are very important for you. The Samsung Galaxy S9 and S9 Plus allowed the users to activate the grid lines when the camera is turned on. These grid lines help on getting the best pictures since you are allowed to manage the position of your subject.
Most photography people like to put their main subject in the center and using the grid lines make it easier for them to achieve it perfectly. It isn’t easy getting a subject at the center and with this 3×3 viewfinder guidelines, it helps in composing better and more stunning photographs.
Location Tags
Location tags don’t really help that much with photos but some people find it really beneficial. If you have your GPS activated and the location tags switched on, all the photos you capture will be saved with its valuable metadata. If you try to go back to all those photos from your gallery, you’ll be able to look back and be reminded where all those photos were taken.
You can see this kind of feature on most photo editing apps and Samsung has made a good choice on having it built-in with their Galaxy S9 and S9 Plus. On the Galaxy S9 gallery app, the users are allowed to edit the location information of a photo. This feature helps if you like to share some of your photos on social media sites such as Facebook, Snapchat or Instagram as they will automatically input that location once you upload it.
Just a friendly reminder, you must not always depend on the location tags since it only relies on the GPS signal which is not very strong in some areas and results in inaccurate information.
Shooting Methods
Take note that this particular option is only made for the rear camera which spares you from tapping the shutter button each time you like to take a photo. What’s cool about this feature is that you can use voice commands for taking photographs and recording videos. This is also the place where you are allowed to activate and deactivate the option if you want to switch back to the default setting.
Review Pictures
This feature works by displaying the recently captured photo on the screen for review. This helps many users since this is used as the confirmation to check if the scene was properly captured or not, but some doesn’t find this really useful and turns out to be annoying since it requires the user to dismiss the reviewed photo first before taking another one. The good thing about the Samsung Galaxy S9 is that this feature can be activated and deactivated upon the choice of the user.
Save as RAW File Feature
The RAW file format of a photo is helpful especially for those people who plan to edit the picture in the future. This format is usually used to get the best quality of an image and take note that it is only available in the Pro Mode of the Samsung Galaxy S9 and S9 Plus camera app.
There are only a few smartphones that included this ‘Save as Raw File’ feature since it is only available for DSLR cameras. Since Samsung has included this in their latest flagship phone, there’s no doubt that the camera has high resolution and is perfect for smartphone photography. But the downside of having the photos in the RAW file is that it takes up too much storage memory. If you want to learn how to do this, you can research about using the Pro Mode of your Samsung Galaxy S9 and S9 Plus.
Volume Keys Controllers
For those who aren’t aware of the extra functions of the Samsung Galaxy S9 and S9 Plus volume keys aside from controlling it, they can also be used as the shutter button, for start recording a video and even as the zoom in and out feature.
If you check it by default, these keys are only set to use as the capture button but the cool thing about this is you can personalize its use on the settings and use them for other commands said above.
Camera Settings Reset
If you want to reset all the settings back to its default mode, just go to the camera menu just right under the Settings. Access the Settings on the App page. You can see numerous options there such as the motion photos, video stabilization, location tags, review pictures, functions of the volume key and even the quick launch. All of these options can be applied to both the rear camera and front camera and can be easily reset, too.
All of the options said above can help in some way and depending on how you like your camera to perform. Just keep on trying to experiment with your Samsung Galaxy S9 and S9 Plus camera app to experience the full features.


