Will Google Photos Upload Duplicates or Ignore Them Properly?
Google Photos has a feature that recognizes duplicate images and doesn’t save them. The feature is supposed to work even with files that are named differently and that are located in different folders. However, Google Photos can’t always detect near duplicates and will upload them.
In this guide, we’ll show you how to remove duplicates in Google Photos and how to organize your image folders. We will also provide answers to the most common questions related to the app.
How to Fully Remove Duplicates in Google Photos Synced With Google Drive
If the Google Drive app on your device is set to sync files to Google Photos, you may struggle with duplicates that are constantly being added to your library. To prevent this, follow the instructions below:
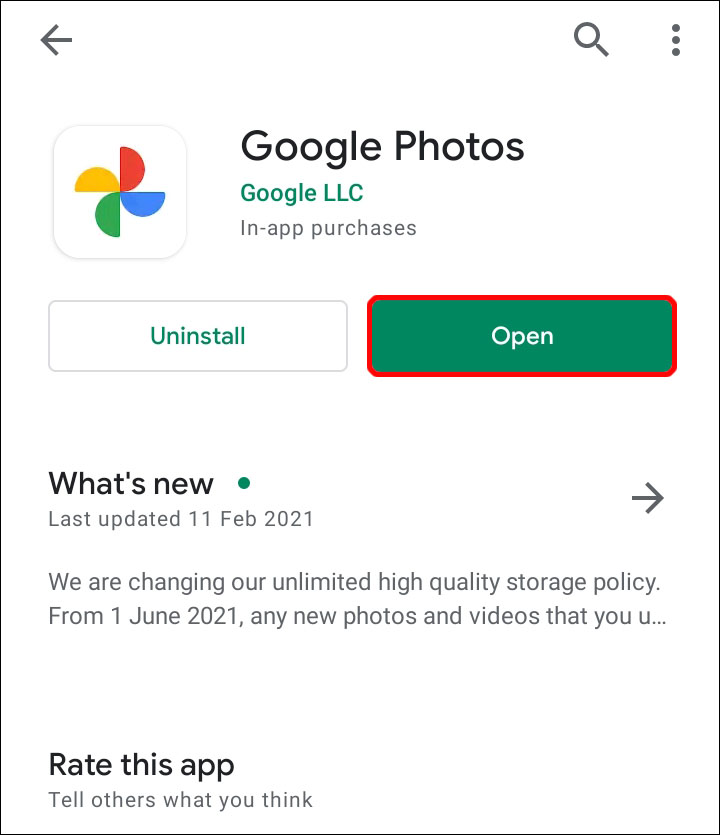
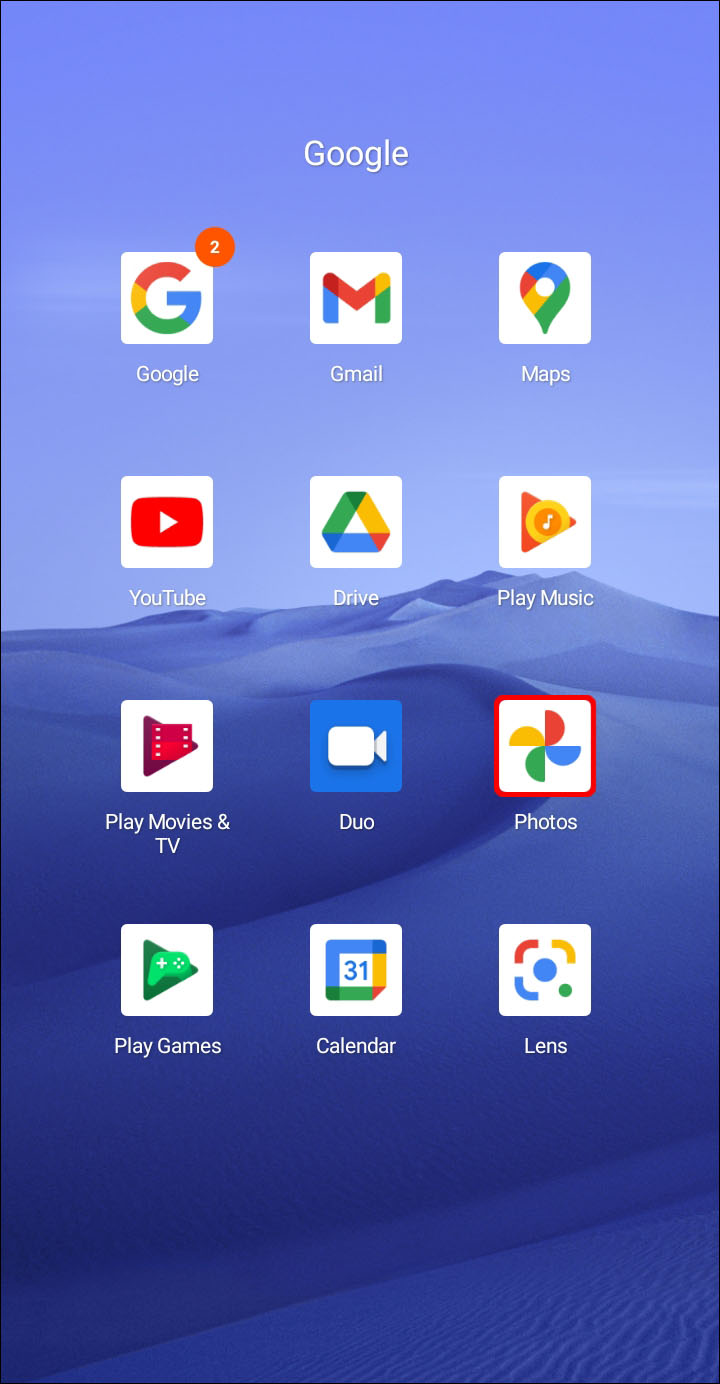
- Open the Google Photos app.

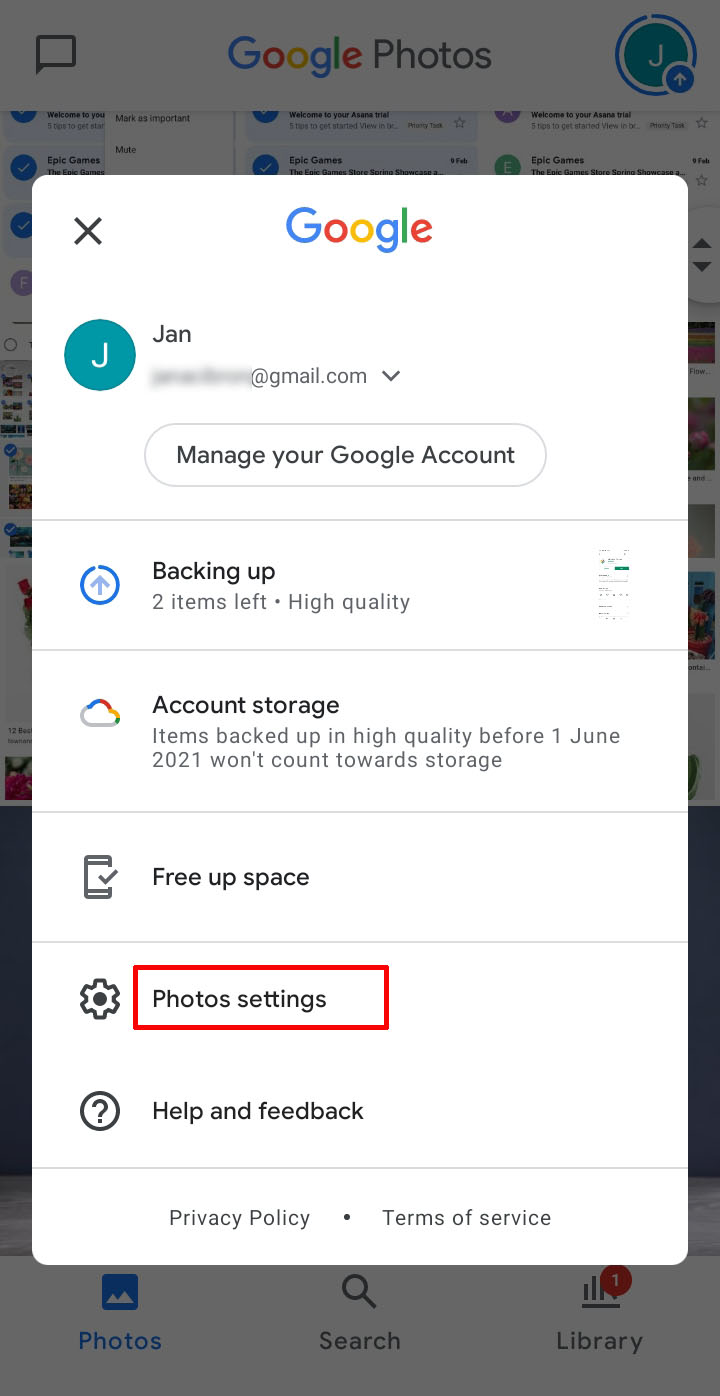
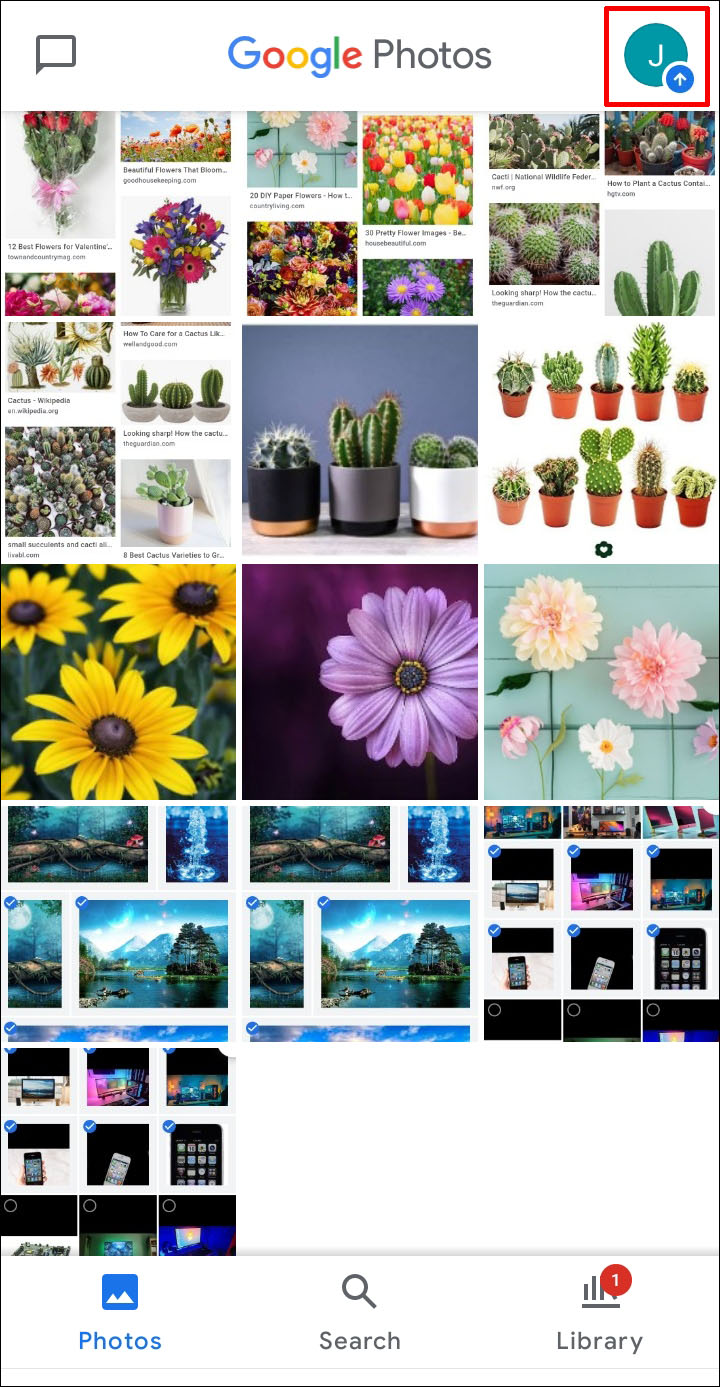
- Open settings. For devices on iOS, click the three-stripe icon in the upper left corner of the screen, then select “Settings”. For Android devices, click on your profile image in the upper right corner and select “Photo settings.”

- Scroll down to Google settings. Shift the toggle button beside “Google Drive” to the left.
- The duplicates will clear automatically.

How to Remove Duplicates in Google Photos Mobile App
Google Photos may not be synced with Google Drive but will still save duplicates. This most often happens to edited pictures. If an image or its information is even slightly adjusted, the app will recognize it as a new file and save a copy. To remove duplicates in the mobile app manually, do the following:
- Open the mobile app and navigate to “Photos”, located in the bottom left corner of your screen.

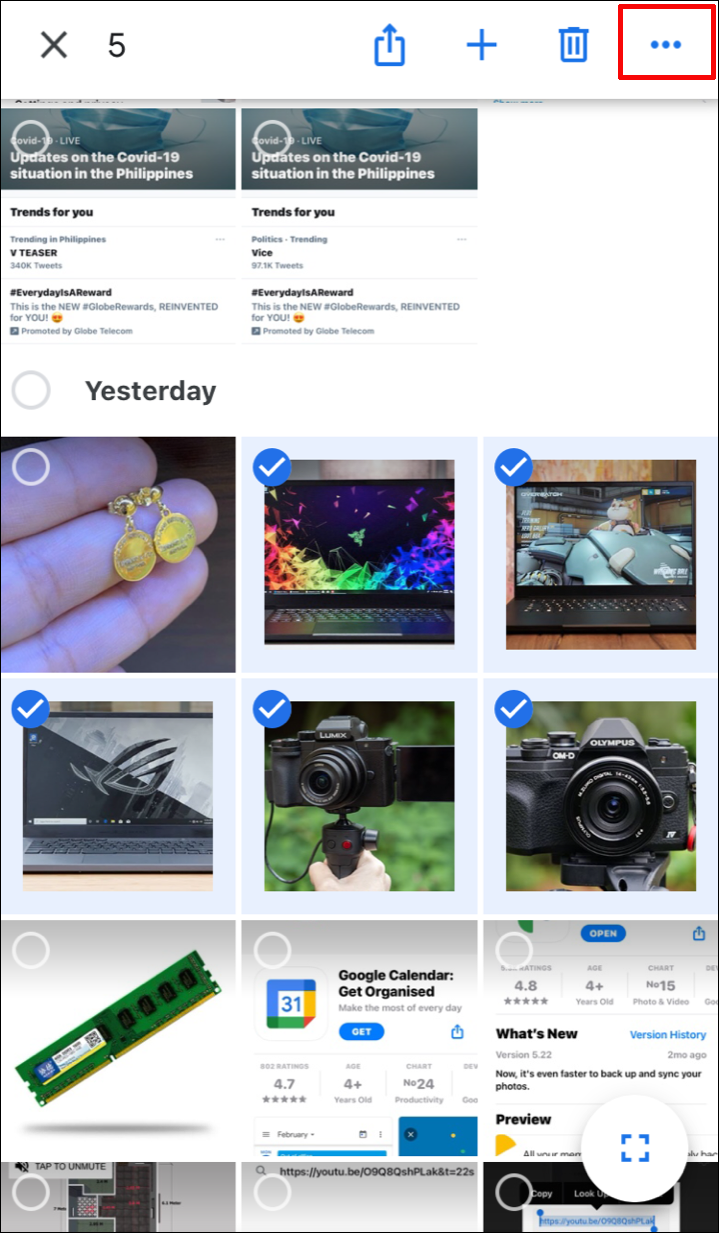
- For devices on iOS, tap the three-dot icon in the upper right corner of the screen, then tap “Select photos.”

- For Android devices, tap any photo and hold for a few seconds. Then, select other photos by simply tapping them.
- Select all duplicated photos manually.
- Tap the bin icon in the upper right corner of your screen.

- Confirm by tapping “OK.”
How to Choose Folders to Sync With Google Photos
You can save edited files to a folder that doesn’t sync with Google Photos to prevent them from duplicating. To do this, follow the steps below:
- Open Google Photos on your device.

- Tap or click the upper right corner of your screen to open a menu.

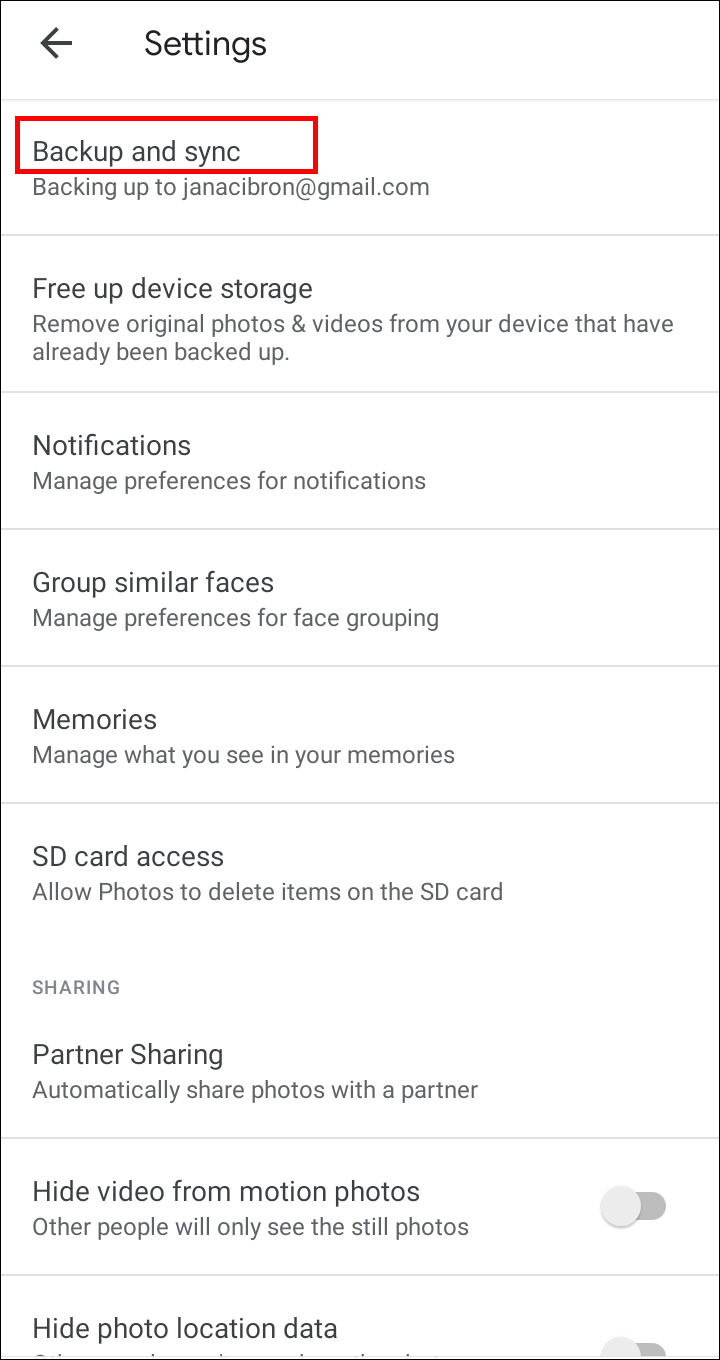
- Select “Settings”, then “Back up & sync.”

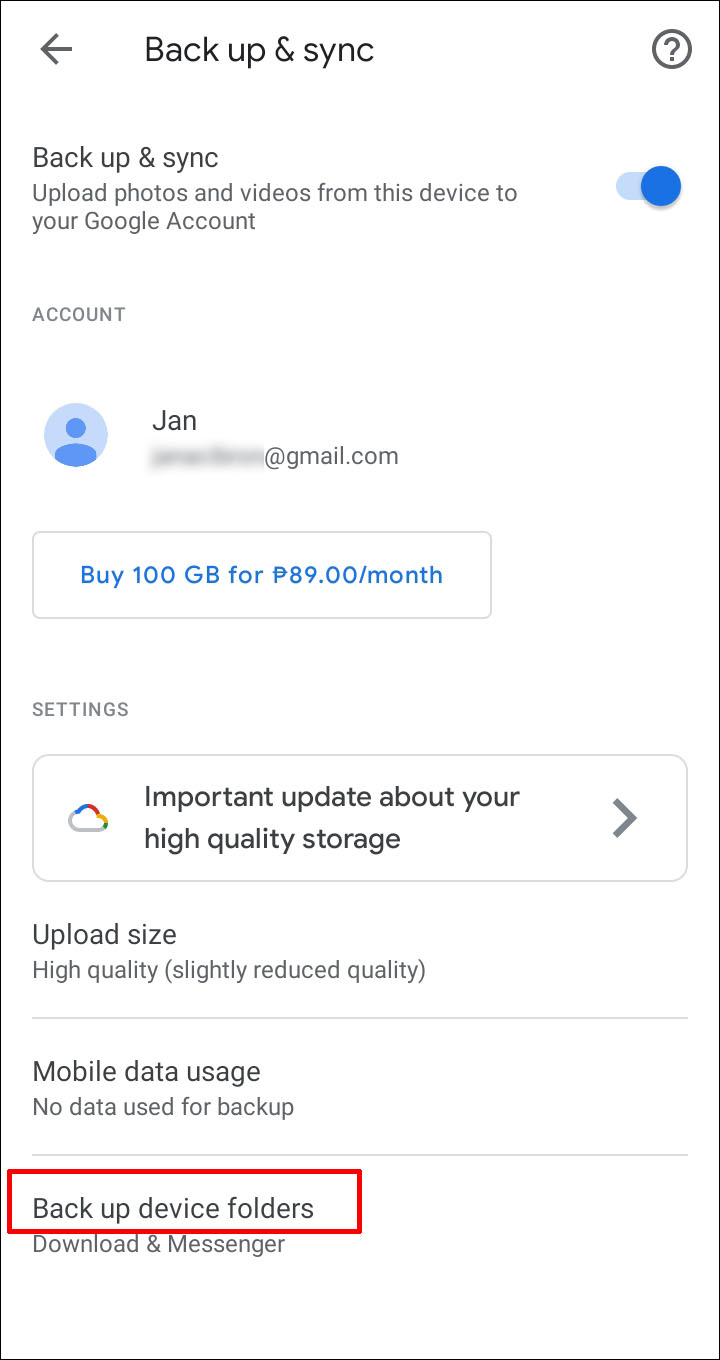
- Select “Back up device folders,”

- Switch to the left the toggle buttons beside the folder names that you want to stop syncing.
How to Edit File Information in Google Photos
One of the ways Google recognizes duplicates is by the names and dates of your files. Note that you can only edit this information on a computer:
- Open Google Photos on your device.

- Position your cursor over an image click “Select.”

- Click on the three-dot icon in the upper right corner of your display.

- Select “Edit date & time”, then follow the on-screen guide.

FAQ
Hopefully, your Google Photos folders are now clear from duplicates. If you want to find out more about the app, check out the frequently asked questions below.
Can I delete the Google Photos app from an Android device?
You can’t delete the Google Photos app from your device. However, you can disable it. To do this, open the Settings app on your device. Navigate to the “Apps & notifications” menu. The exact name may vary depending on the model of your device. Open the app list and find Google Photos. Tap “Disable” or “Force stop” and confirm.
Can I delete Google Photos files from my device only?
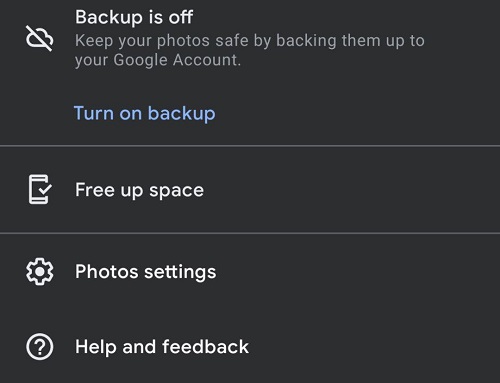
Google Photos stores your pictures both on your device and in the cloud. If you want to free up some space, you can remove Google Photos pictures from your device. Simply open the app menu by clicking in the upper right corner. Navigate to Settings, then to “Backup & sync”. If you see a crossed cloud icon, your files aren’t synced to the cloud. Turn on the sync and wait, then turn it off. Navigate back to the app settings and select “Free up device storage” to clear your gallery.
How do I empty my Google Photos trash folder?
When you remove a picture that is synced with Google Photos, it is stored in the trash folder for 60 days. However, if your trash is full, the files you try to remove will get deleted permanently. To empty your bin, open the Google Photos app and navigate to Library at the bottom of the screen. Click “Trash”, then “More”, and select “Empty Trash.” Confirm by clicking “Delete.”
Avoid Unnecessary Duplicates
Hopefully, your device’s storage is now free from redundant duplicates. Make sure to back up valuable files in order not to delete them permanently when clearing your gallery, and don’t forget to empty the trash folder from time to time.
Do you enjoy using Google Photos? Do you know what’s the most convenient way to organize folders in Google Photos? Share your experiences in the comments section below.


