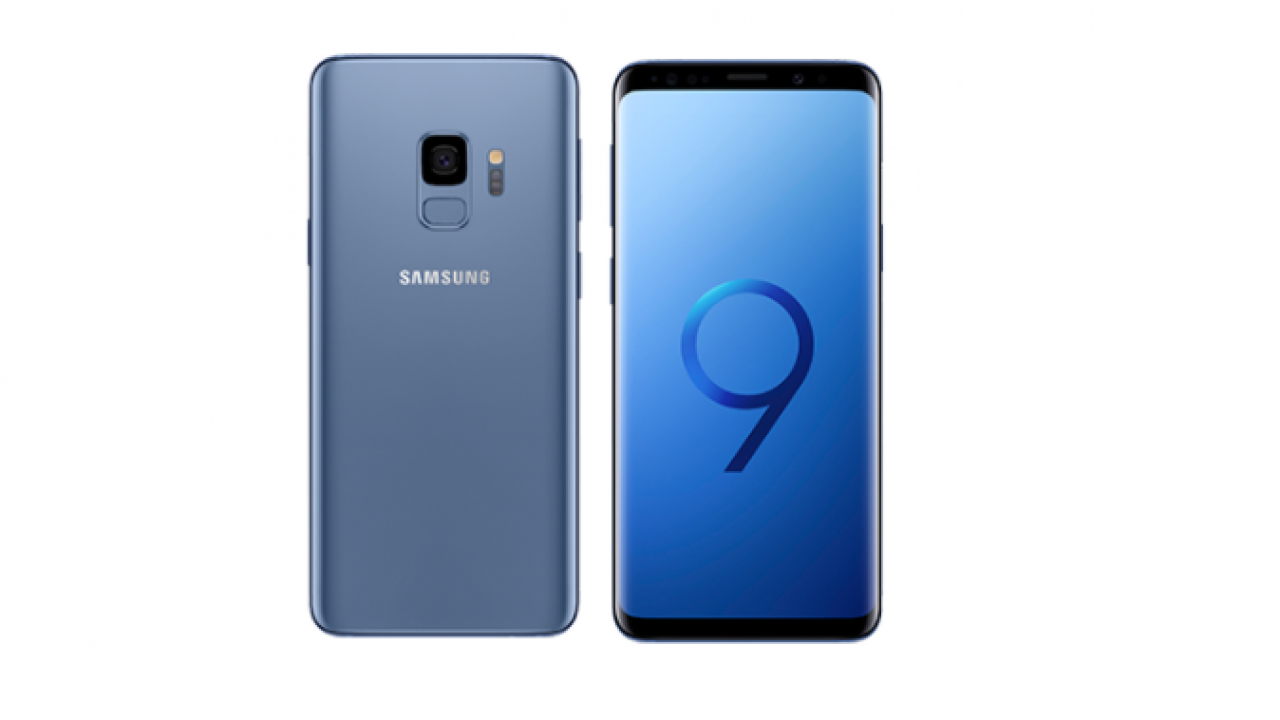
How To Change DNS On Samsung Galaxy S9 The Easy Way

We might all be familiar with DNS but how many actually know what it stands for? Well, for those who are not aware, the term DNS simply refers to Domain Name System. Just taking note of what DNS stands for is not enough because you also need to learn what the DNS does and how it can be used on your Galaxy S9.
Why Would You Need To Change The DNS Of Your Galaxy S9
As the title of this article reads, you can change the DNS of your Galaxy S9 smartphone but the important question is why you need that DNS changed. In this article, you will learn about DNS, its functions, how to change it and why you need to change it.
Change The DNS Server Not The Name
In simple terminology, the DNS is a feature that facilitates Internet access by enabling you to search for and access websites by only using lettered web names instead of the IP addresses that is the common language easily interpreted by the web. From what we have written so far, you could be of the opinion that we are going to change the DNS name itself but that is not the case. Instead, what we usually change is the DNS server. From this moment onwards, keep in mind that it is the DNS server that needs to be changed and not the name itself.
Benefits Of Changing The DNS Server
Changing the DNS server has a host of benefits but the commonly known benefits that drive many people to change it include enhanced speed, enhanced reliability and ability to access outmaneuver content filters and blocked websites. In other words, this is a sort of hacking trick which has a lot of unlimited possibilities.
At this point, you are probably very curious to learn about the finer details of changing the DNS now that you’ve understood why it needs to be done. You can read further and get to know what ought to be done next.
The #1 Rule
The first rule of changing the DNS server on your Galaxy S9 is to forget all the Wi-Fi networks that your Galaxy S9 has ever been connected to. As long as you are still connected to some known Wi-Fi networks, you will not be able to successfully change the DNS server of your device. This is why we insist that you first need to forget all such previous Wi-Fi connections. Once you have done that, you can then connect to the one Wi-Fi network that you intend on using. Proceed by entering the DNS server you would like to work with going forward.
- Turn on your Samsung Galaxy S9 and go to the General Settings
- Tap on the Wi-Fi menu
- Locate the Wi-Fi network that you are using currently
- Tap on forget
- Once again, select the Wi-Fi network that you just tapped to forget and enter the security details if and when prompted to do so
- Scroll through the settings for that network and locate the Advanced Options then tap on it
- In the Advanced Options menu, tap on IP settings
- Change the status to Static from DHCP
- Once you switch from DHCP to Static proceed further below where there are fields labeled as DNS 1 and DNS 2
- Enter your preferred DNS address then tap on Join when everything else is set
How To Change The DNS Server Of Your Galaxy S9 Using A Dedicated App
If you are looking for an alternative method of changing the DNS server apart from the one mentioned above, then you need to go to the Google Play store where you can find some reliable apps that can help you do that. There exist decent alternatives such as DNS Changer and DNSet. Using the DNSet and DNS Changer apps does not necessitate rooting your Galaxy S9 but there are a lot of benefits to be derived from allowing root access especially if you ever run into some DNS issues. Bottom line is that you can use the two apps to automatically change the DNS server on your Galaxy S9 device.
- Install DNSet
- Install DNS Changer
If you are going to use the DNS Changer, all you need to do is install and run the app then select any two servers from the options provided in the apps. As soon as these two servers connect successfully, you will receive a confirmation notification.
So far so good, but if you have been trying to change the DNS server unsuccessfully, then the reason could be because you were using a 3G network connection. For your information, a 3G connection cannot change the Default DNS server on the Galaxy S9. To do that, you will need to install a third-party app which can be used to Override DNS which also require flawlessly working root access. With that, you should now be able to change the DNS server on Galaxy S9 smartphone whether you are using a 3G or 4G network.


