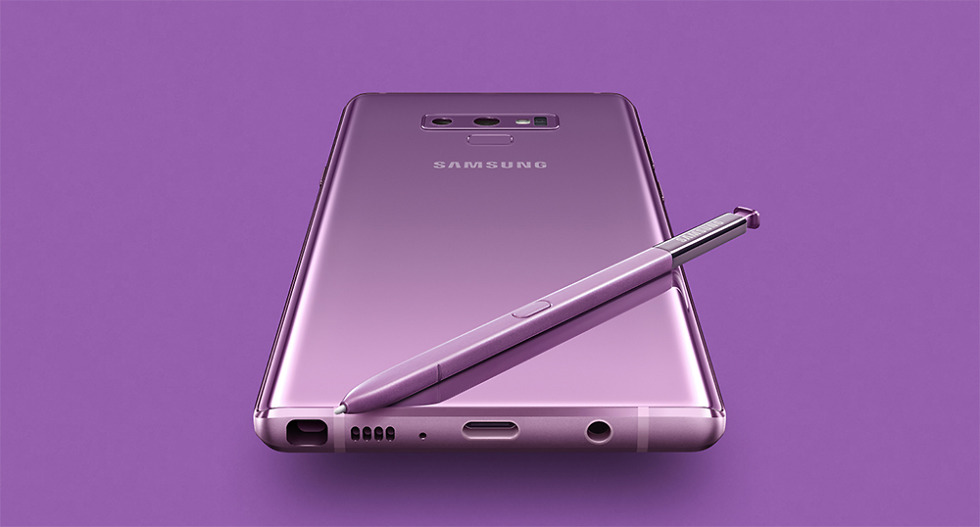
How To Change Galaxy Note 9 Text Message Ringtone

If you have already gotten your hands on the Samsung Galaxy Note 9, then you probably know that one of the things that make these two Samsung models to stand out is the sound quality. By sound we mean the incoming calls ringtones, messages ringtones and notification sounds among others.
The audio cues can be heard quite often and they add to the general experience of the Galaxy Note 9. The good news is that you can change these notifications sounds and settings to make them both pleasurable and recognizable.
Wouldn’t it be nice to listen to a custom ringtone on your Galaxy Note 9 that is specifically for your mom’s incoming calls or any other special person in your life? You can set a different ringtone for specific contacts on your Samsung smartphone instead of using the same old ringtones over and over again. Just take note of all the individual contacts whose caller ringtone you would like to customize and we shall show you exactly how to do it.
Want To Hear A Different Ringtone When Galaxy Note 9 Gets A Text Message From A Particular Person?
You can also change the way your smartphone rings when you receive a new text messages. But unlike popular belief such as setting does not exist in the messaging app but in the general sound settings. If it interests you to know where we are going to start from then the answer is quite simple, the Phone app. To begin, let us follow the steps below;
- On your Samsung Galaxy Note 9 home screen, tap on the phone icon
- In the phone dialer app, swipe to display the Contacts tab so you can access all the contacts you have already noted down
- Begin with one of the contacts you would like to customize a ringtone for by going ahead and selecting on it
- When the particular contact opens up in a new window, go to the editing screen by tapping on the pen-shaped icon
- The next action is to tap on Ringtone button. Choose the appropriate ringtone from the pop-up window containing a list of ringtones
- You can preview the ringtones by selecting one at a time then choose the one that impresses you the most
- If none of the default ringtones is worth selecting, tap on the Add option. This should enable to select a ringtone from the songs stored on the internal device storage for that particular contact
- Ensure to save the changes before you move on to the next contact
- And because we are still using the phone app, there is no need to exit the contacts. Not until all the contacts have their respective specific ringtones.
You should be careful when setting the specific ringtones for each of the individual contacts. This is because you wouldn’t want to confuse a ringtone with the wrong contact. So take note while changing the ringtones one after the other. Note also that all the contacts without a specific custom ringtone created for them will maintain the default ringtone sound.
With time, you will be hearing a ringtone and automatically relate it to a specific contact. At which point you will really appreciate the importance of customizing ringtones for individual contacts. Learn how to personalize your Samsung Galaxy Note 9 with this amazing ringtone customization guide. When you master this exercise, we guarantee you will enjoy the results in no time.


