How to Customize Tiles in the Windows 10 Start Menu
Love it or hate it, users of the new Windows 10 operating system from Microsoft have to admit the company’s engineers have achieved something special with the new Start menu.
Filled with easily customizable tiles that bring all your favorite apps right to the forefront of your desktop, you can create your own personalized ecosystem of information that looks just the way you want it to every time you open it up.
But what can the Windows Start menu really do?
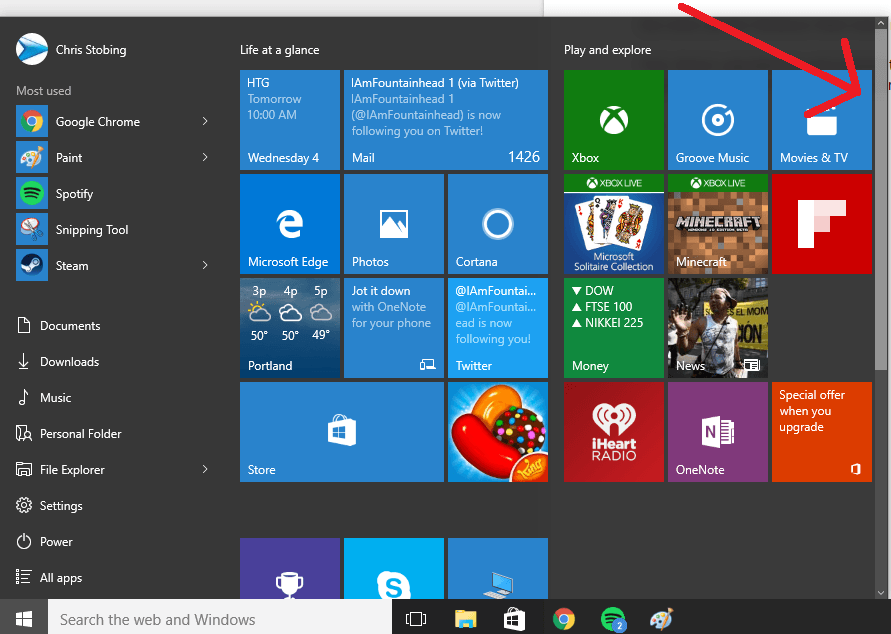
First, there’s repositioning and resizing the start menu itself. This was the very first thing I did when I initially upgraded to 10 from the god-awful interface of Windows 8.1, opening up more space to fit all my personalized apps in one space. To resize the start menu, bring your mouse to the very edge of the window, and once you see the double arrows simply drag to the right or left if you want it smaller or larger.
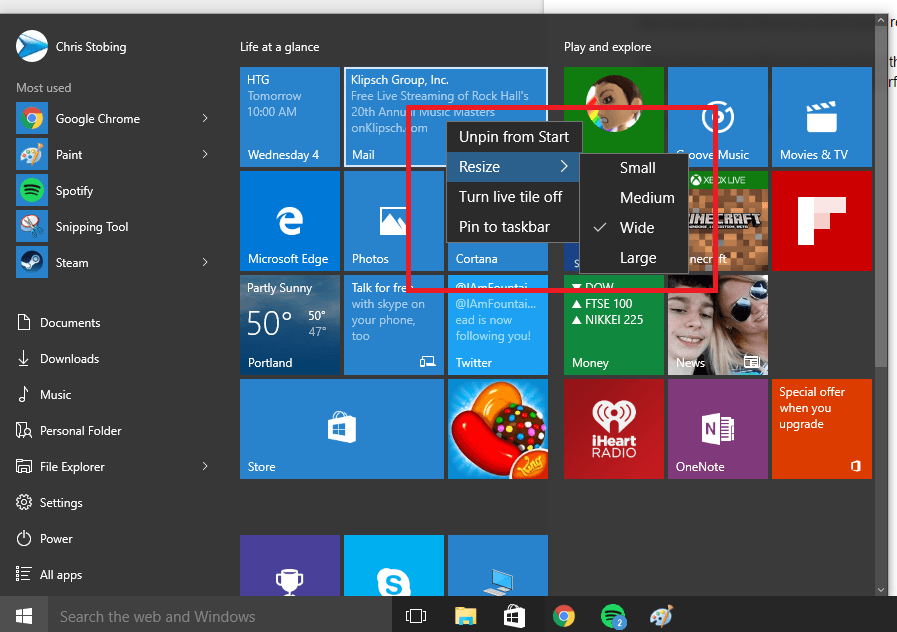
Next, you can add, remove, and resize internal tiles by clicking on the tile itself, and choose any of the above options from the drop-down menu.
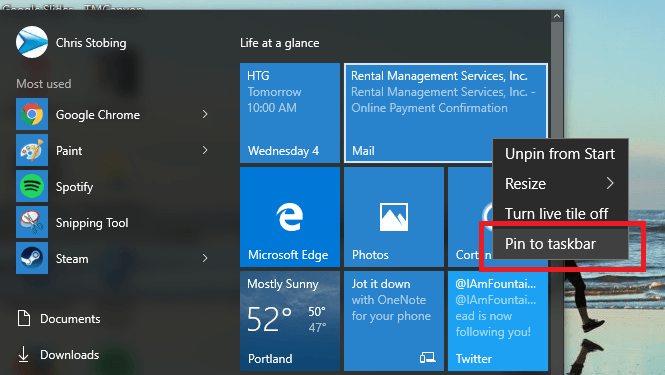
 Last, you can quickly pin a live tile to your taskbar that will automatically update you with a pop up notification if any activity is detected in the app.
This can be a welcome substitution for what you get with the regular notification center, and ensures you never have to dig through a bunch of unnecessary menus or buttons the next time an important email comes in.
Windows 10 has tons of new features that people love, and we’re going to help you get the most out of your OS in PCMech’s new weekly series which will cover a variety of of software tips and tricks.


