How to troubleshoot your computer’s power supply

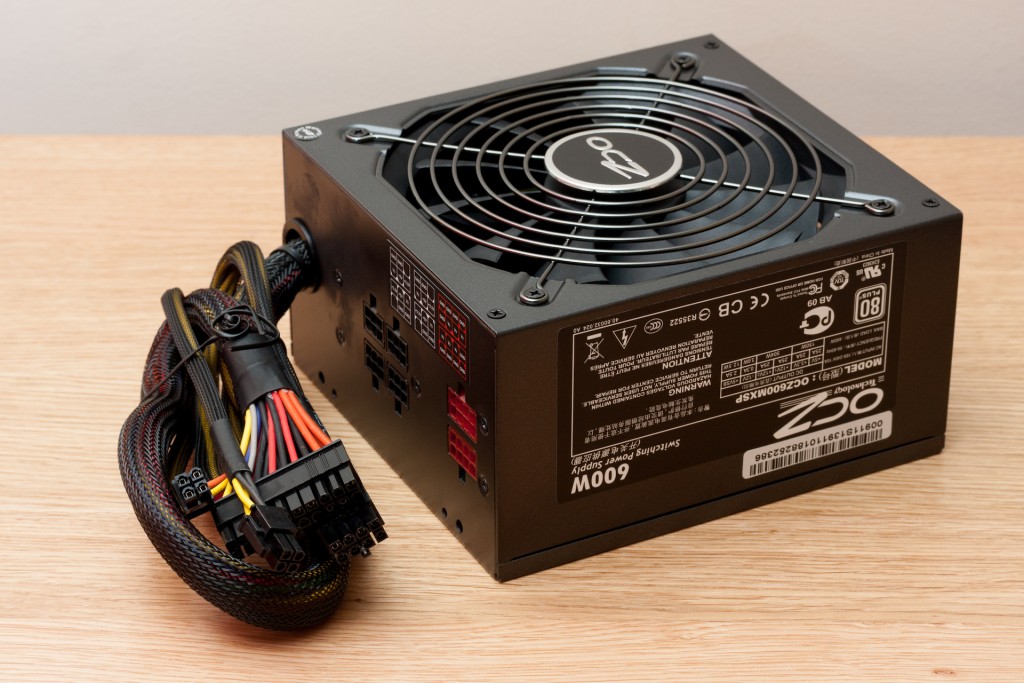
It goes without saying, there are a lot of components in a PC, and they can all fail in different ways. We’ve covered quite a bit of failure topics already, whether it be hard drives, SSDs, video cards, the motherboard and other components. One item important to not forget about though are power supplies. Since they’re what keeps your PC running, they take quite a bit of wear and tear, and depending on the manufacturer that made your power supply, it can fail in interesting ways.
In this article, we’re going to show you how to diagnose and troubleshoot power supply failure. Unfortunately, there’s not really a way to “save” these components from certain death, so it’ll almost always need replacing. But, if you follow along below, we’ll try to help you nail down the problem!
Warnings
When a component is failing, sometimes you’ll see some warning signs in advance. For example, if a hard drive were to fail, there are some obvious signs, such as frequent blue screens, missing files, etc. Power supplies also exhibit pretty obvious symptoms, but not many. Here are two to look out for:
- Frequent shut offs: Since your PSU (Power Supply Unit) supplies power to all of your components, you could notice it going bad if you’re seeing frequent shutoffs. Not reboots, but complete shut downs. Unfortunately, it’s difficult to test for this unless you can manage a way to see what the output was at time of shut down.
- Burning smell: Another frequent case of a PSU dying is almost a burning smell. Truth be told, you shouldn’t be smelling anything coming from your PSU, so if you smell a burning smell or something resembling close to that, shut it down immediately and make sure to turn the switch on the PSU itself to OFF.
As we said, there aren’t many symptoms of an oncoming power supply failure, as it’s mostly a situation where it’s working or it isn’t; however, as far as frequent shut offs go, it could be a different component going bad entirely, so it’s important that we do some troubleshooting before determining the power supply is the problem.
Troubleshooting
As a warning of caution: be very careful as you proceed, as you could very easily get shocked. While you’d only get shocked by a maximum of 24 volts, it’s still a situation best to avoid. It’s also worth nothing that you should never attempt to open up your power supply to fix something. If you do that, there’s potential for a capacitor discharge, and unless you know how to do that safely, it’s not a great thing. In the case of a PSU, if it’s broken, throw it out and buy a replacement. It’s not worth risking harm to yourself.
If your computer won’t turn on, there’s not many ways to test the PSU. If your computer isn’t turning on, you’ll need to unplug all of your components from the PSU. If you can, remove the PSU from your computer case entirely for the best access. Before doing this, ensure that the switch on the PSU is turned OFF. Next, plug the PSU back into the wall.
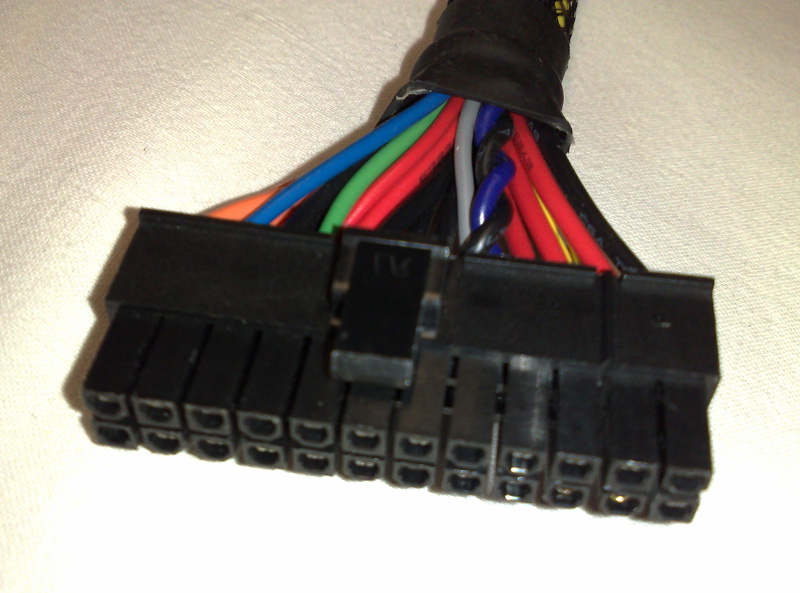
Now, take your 20- or 24- pin connector and locate the green wire. There’s only a single green wire, so it should be quite easy to find. Next to it should be a black wire. Take a paper clip and bend it into a U shape. Now, insert one point of the paper clip into the green wire slot and the other point into any black wire. Now, set the connector onto the ground, and with the PSU plugged into the wall, turn the switch on the PSU itself to the ON position. If the fan turns on, it’s likely that your PSU isn’t the problem, but if you have a multimeter, you can check what the power output of the PSU, just to make sure.
If you don’t feel comfortable with the paper clip trick, there are plenty of power supply testers out there that you can get for around $35 or less. The Thermaltake Dr. Power II is particularly neat because it has built-in alarms to signify abnormal power supply activity. But, whether you’re using a power supply tester or a multimeter, there are four specific volts of direct current to look out for:
- +3.3 VDC
- +5 VDC
- +12 VDC
- -12 VDC
The first three can have a +/- range of 5%. The last one can have a range +/- range of 10%. However, if you start to see your VDC ratings go anything outside of that range, your power supply is bad and needs to be replaced.
It’s worth noting that if you smell a burning coming from your PSU, replace it immediately. Or, at least stop using it immediately, as your power supply shouldn’t be emitting any strange smells. And, it’s good to catch it early so you don’t risk damage to any other components.
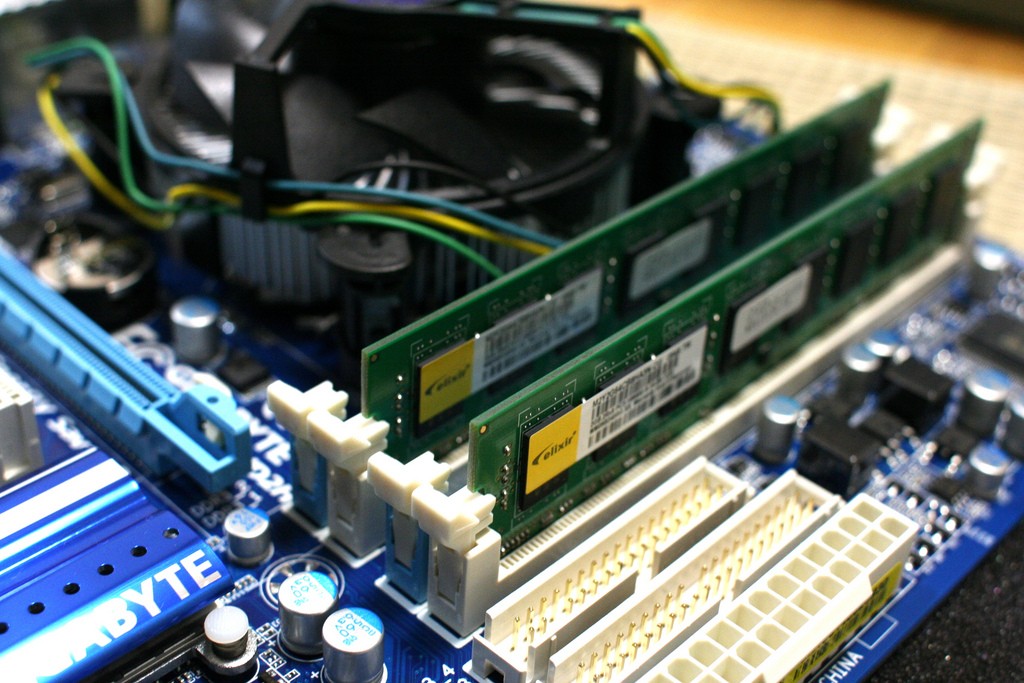
Now, above is really the only specific steps you can take to verify the integrity of your power supply. If you’ve seen all good results with the steps above, it’s likely not your power supply that was the problem. If you’re not able to turn your system on still, it could be that you’re experiencing motherboard failure (read our diagnosis guide here) or your RAM could even be acting up (diagnosis guide here).
Another possible option is your hard drive or SSD. You can find our respective guides for those components here and here, but to run a quick test, just run some tests using DiskPart or another third-party disk utility tool. Windows does automatic maintenance, so you should be notified of hard drive or SSD errors in advance. But, to manually check, you can also head into My Computer, right click on one of your drives and select Properties. From there, go to the Tools tab and under the “Error checking” sub-heading select Check. The system will run a quick initial check for any errors, and if there aren’t any, it’ll tell you you don’t need to scan the drive, though you still can anyway if you wish.
Closing
And that’s all there is to it! Unfortunately, when a power supply goes bad, there’s no way to save it. So, if you found that it is indeed a bad unit, you’ll need to replace it outright. And, we might be beating a dead horse here, but make sure you do your research and buy a quality power supply. Even some of the pricier ones out there can be from dicey manufacturers and cause you trouble soon after purchase or sometime down the line.
We hope this troubleshooting guide helped you find the component giving you trouble. But if you’re still stuck, be sure to head on over to the PCMech forum and post your problem to get some additional help from the PCMech community!


One thought on “How to troubleshoot your computer’s power supply”