How to Disable Roku on Sharp TV

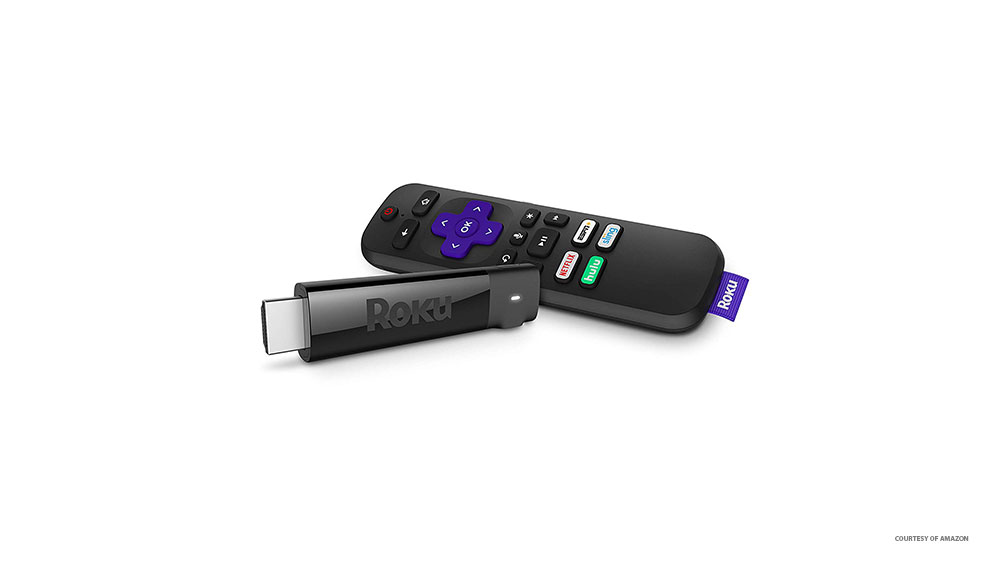
Standing right next to Amazon’s Fire TV and Firestick, Roku TV is an extremely popular solution for people who like to stream video content. In addition to streaming devices that can be as small as a typical flash drive, Roku actually offers smart TV devices, such as the Sharp TV. Although setting up these devices is fairly simple and straightforward, it’s always better if you know what you’re doing.
Here’s how to disable your brand-new Roku TV device, along with other useful tips.
Disabling Roku
Why would you want to disable Roku on your Roku Sharp TV? Well, let’s say, for instance, that you’ve bought a Roku streaming device that should work much better than the integrated Roku app in your TV.
Luckily, this is very simple to do. Connect the Roku streaming device to an HDMI port and set your TV up so that it starts on that particular HDMI input.

Now that you know how to disable Roku on your Sharp TV is disabled, let’s look into how to set up the device properly.
Powering up the Roku TV
First, use the supplied power cord to connect it to your TV. Then, connect the other end of the cable to a wall outlet. Now, take the remote, remove the battery cover, and insert the supplied batteries, as instructed in the manual.
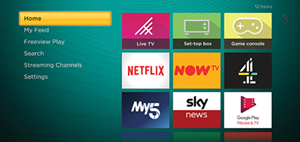
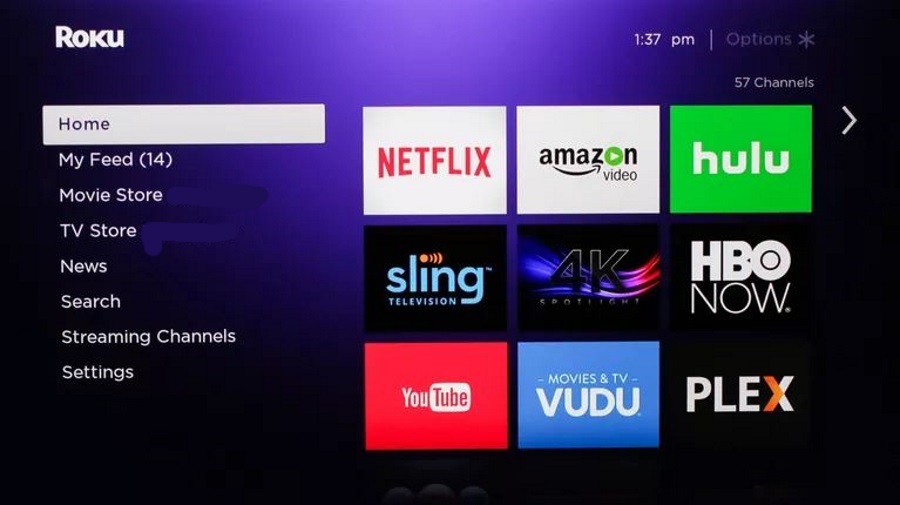
Once you’ve done this, turn on your Roku Sharp TV using the power button on the remote. If you’ve done everything properly, the Roku logo will appear on the screen. This means that you’ve successfully powered up the Roku Sharp TV. Be patient, as it might take a few moments until the device loads up.
The Guided Setup
In a few moments, the guided setup will commence. Prompts will appear on the screen and you’re going to use the remote to follow them. First, you’ll see the language selection menu. Select your desired language and hit the middle button on the Roku remote. After that, you’ll see the country selection screen. Choose your country and you’ll see two options: Set up for home use and Set up for store use. You should select the former.

Connecting to Your Network
First of all, you’re going to need to choose between the network types. If you have a router that supports both wired and wireless connectivity, consider opting for a wired connection, as they are much more stable. Depending on whether you want to use a wired or a wireless network, on the next screen of your Roku TV setup, you should select the Wireless/Wired option.
If you’ve selected the wired network, the TV should recognize it and you will need to confirm it, enter your credentials, and you should be online. With a wireless connection, you’ll likely see a list of available wireless networks. Select your home network, enter your credentials, and that’s it.
If you’ve done everything correctly and it works properly, the Roku TV will commence the software updating process and restart once it’s done. Activate the device once more and you’re done.
Roku on, Roku off
As you can see, disabling Roku on a Sharp TV is super easy. Also, the whole setup process for the Roku Sharp TV is very basic. The setup wizard itself guides you through the process and, if you follow the steps, you shouldn’t experience any issues.
Have you had any issues with disabling Roku on your Sharp smart TV? If so, how did you solve them? Hit the comments section below and tell us all about it. Also, feel free to discuss your Roku set up experience and anything else Roku-related that comes to your mind.


One thought on “How to Disable Roku on Sharp TV”