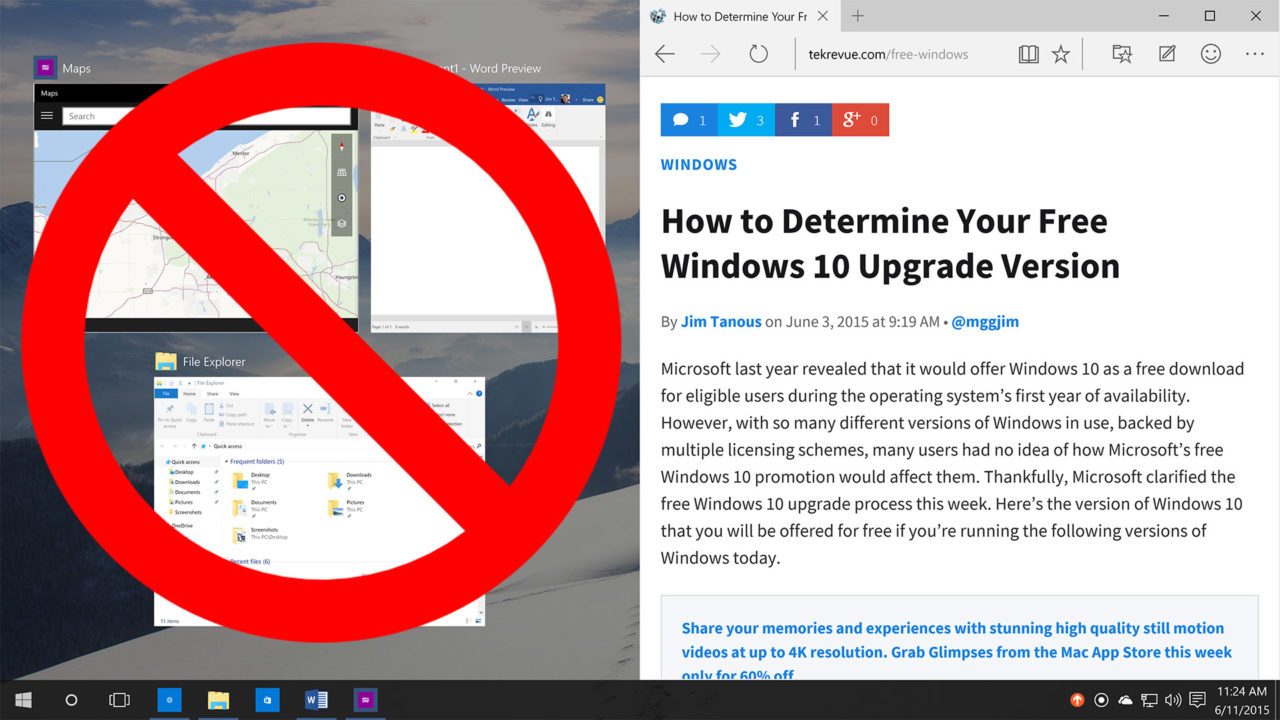
How to Disable Snap Assist in Windows 10

Microsoft’s Snap feature has been one of the most popular tools for power users since its launch with Windows 7 back in 2009. Snap allows users to drag windows along the edges of their screens in order to automatically shrink and rearrange windows for multitasking, making it a snap (we’re not sorry) to get a Word document and a YouTube video next to each other, or any other combination of windows on your desktop. Since its launch ten years ago, Microsoft has slowly made Snap more powerful, and that includes the changes made with the launch of Windows 10.
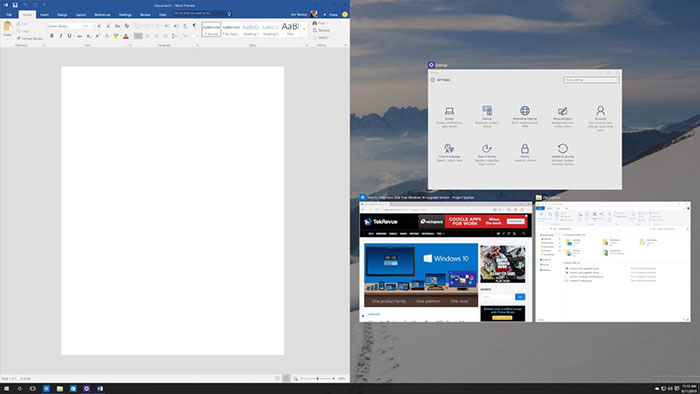
Snap Assist was a launch feature with Windows 10, something proudly touted before launch as a selling point for the new version. Unlike the old method of using keyboard shortcuts or dragging and dropping applications alone, Snap Assist enhances this process by automatically recommending certain applications or windows to fill the other side of the screen when you snap an application. To visualize this with an example, let’s say you have a Web browser, Word document, File Explorer, and the Windows 10 Settings app all open on your Windows 10 desktop. When you snap one of those applications, like Microsoft Word, to the left side of your screen, Windows 10 will show you a layout of your remaining open apps on the right side of the screen. Clicking any one of them will maximize that app and snap it to the right side of the screen. Microsoft argues that Snap Assist lets users save time when using Snap for productivity:
When arranging two windows side-by-side, we noticed in practice that this scenario frequently involved snapping the first window and then spending time wading through other windows on screen to find the second one to drag and snap. This insight lead us to ask: instead of making you hunt for the second window to snap, why not present a list of recently used windows up front? This is the fundamental idea behind Snap Assist in Windows 10.
But what if you don’t intend to snap a second application? Or what if you prefer to handle this manually and don’t trust Microsoft’s ability to “guess” which apps you’d like to use (a problem when dealing with a large number of open apps)? In that case, you can disable Snap Assist in the Windows 10 Settings. Here’s how to do it.
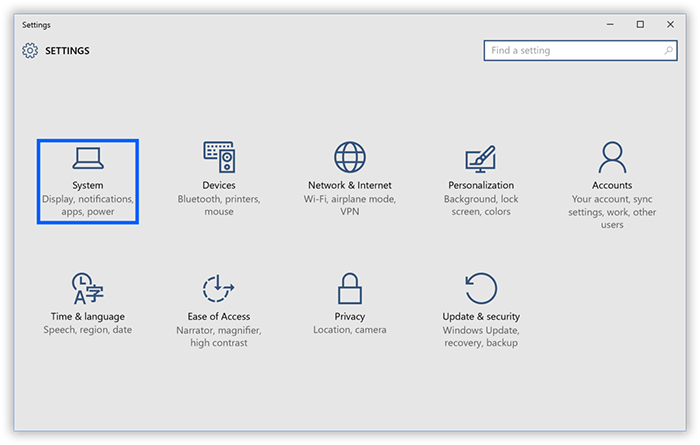
To disable Snap Assist in Windows 10, launch the Settings app from your Start Menu, or by searching for it with Cortana or Windows Search. From the Settings window, click System.

In the System Settings window, find and click Multitasking in the column on the left. Under the “Working with Multiple Windows” category on the right, find the option labeled When I snap a window, show what I can snap next to it and set it to Off. This will disable Snap Assist in Windows 10.

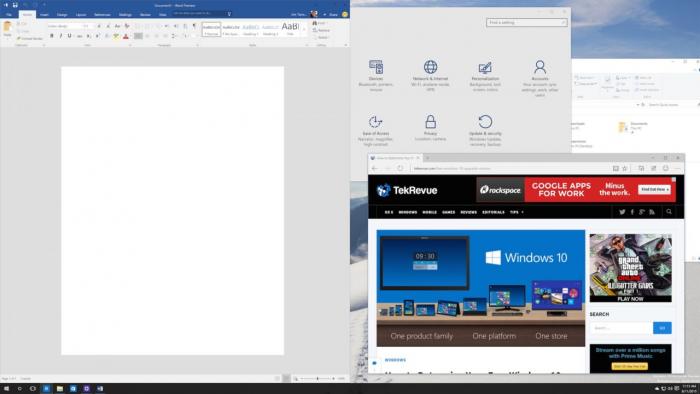
Once you disable Snap Assist, simply close the Windows 10 Settings window and then try to snap an application or window to one side or corner of your Windows 10 desktop. You’ll notice that the app snaps just fine, but the remaining space on your desktop stays the same, without the presence of Snap Assist’s recommended apps.

If you find in its absence that Snap Assist was more valuable than you thought, just head back to Settings > System > Multitasking and turn the Snap Assist option identified above back to On.


30 thoughts on “How to Disable Snap Assist in Windows 10”
This tip isn’t about turning snapping off completely, but rather about the “snap assist” feature that shows you other windows when you snap the first one. To turn off snapping, you want to disable the first option: “Arrange windows automatically by dragging them to the sides or corners of the screen.”
Is there any setting that turns off ONLY the dragging method?
description is not same as this article.
the system to suggest companion windows when using Snap -> When I snap a window, show what I can snap next to it.