How to Recover Samsung Galaxy S9 And Galaxy S9 Plus Messages?
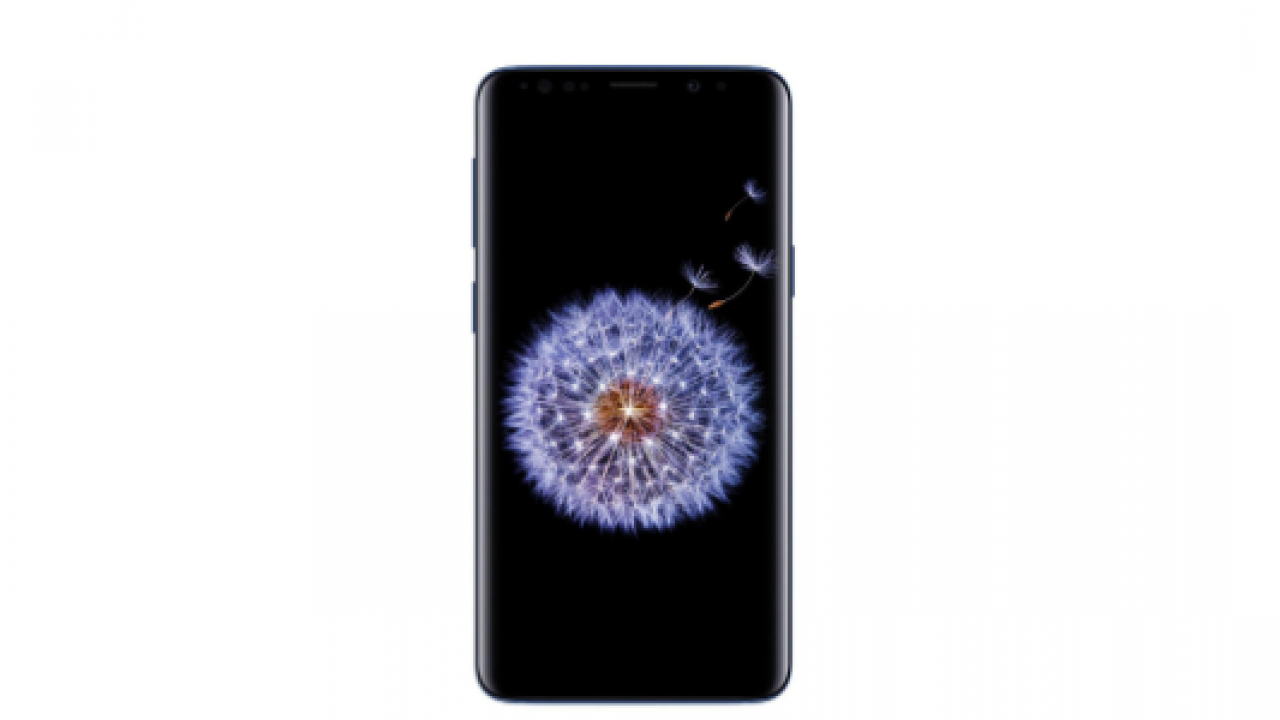
SMS or Text message, be it work-related or personal, are something we’re often intrigued to keep on your Samsung Galaxy S9 or Galaxy S9 Plus for as long-spun as feasible. But know that there are events that may occur that may spontaneously delete the entire message history. You don’t need to test ROM flashing or try other bold things, you can also accidentally delete messages. With this matter in hand, what everyone who experiences this problem needs a direct answer to the most common question on their minds – Am I able to recover lost SMS text messages on my Samsung Galaxy S9 or Galaxy S9 Plus? Is it really plausible to retrieve any or even one of those deleted messages?
A straight answer: Yes. The not-so-straightforward answer is coming shortly. In a shorter sense, the process has to do with Samsung Data Recovery, Android’s data recovery tool. This awesome tool shall help you retrieve all the deleted data on your Samsung Galaxy S9 or Galaxy S9 Plus. The great thing about it is that if you know how to perfectly utilize it, you can also save other stuff like videos, contacts, audios, images, or other files or even your whole WhatsApp chat history.
Steps in Recovering Deleted Text Message in your Samsung Galaxy S9 or Galaxy S9 Plus
- Sync your smartphone to a computer using a USB a cable
- Utilize your Samsung Galaxy S9 or Galaxy S9 Plus to activate the USB debugging
- Begin to analyze and scan your smartphone’s data
- Search and start the message recovery process on your Samsung Galaxy S9 or Galaxy S9 Plus
Steps in Recovering Contacts in your Samsung Galaxy S9 or Galaxy S9 Plus
The following steps are necessary in recovering your Galaxy S9 Contacts.
Set Up Android Recovery Tool
- First of all, you need to download the Android Data Recovery tool which is included in the Dr. Fone toolkit
- Download then install in on your Samsung Galaxy S9 or Galaxy S9 Plus
- Access the Android Data Recovery tool
- Sync your smartphone to your Windows/Mac PC using a USB cable
- Activate the USB debugging mode on your Samsung Galaxy S9 or Galaxy S9 Plus, just to double check that the Android Data Recovery shall be capable in detecting your smartphone – the steps for achieving it may vary from one phone to another
- Wait for a few seconds before the software shall be able to detect your Samsung Galaxy S9 or Galaxy S9 Plus. Once the data analysis has finished – the next thing you need to do is press the Next button if ever asked
Restoring Contacts or Other Data
Another thing to keep in mind, double check whether your smartphone’s battery is charged at least 20 %. Know that anything less that mark won’t be able to suffice the whole process and it’s essential to have a sufficient battery in order to verify it
Also – if your Android device has been rooted, double check whether you have enabled the Superuser software screen access when required by the Dr.Fone toolkit
- Choose the kind of data you like to restore – contacts, for this example – then press the Next button
- Choose Scan model, picking between the two main choices:
- Scan for all files
- Scan for deleted files
- Once the process is finished, hit the Start button located on the right-down edge to start the scan
- Wait for a few seconds before the tool start detecting your contacts and getting them displayed on your screen
- Hit the upper part option named as “Only display deleted items”
- Examine the contacts you really want to restore from the list of the results that shall appear
- Hit the Recovery button located on the right-down edge to retrieve the chosen contacts
To Wrap It Up
The whole method may be a bit long, yet it’s all intuitive and rather simple. Just like we depicted, this awesome software can help you retrieve all data that was spontaneously deleted on your smartphone. This tool works on almost all of Android smartphones and all Android versions.
Just like we mentioned above, it can aid in restoring pretty much everything, from your contacts, text messages, and contact details to videos, images, calls, audio, or chat histories, or any kind of documents. Now that we’ve taught you how to recover all the lost data on your Samsung Galaxy S9 or Galaxy S9 Plus, we pretty much hope that you won’t be using any moment soon.


