How to Take an iOS Screenshot Directly From Your Mac
Taking an iOS screenshot on your iPhone or iPad is quick and easy but, by default, those screenshots stay on your device until you move them. There are many ways to move an iOS screenshot image from your iPhone or iPad to your Mac — manually sync with Image Capture or the Photos app; sync to a cloud service like Dropbox or Google Photos; use AirDrop, etc. — but if you want to move your iOS screenshots to your Mac as quickly as possible, why not capture them directly on your Mac in the first place?
That’s where the awesome utility iOS Capture comes into play. Created by developer LemonJar, iOS Capture is a small OS X app that lets you grab live screenshots from your iPhone, iPad, or iPod touch directly via your Mac, saving you the step of transferring them manually and preventing your iDevice camera roll from becoming cluttered with screenshots.
We’ve seen similar apps in the past, but most required the use of a jailbroken iOS device. Although relatively limited in functionality, iOS Capture has no such requirement and works great with stock iOS devices (we tested up to iOS 8.4, the latest public version available at the time of publication).
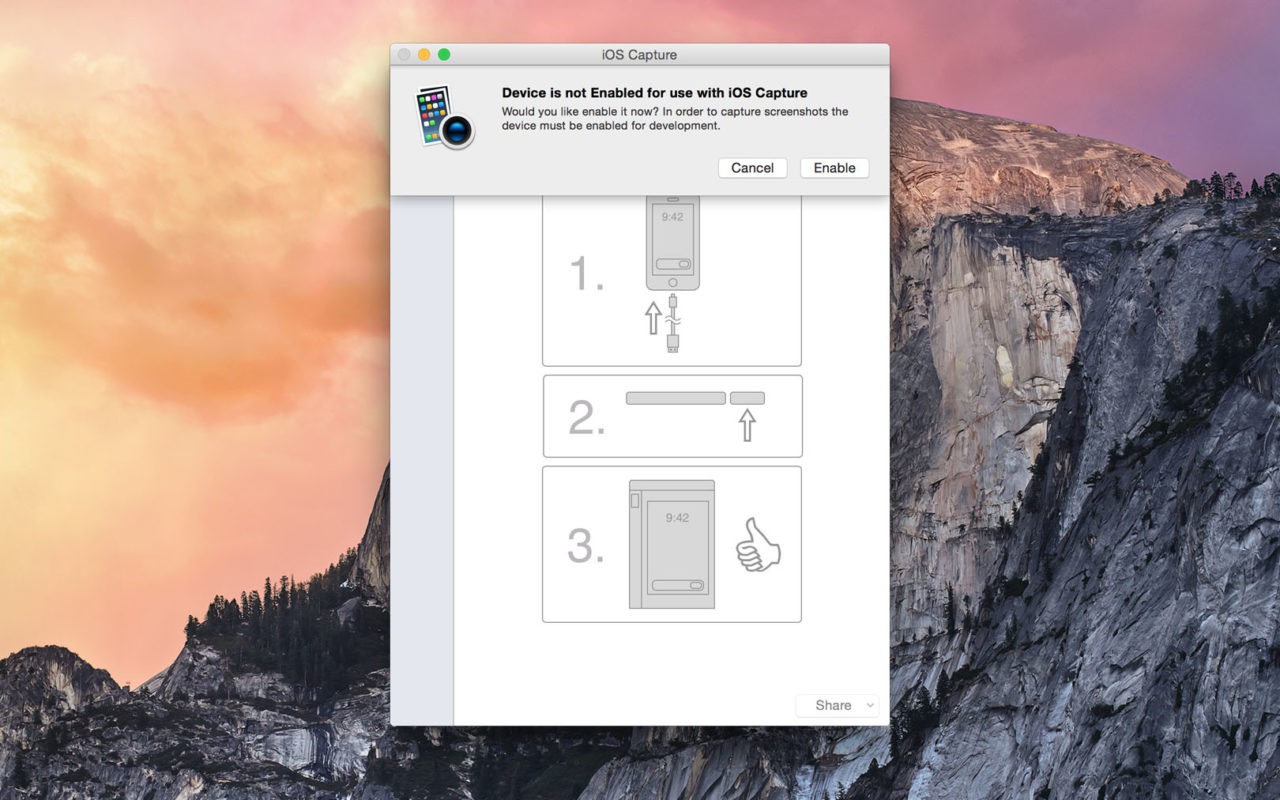
To use iOS Capture, download the app (there’s a free 14-day trial available) and move it to your Applications folder. Next, connect your iPhone or iPad to your Mac via the appropriate Lightning or 30-pin USB cable. Now, launch iOS Capture and you’ll see a message prompting you to enable your device for use with the app. Click Enable and you’ll be set to go.
With your iOS device still connected to your Mac via USB, navigate to the app or screen of which you wish to take a screenshot. Head back to your Mac and you’ll see your iOS device name in the iOS Capture drop-down list (it will be the only device listed unless you’ve previously configured the app to work with other devices). Simply click Capture and you’ll see a screenshot of your current iOS screen appear in the iOS Capture window.
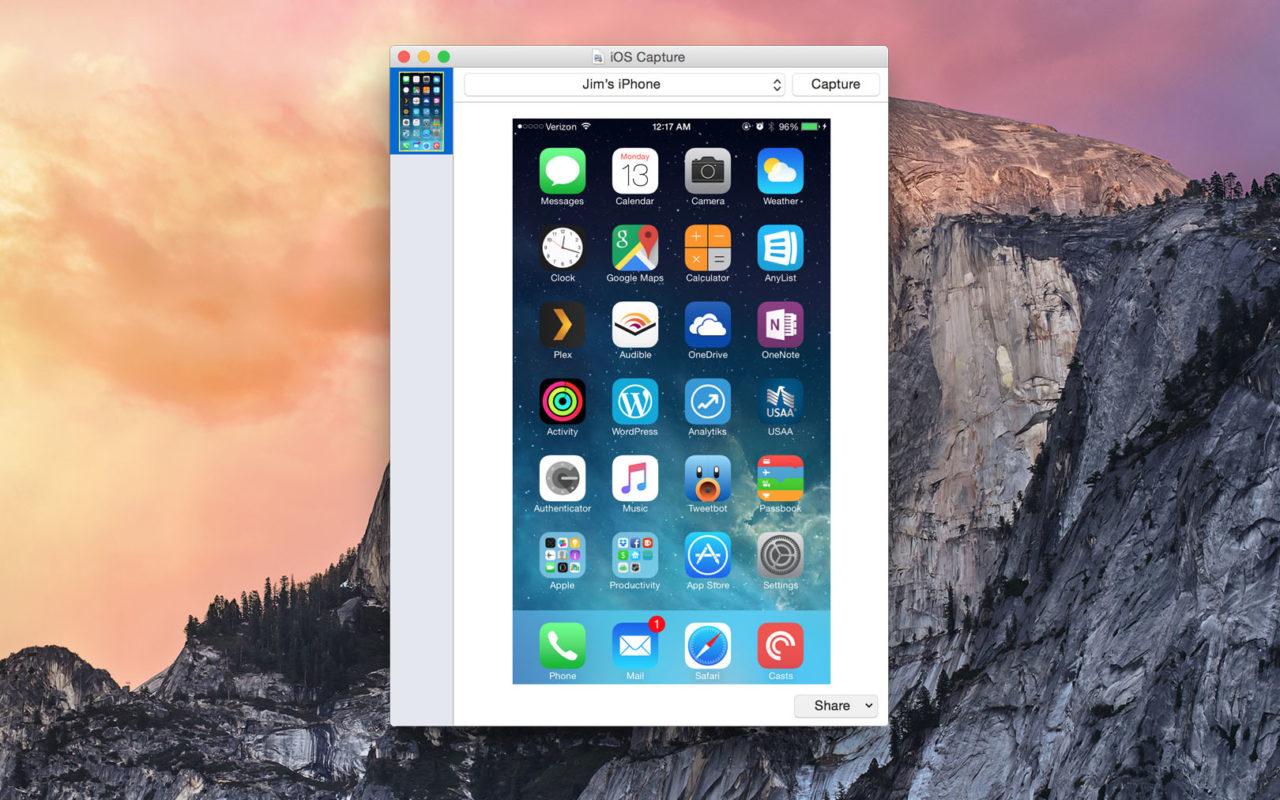
There’s no compromise when using iOS Capture; the screenshots that appear on your Mac in the iOS Capture app are the same high-quality, full-sized PNG files that are produced natively by your iDevice during a “standard” screenshot capture. Because iOS Capture keeps a list of your recent screenshots, you can capture multiple screenshots in sequence without worrying about keeping track of screenshot files. When you’re done, you’ll find all of your captured iOS screenshots on your Mac in the user’s Pictures folder, within a subfolder labeled “iOS Capture” (although you can change this default location in the app’s Preferences).
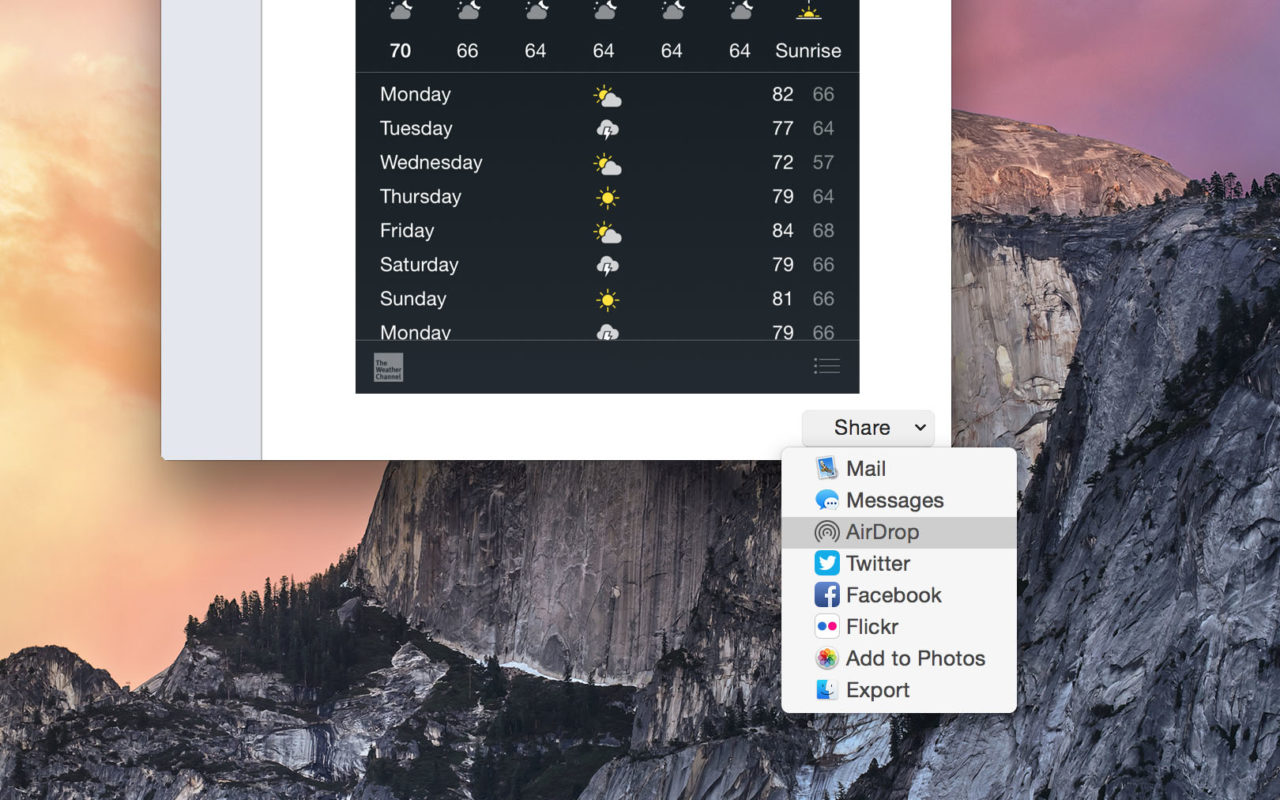
If you simply wanted easy access to your iOS screenshot files on your Mac — say, for example, to edit in Photoshop — then you’re all set. But iOS Capture also includes some handy sharing features that let you output the screenshot file to a variety of services and apps, including Mail, Messages, Twitter, Facebook, and Flickr. You can also add the file directly to your Mac’s Photos library or simply drag it out of the iOS Capture app to your Desktop.
Perhaps best of all, at least from our perspective, iOS screenshots captured with iOS Capture exist only on your Mac; there’s no second copy of the screenshot stored in your iOS device photo library. We take a lot of iOS screenshots here at TekRevue, and reserving our iPhone camera roll for personal pictures, and not cluttering it up with screenshots for articles, has been a wonderful bonus since we started using the app.
Direct wired capture of your iOS screenshots can be a huge productivity booster, but LemonJar also advertises wireless capture support. After an initial wired sync, the wireless feature relies on iTunes Wi-Fi syncing to get the job done. It sounds great in theory, but we had trouble getting iOS Capture to recognize our iPhone for a wireless capture. The process worked on a few occasions, but seemingly at random, and we weren’t able to troubleshoot the issue successfully. Individual users may have greater success with wireless screenshot capture, but for us, the benefit of directly capturing iOS screenshots, even while wired, is enough to make iOS Capture more than worth its $14 asking price.
iOS Capture is unfortunately not available via the Mac App Store, but you can try the demo or buy the full version now on the app’s website. iOS Capture requires OS X 10.8.5 and higher, and was tested for this article on OS X 10.10.4.


