How To Take a Screenshot on an iPhone without the Status Bar
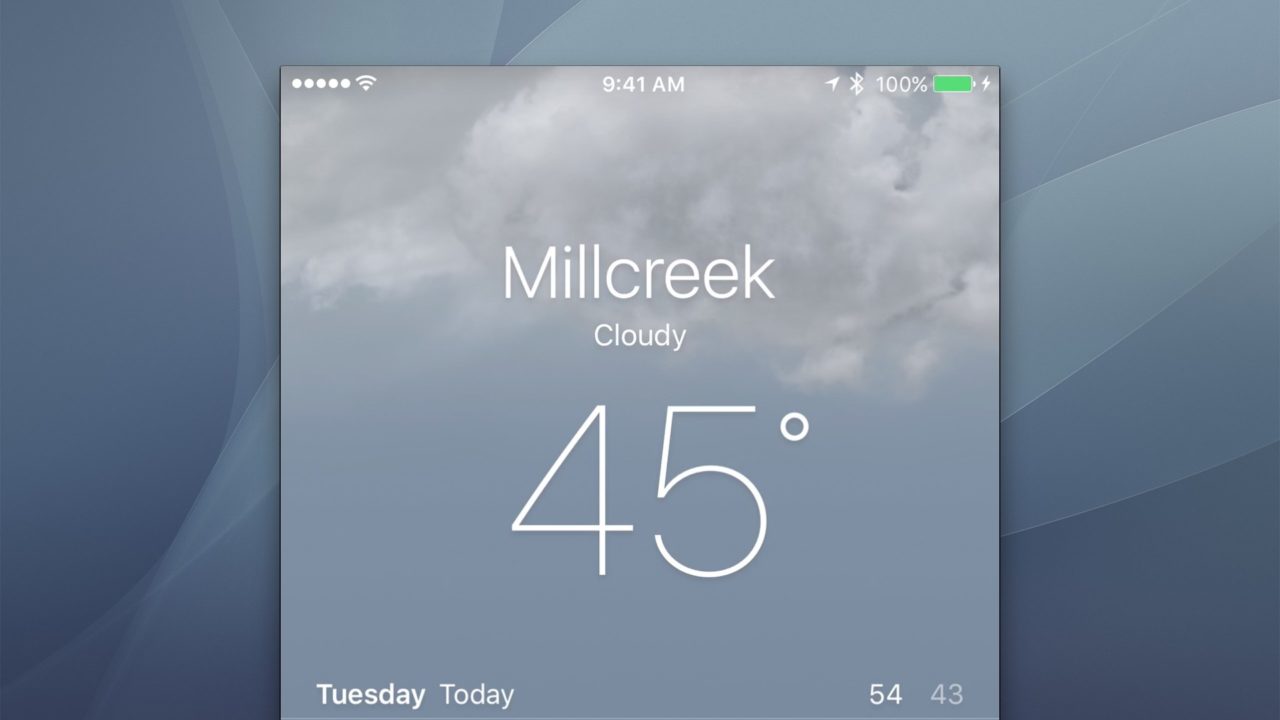
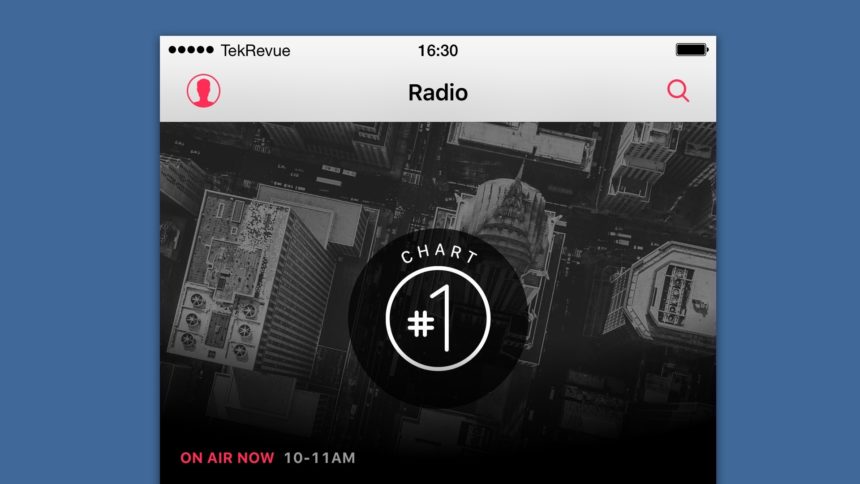
It’s easy to take screenshots in iOS but, by default, you’ll see the actual status bar of your iPhone or iPad at the top of your screenshots, complete with poor cellular signal bars, a random clock, and potentially low battery life. This is fine if you’re capturing a screenshot for personal reference, but if you plan to share your iOS screenshot with others — e.g., for inclusion in a user manual, to submit to the iOS App Store, or for use in tutorials like those here at TekRevue — you probably don’t want a chaotic status bar to detract from your image.
Third party Mac apps such as Status Cleaner can improve your iOS screenshots by replacing your actual status bar with one that shows full signal bars, 100 percent battery charge, and a specific clock time, but these apps are only effective for status bars with a solid background color. In many modern iOS apps, such as the Weather app and Google Maps, the content is displayed across the entire screen, with the status bar superimposed at the top without a solid background.
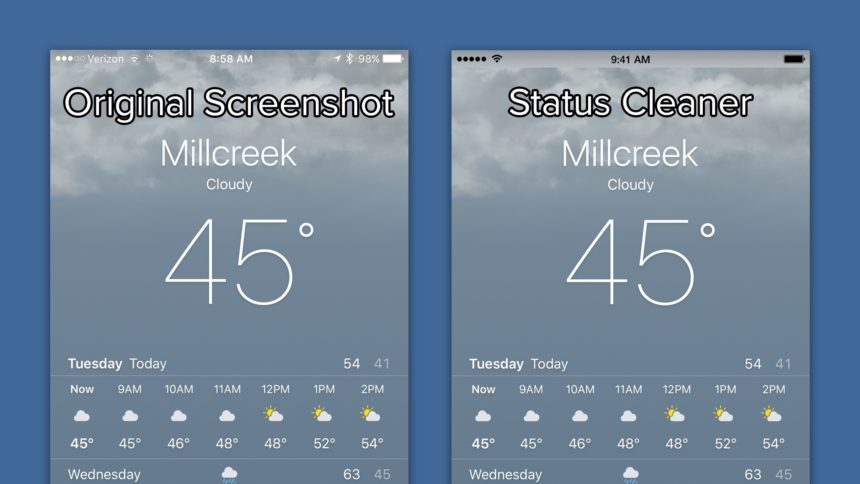
An app like Status Cleaner will attempt to match the general color or pattern behind the status bar at the top of the screen, but it can’t replicate the exact background, which results in a clearly out-of-place background for the status bar in your final screenshots.
While there is not yet a solution to this issue that is as quick as an app like Status Cleaner, there is relatively easy solution thanks to Apple’s introduction in OS X Yosemite of iPhone screen recording via Quicktime. With this method, which is primarily intended to support video recording of your iOS device, you can obtain screenshots with clean status bars thanks to the way that Apple implemented the process. But there are a few requirements to this method that won’t make it suitable for all users.
First, this is a Mac-only solution, so you must be using a Mac running OS X Yosemite or higher. You’ll also need an iOS device with a Lightning connector running iOS 8 or higher, so older 30-pin-equipped iPhones and iPads aren’t eligible.
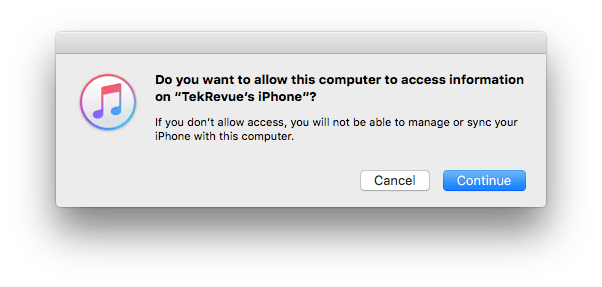
If you meet those requirements, however, grab your iPhone or iPad’s Lightning cable and use it to connect your device to your Mac. If this is the first time you’ve physically connected your iPhone or iPad to your Mac, you may need to authorize the connection by selecting on your device that you “Trust” the computer. Once that’s complete and your iDevice is connected to the Mac, launch the QuickTime Player app, located by default in your Applications folder.
Note: iPhone and iPad screen recording in OS X requires QuickTime Player X, not the older QuickTime 7 that may be installed on your Mac. Make sure you select the correct version of QuickTime when launching the app.
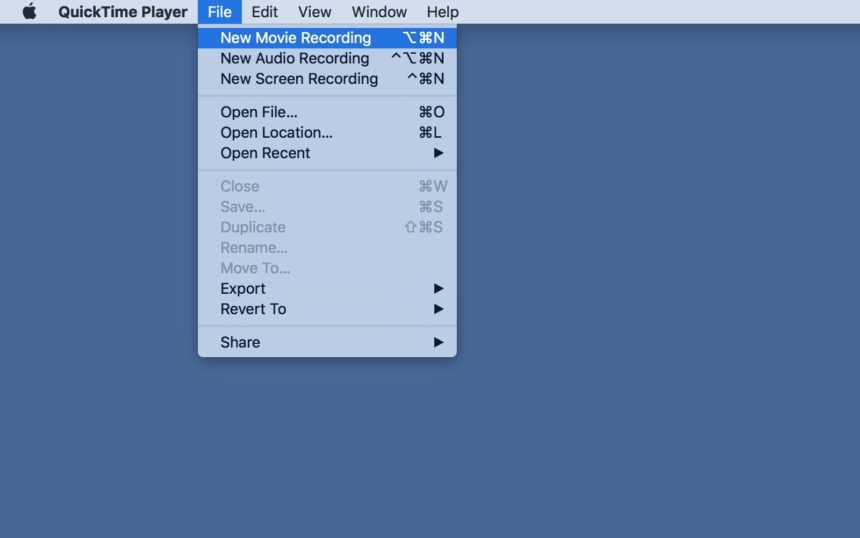
With QuickTime open, select File > New Movie Recording from the Menu Bar, or use the keyboard shortcut Option-Command-N.
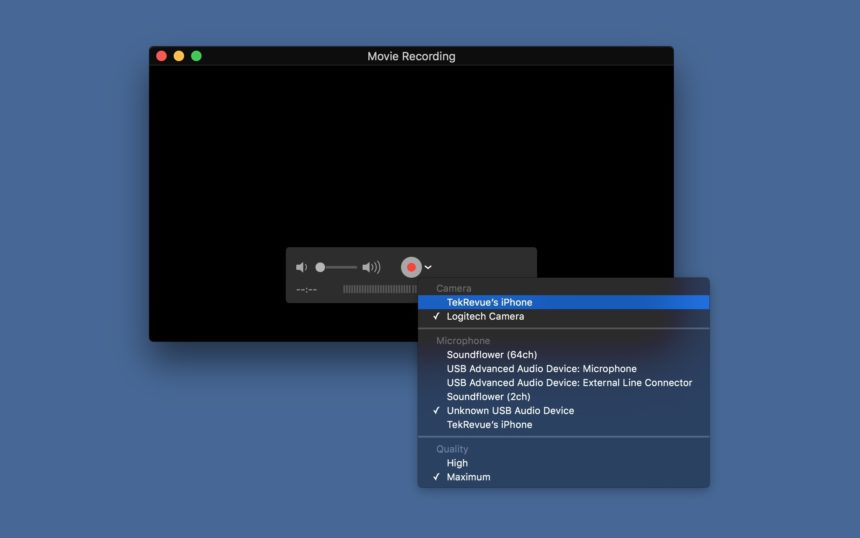
A new recording window will appear. Click the downward-pointing arrow to the right of the Record button and, in the “Camera” section, choose your iPhone or iPad. The recording window may flicker and reorient itself, but after a moment you should see your device’s screen replicated on your Mac.
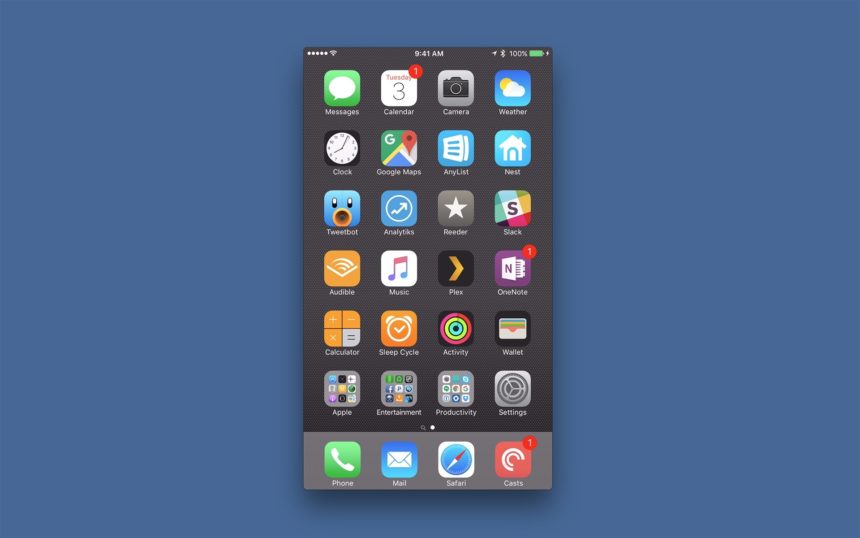
Next, take a look at the top of your QuickTime recording window and you’ll see a “clean” status bar, with full cellular signal, a perfect Wi-Fi connection, a completely charged battery, and the clock set to the symbolic time of “9:41 AM.”
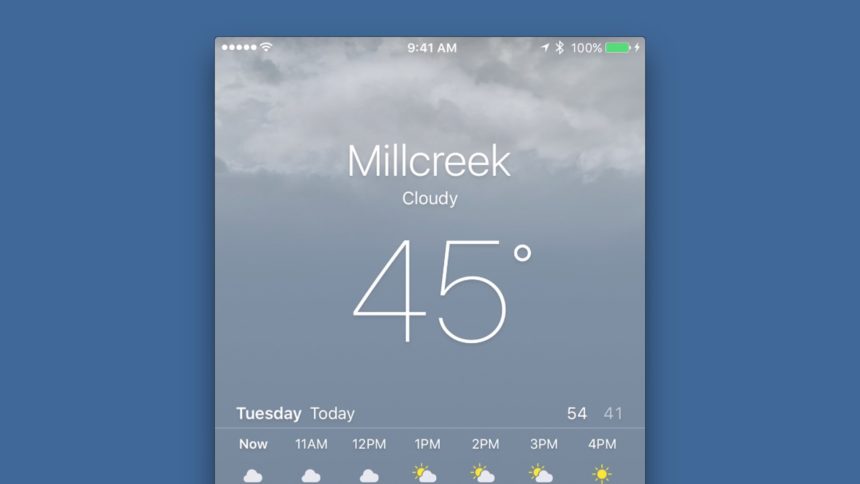
Now look at your actual iPhone or iPad, and you’ll see the same status bar there, as well. The reason this trick works to give you a clean status bar in apps that lack a solid background is that Apple changes the actual status bar on your iPhone or iPad when you launch QuickTime screen recording. Now, even though this entire process is designed to record video, you can use your Mac’s built-in screenshot tools to capture a screenshot of your iOS device at any time, complete with a perfect, clean status bar in any app.
When you’re done capturing clean screenshots, just quit QuickTime or disconnect your iPhone or iPad from the Lightning cable. Your device’s status bar will return to normal as soon as you perform either action (and don’t worry, the changes to the status bar are completely superficial and any apps that are reliant upon time or Internet connectivity will continue to function properly in the background while you record your screenshots).
Limitations
While the method described above works great for capturing all types of iOS screenshots, and is the only current method to capture clean status bars in apps without a solid background, there are some limitations compared to aforementioned solutions like Status Cleaner.
First, there’s no way to change the time using the QuickTime method. It’s true that “9:41 AM” is the popular time that Apple and many third party developers use to advertise their apps, but it may not be ideal for all screenshot scenarios. An app like Status Cleaner lets users set a custom time for their screenshots, including the ability to display the clock in a 24-hour format or without the “AM/PM” period designations.
The second issue is the lack of ability to customize the strength of your Wi-Fi and cellular signal display. With the QuickTime method, Wi-Fi and cellular strength will always be full, while an app like Status Cleaner lets you set specific cellular strength, include or omit the Wi-Fi indicator, and set a custom carrier text.
Considering these limitations, users may wish to keep an app like Status Cleaner around for processing screenshots of iOS apps that use a solid background behind the status bar, and turn to the QuickTime method only when dealing with an app that uses a status bar with a transparent background.
Troubleshooting
If you’re having trouble getting QuickTime to display your iPhone or iPad screen, first make sure that you’ve authorized the connection via your device and/or iTunes. Next, try quitting any other apps that may be attempting to access the device, such as iTunes or Photos.
If all else fails, ensure that your Lightning cable is fully working and isn’t damaged. You may also wish to try using a different USB port on your Mac. Recording your iPhone or iPad screen via QuickTime can be a bit tricky to set up, but if your Mac and iDevice meet the system requirements mentioned earlier, you should be able to get it going with a bit of port-swapping and application troubleshooting.






One thought on “How To Take a Screenshot on an iPhone without the Status Bar”