How to test Chrome OS in VirtualBox before buying a Chromebook
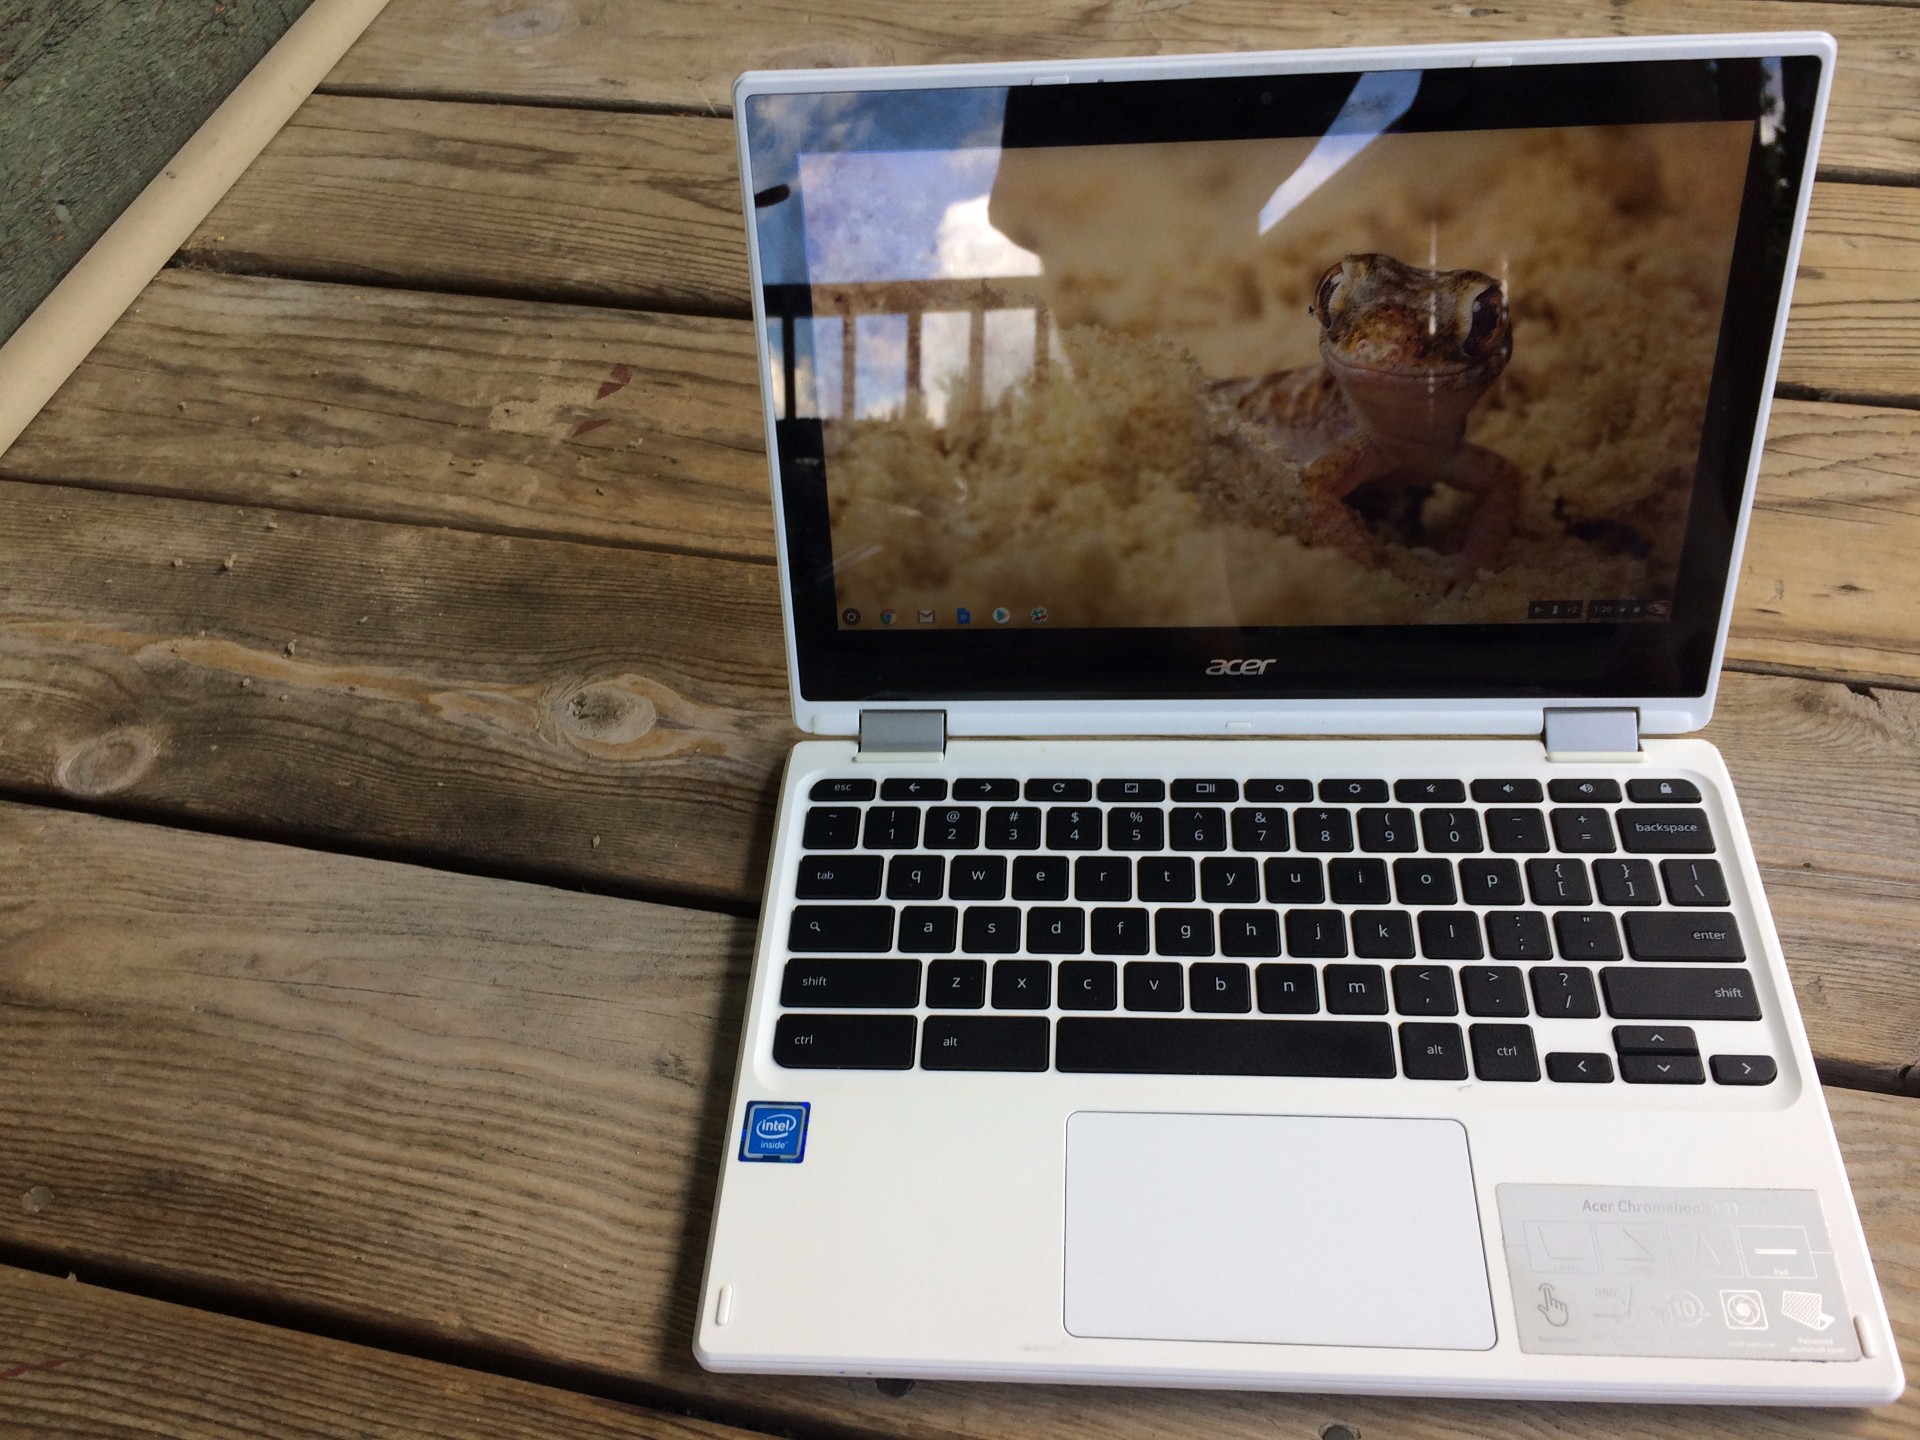
Chrome OS is an Internet-based operating system developed by Google. In other words, all you can really do with it is Internet-based activities, although on some Chromebooks you can now download apps from Google Play. But, for the most part, all you’re really going to be able to use is the browser — aside from the possibilities with apps, you can’t download Adobe Photoshop, Microsoft Word and things like that on here.
Still, the idea of Chrome OS is an intriguing one. Many of us only use our computers for the Internet browser, so in that sense, Chrome OS would be a decent idea. However, you don’t want to go out, buy a Chromebook and be disappointed in it. Thankfully, if you have a Windows machine, you can try it before you buy it using a couple of free tools.
Chrome OS and VirtualBox
For starters, you’re going to need to download a program called VirtualBox. VirturalBox is a great way to get a Virtual Machine up and running on your PC. There are other similar apps out there, but VirtualBox is free and easy to setup on Windows, Mac and even Linux.
Once it’s downloaded on your computer, go ahead and install it. We’ll also need the Chrome OS platform. Since Google does not offer a direct download for it, we’ll be using the Nevermore Cloud Ready package. You can find a direct download for it here. This download includes two .OVF configuration files and the virtual hard drive. Since we’re using VirtualBox, we’ll be, of course, using the VirtualBox .OVF configuration, which we’ll get to in a moment.
Now that you have VirtualBox installed and the Nevermore Cloud Ready files downloaded, we’re ready to start.
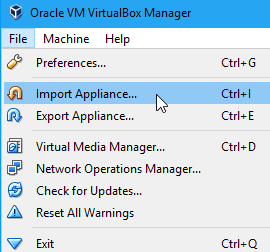
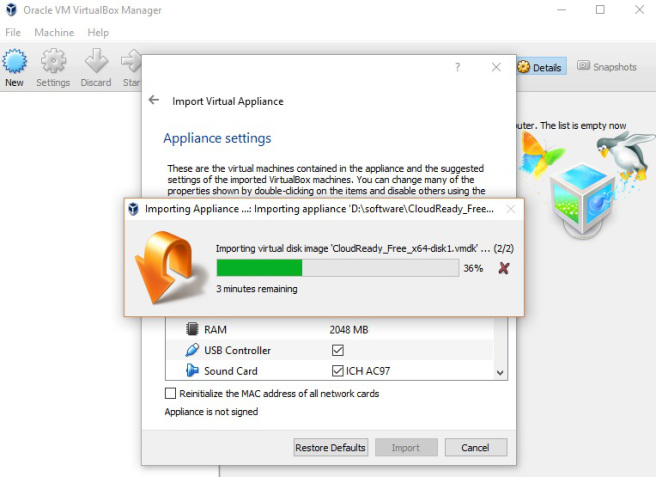
To start, open up VirtualBox. In the top navigation under File, select the Import Appliance option. You’ll want to navigate to your Nevermore Cloud Ready folder and open up the VirtualBox .OVF file. This starts the import process.
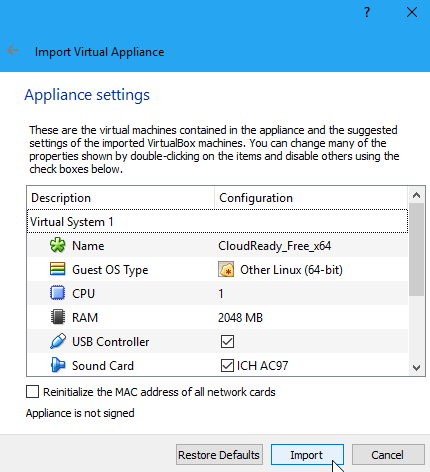
If you want, you can change the name of your virtual machine. By default, it should say something like CloudReady_Free_x64. You can leave it like that or change it something more personal and/or identifying. Either way, once you’re finished, simply press Import.
Once the Import button is pressed, it begins creating the virtual machine by pulling in the virtual hard drive to the proper folder, setting up the virtual machine’s settings, etc. Importing and getting this all setup can take some time; however, once that’s complete, the virtual machine may or may not be able to boot up. In some cases, there’s still some configuration you have to do.
If your virtual machine won’t boot up, you’ll need to select in VirtualBox and click the Settings button. Under the System tab, make sure the Enable EFI (Special OSes only) is checked. And then under the Audio tab, you’ll just want to make sure the Enable Audio box is checked.
Once you’re done, just press “OK” to save and apply your settings. Now, if your virtual machine wasn’t booting up before, it should now.
From the main window of VirtualBox, select your virtual machine and press the Start button. Your Chrome OS virtual machine should start booting up.
Since this isn’t directly from Google and is coming from CloudReady, you’re going to mostly see a lot of CloudReady branding instead of regular Chrome OS branding. That’s the only difference between what Google offers on its Chromebooks and the software that CloudReady offers — a difference in branding. Everything else functions exactly the same — the operating system itself is untouched.
Chrome OS in a virtual machine
There are a couple differences between the virtual machine version of Chrome OS and a regular Chromebook. For instance, since this isn’t straight from Google (and that this is a VM), you’re not going to get Chrome OS updates from them. However, you will get updates for CloudReady, but this often takes a good chunk of time after Google releases an update.
It’s also worth noting that this isn’t going to be the same experience as a Chromebook. It will give you the feel for Chrome OS and allow you to get comfortable with Chrome OS. However, Chrome OS was designed to operate on lightweight and snappy hardware. Unfortunately, a virtual machine isn’t able to clone that experience. What it can do is show you what Chrome OS is all about to help you make a more educated purchase. Or, maybe even decide that Chrome OS isn’t for you, saving you money and time at the store.
Is Chrome OS for you?
Chrome OS certainly isn’t for everybody. Designed to be a lightweight and Internet-based operating system, you’re not going to be able to use all the same software that you might in Windows 10. In fact, on Chrome OS, you’re pretty much just relegated to what you can snag from the built-in app store. By using the CloudReady software in a virtual machine, you can get a hands-on approach, helping you really decide if Chrome OS is for you or not. Really, if you need to use more of a computer than just the Internet browser and some apps, Chrome OS probably isn’t for you and you need something more heavy duty.
Closing
By following the steps above, you should have successfully created and launched a virtual machine with Chrome OS in tow. By doing this, you’re able to take Chrome OS for a spin without paying a dime, saving yourself some time and money at the store (or even online with shipping things back and forth).
On top of that, we showed you how to setup your own virtual machine using .OVF files, so if there’s another OS you want to try, you can essentially do it again following the steps above, but with another operating system (it’s also fairly easy to setup a virtual machine in VirtualBox with ISO files as well).
If you got stuck anywhere or have any questions, be sure to leave a comment in the comments section below!








One thought on “How to test Chrome OS in VirtualBox before buying a Chromebook”