IAStorDataSvc Using Too Much CPU in Windows 10 – How To Fix

When Windows 10 was first released, it came with an early version of the Intel Rapid Storage Technology driver. It was known to utilize the CPU quite extensively, up to 30-40% in some cases. You can stop the process in Task Manager but as soon as you reboot your computer, the cycle begins again. Here is how to fix IAStorDataSvc using too much CPU in Windows 10.
I have covered this previously in ‘How To Stop Iastordatasvc Causing High CPU Usage In Windows 10’. That article deals with new upgraders to Windows 10 from Windows 7. Now, a good year or so on from that, I am still getting called out to users for whom IAStorDataSvc is using too much CPU.
The same advice in that article remains, but there are also a couple of other things to be aware of. This article will cover them all.

IAStorDataSvc using too much CPU in Windows 10
The Intel Rapid Storage Technology driver isn’t required on a Windows computer at all and you can safely remove it if you wish. The driver acts as a hard drive cache manager and a bit like the Windows cache. It learns what apps you use most and stores the main files in a cache on your SSD (if you have one). It then tells Windows to fetch those files instead of those stored on your HDD for faster access. If you use RAID, the Intel Rapid Storage Technology driver helps manage striped data.
The Intel Rapid Storage Technology driver can be useful but essentially duplicates some Windows functions. It may speed up Windows boot time, but only by a couple of seconds if you have configured Windows correctly.
The first fix for IAStorDataSvc using too much CPU in Windows 10 is to remove the driver altogether.
Remove the Intel Rapid Storage Technology driver
If you want to remove the driver altogether, you can safely do so. As mentioned, a couple second penalty to boot is a small price to pay for a stable system.
- Type ‘control’ into the Search Windows/Cortana box and select Control Panel.
- Select Uninstall a program.
- Select the Intel Rapid Storage Technology driver from the list and select Uninstall.
- Allow the uninstaller to complete and reboot your computer.
You may or may not even notice a slight slowdown in boot time but what you will notice is the lack of CPU activity on your machine. Windows does a pretty good job of caching to memory and if you have enough RAM, you should not notice any performance penalty through not using the Intel driver.
Update the Intel Rapid Storage Technology driver
If you don’t want to remove the driver, try updating it instead.
- Navigate to Intel’s website and download the Intel Rapid Storage Technology driver.
- Use the installer and follow the wizard.
- Reboot your computer for the changes to take effect.
Newer drivers do not cause the high CPU utilization issue of earlier versions so you should no longer see the problem.

Use a newer Windows 10 ISO
A couple of the callouts I attended for this high CPU issue were down to the user loading Windows 10 from the ISO they downloaded when the OS was first released. This is an inefficient way of doing things.
Windows 10 has been updated a lot since that initial release. If you use an older ISO, Windows will have to download all updates, including the Creators update and install them. It is much faster to keep a relatively up to date version of the Windows 10 ISO to hand, especially when a significant update is released.
- Navigate to the Microsoft website and download the Windows media creation tool.
- Create USB media. You can select DVD if you like but the Windows file is now larger than single layer DVD. You will need a dual-layer DVD and a writer capable of writing dual-layer.
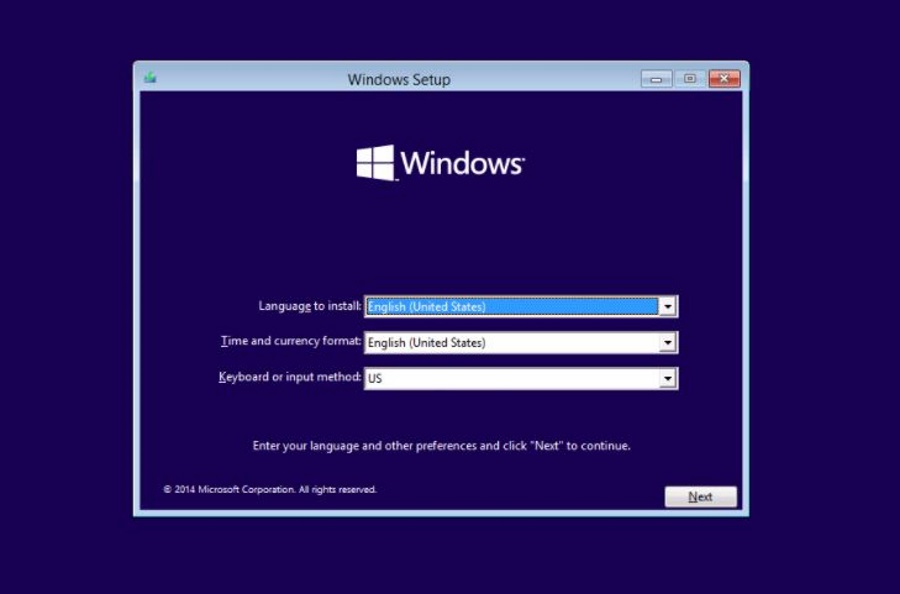
- Install Windows 10 from this new media.
Originally, you could create DVD media containing everything Windows 10 required to install. Since the Creators update, the file size now exceeds the storage capacity of a standard DVD. If you have dual-layer media and a writer, you’re golden. If you don’t, buying a 16GB USB drive is cheaper and easier to use.
The Intel Rapid Storage Technology driver tries hard to make itself worthwhile on a computer but unless you run RAID, you don’t really need it. If you want to keep it, you can do but if it begins causing CPU utilization issues like those above, you now know what to do.
Got any other ways to fix IAStorDataSvc using too much CPU in Windows 10? Tell us about them below if you do!


One thought on “IAStorDataSvc Using Too Much CPU in Windows 10 – How To Fix”