How to Install and Use Your AirPods on an iPhone X

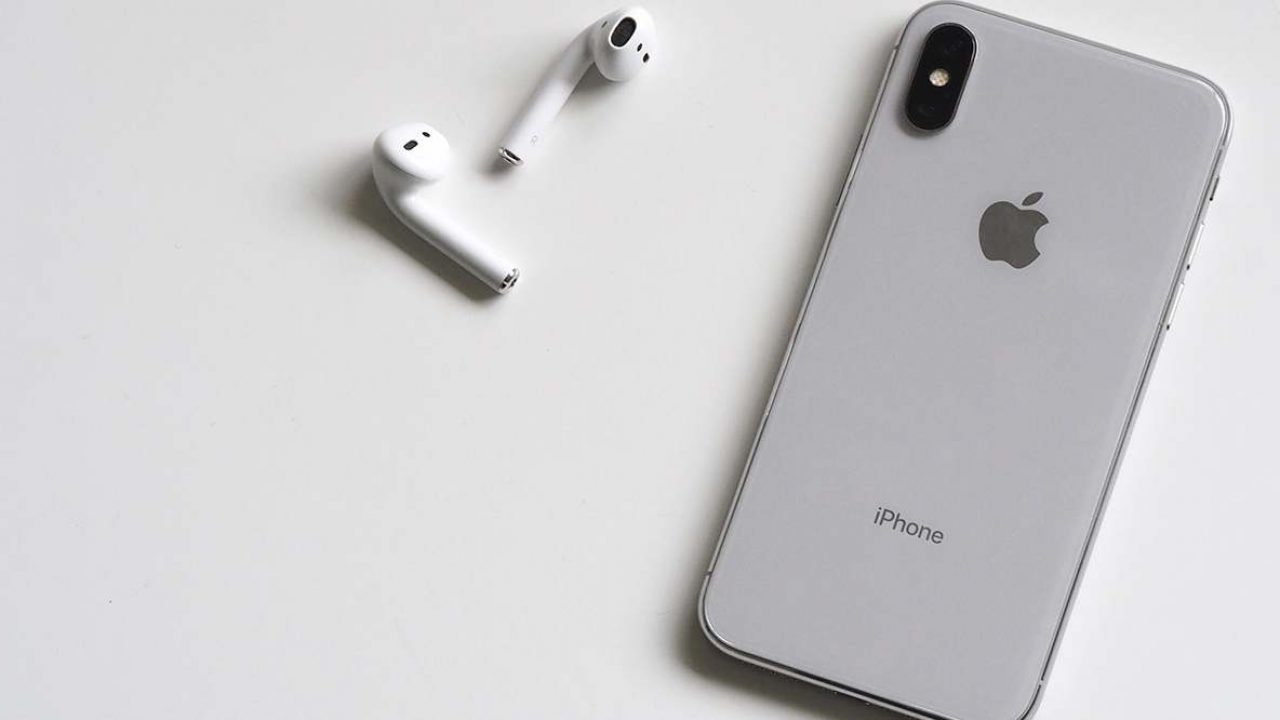
It seems Apple is doing everything they can to make their devices synced and easy to use. Installing and using AirPods has never been easier, and some people find it too good to be true. In this article, we’ll explain to you how to install AirPods to your iPhone X, as well as discuss some potential problems that may appear.
The only things you need are your phone, your AirPods, and a few minutes of free time.
Step-by-Step Guide
Before we start, unlock your iPhone X and go to the Home Screen. Now, carefully open the case of your AirPods, holding it near your iPhone. Something unusual will happen – an animated image that looks just like your AirPods will appear on the screen. From there, you can just follow the guide to set up your AirPods:
- Tap on the Connect button.
- Wait a few seconds until it’s connecting.
- On the next screen, you’ll see the battery status of your AirPods (don’t worry, they don’t come fully charged, so there’s nothing wrong with your AirPods if their battery level is only 80 percent).
- Congrats, you’ve installed your AirPods!
You can now either leave them in their case to charge a bit more, or you can start using them right away.

What If It Doesn’t Connect?
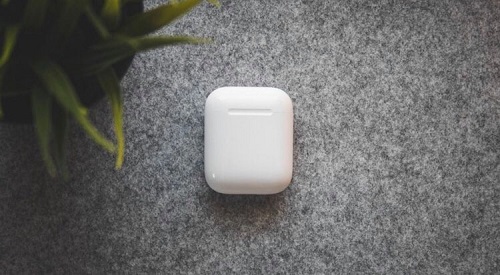
There are a couple of tricks you should know. If you’ve opened the case, but nothing appears on your iPhone’s screen, don’t worry. Simply press and hold the white button on the back of the case while holding the case open. It should activate the light on the case, and it should then connect your AirPods with the iPhone.
Another potential problem can occur if you haven’t updated your system in a while. Instead of the Connect button, you’ll see all the Updates that you haven’t installed. You can either update your system or, if you don’t have time, you can skip it for now. Just click on Set up with Limited Functionality, and continue setting up.
Two other things worth checking are whether or not your Bluetooth is on and whether the AirPods are charged enough. Turn on Bluetooth on your iPhone and try connecting again. If nothing happens, it probably means the AirPods aren’t charged enough. Put them back in their case and leave them for at least one hour before you try to connect them again.
Hopefully, it’ll work after that. If not, you may need to contact Apple customer service for additional help.

What About AirPods Pro?
If you decide to upgrade to AirPods Pro, you may think that the process is probably more complicated. But that’s not true. Yes, AirPods Pro may have better sound quality, but they’re still very simple to use. You can follow the same guide for installing regular AirPods and there shouldn’t be any problems.
How to Switch Between Devices?
Most people use their AirPods with their iPhone, iPad, and their Apple Watch. But what happens when you’re listening to music on your iPad and your iPhone starts ringing? Can you answer using the AirPods? If you have iOS 14, the answer is yes. This feature appeared in September 2020, and it’s making the lives of AirPods users much easier.
If you haven’t updated your system, here’s how to switch manually:
- Open Control Center on your iPhone.
- Press and hold the Audio sign at the top right corner. You’ll see a list of devices you can use.
- Tap on the device to which you want to connect your AirPods.
Keep It Updated
It’s essential to keep your iOS devices updated because each update carries some useful feature. For example, iOS 14: if you haven’t updated it, you won’t be able to switch between devices automatically, which is an excellent feature. Updates don’t take a lot of time, but your devices will work faster and smoother after each of them.
We hope this guide was useful to you. Do you have any other questions about AirPods or iPhone X? Let us know in the comments section below.


