How to Install the Phoenix Add-on KODI
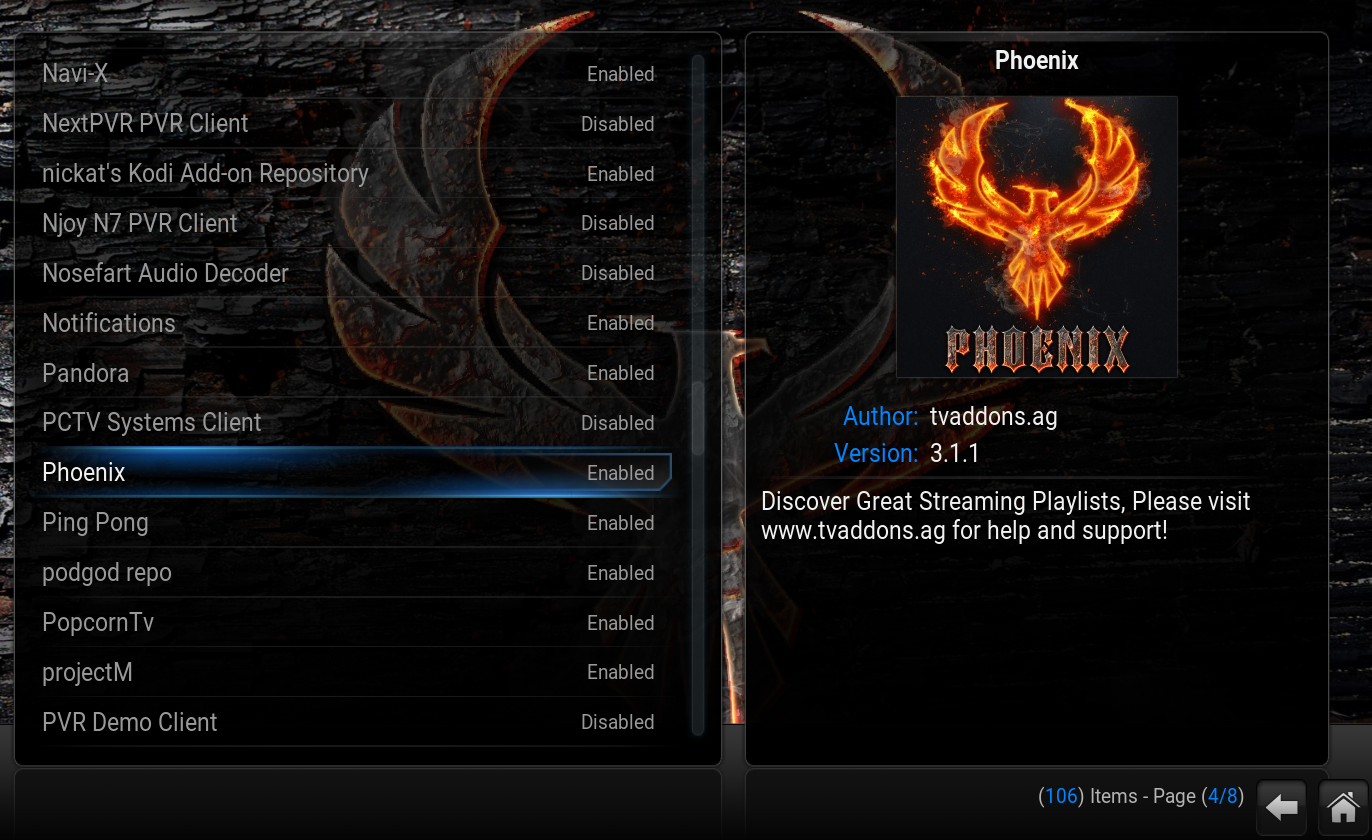
In case you don’t already know, the Phoenix add-on for KODI is a must-have. You want to get the best overall experience out of your media center software, so let’s talk about getting Phoenix installed and running.
We’ll start by covering installation of the SuperRepo repository, and then move on to showing you how to install the Phoenix add-on.
Install SuperRepo
Follow these steps to get SuperRepo installed on your version of KODI media center.
- On your KODI home screen, go to the “System” tab.

- Click on “File Manager.”

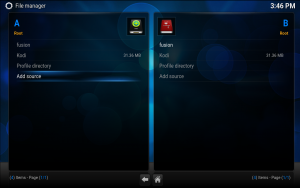
- On the left-hand side of your screen, select “Add source.”

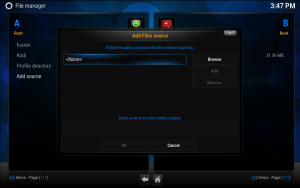
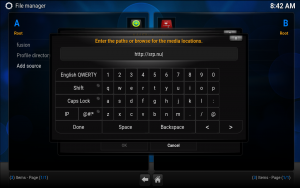
- Choose the text box that says “<None>” and the on-screen keyboard will appear.

- Next, type http://srp.nu (SuperRepo repository Web address) and click on the “Done” button.

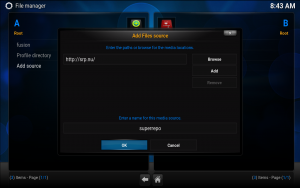
- In the text box at the bottom of the screen where it says “Enter a name for this media source,” type “SuperRepo” and click the “Done” button again.

Your File Manager should now have SuperRepo added to its list.
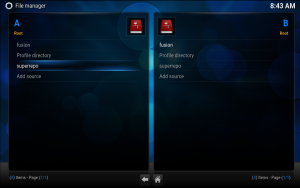
Now head back to the KODI home screen.
Here we’re showing you how to install the proper version of SuperRepo for your KODI version.
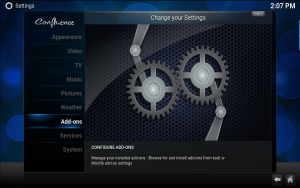
- Go to “System” and click on it to open the next screen, where you’ll navigate down to “Add-ons” in the left panel.

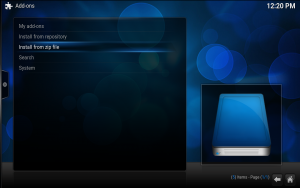
- Select “Install from zip file” in the list.

- On the next screen, you’re going to choose the SuperRepo drive icon.

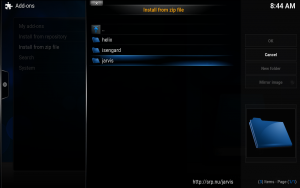
- Now a screen with a list of the three most relevant KODI versions will be displayed. You’re going to choose from Helix, Isengard, or Jarvis. (Note: Make sure you know which version you have installed, then proceed.)
- Click on the repository zip file you’ll be installing—we’ve chosen Jarvis because it’s the version installed on our end.

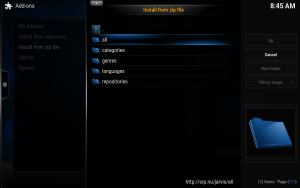
- Next, you can select to install “all” the repository add-ons or select “video” in the “categories” folder, which is where the Phoenix add-on is located.

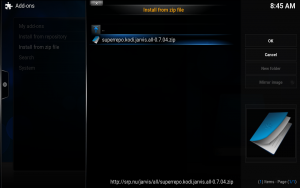
- Then you’ll select the zip file on the following screen and double-click to add the repository.

- A notification saying “SuperRepo add-on enabled” will appear in the lower right-hand corner of your screen once it’s installed.

Return to the KODI home screen one last time.
Install Phoenix
The SuperRepo repository has been added to KODI.
- Go to System > Add-ons > Get Add-ons > All Add-ons.
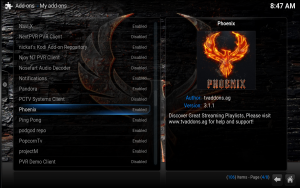
- Phoenix is in the add-on list and ready for you to install. Find Phoenix, click on it, and select the “Install” button on the next screen.
- A notification box will appear in the lower right-hand corner of your screen, alerting you of Phoenix’s successful installation.

This method that we’ve shown you to acquire and enable the Phoenix add-on for KODI is intended for those of you who don’t wish to enable an add-on installer program, like the one provided when installing Fusion. If you’d like to install Fusion, which also comes with other added features, we’ve covered that in a separate article which you can find located right here on TechJunkie.







2 thoughts on “How to Install the Phoenix Add-on KODI”
You didn’t do anything wrong. Go to Videos and under there it will say add-ons. Click add-ons and it should bring up a list of all your installed add-ons. Now just scroll through and Phoenix should be in there. Click on it and enjoy!
Thanks
Catherine