How to Install a Ring Indoor Camera
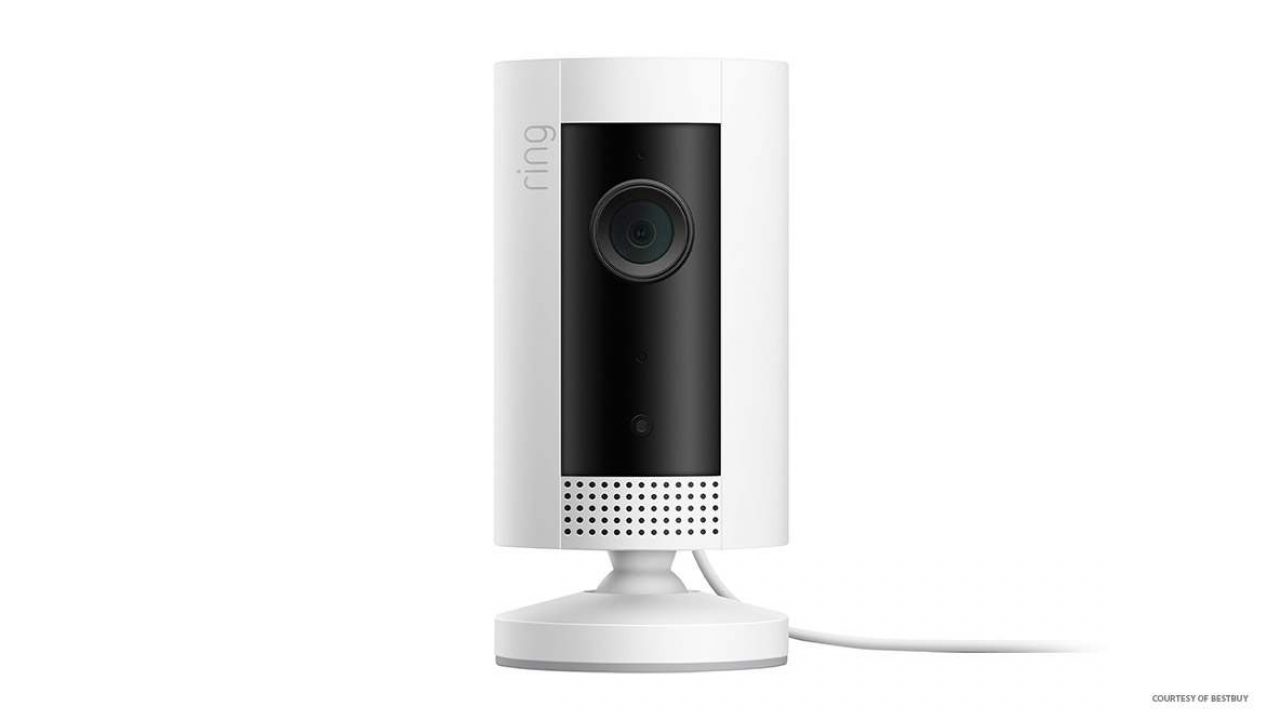
Indoor security cameras are a great way to see what’s going on at home when you’re not there.
Do you wonder how your pets are doing when you leave the house? You can check on your security cam app.
Are your children doing the chores you assigned them? Take a quick peek at your camera footage to find out.
Or if you just want the peace of mind of knowing that your home is secure, Ring can give it to you.
But first, you need to install it correctly.
Take a look below to get your indoor Ring camera up and running.
Step One – Decide on Your Ring Camera Location
This may seem like a no-brainer, but if you only have one or two cameras, you’re going to have to make some hard decisions.
Where do you want to install your camera?
Remember that you can install your Ring just about anywhere inside your house. You can mount it to the ceiling or wall. Or it can sit on its stand on a shelf or table.
Choose the spot that can give you the best unimpeded view of the area that you want to monitor.
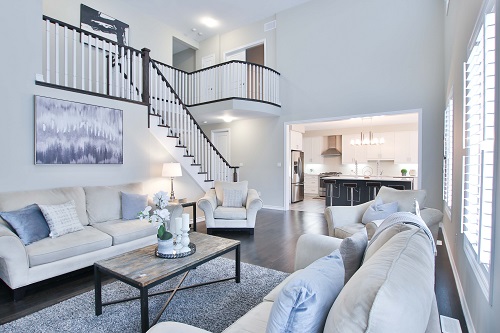
For example, if you want a view of your entryway, try not to put your monitor on a table where plants or coats may accidentally cover the camera. Consider mounting the Ring in a corner instead.
Also, consider the power outlets in the area when choosing a spot for your Ring. It needs constant electricity to work and only has a 6.5-foot cord. So, make sure it can reach the closest power source safely from where you plan to install it.
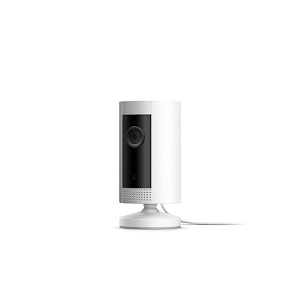
Step 2 – The Installation
Make sure you go through the initial set-up process for your Ring camera account before physically installing it.
Installing Ring on a Shelf or Table
If your chosen location is a table or shelf, you’re in luck!
It’s the easiest way to “install” your Ring.
Simply go to your Ring app and select Set-Up a Device. Scroll down to the Security Cams option and tap on it. The next screen allows you to scan the QR code on the back of the Ring camera to sync it to your system.
Next, you’ll receive a prompt to power up your camera. Make sure to push the power cable firmly into the back of your camera before plugging it into an outlet.
If you feel a little resistance when you push the plug into the back of the camera, try wiggling it a little. You want the plug partially recessed into the housing of the camera.
Now you’re ready to set your camera on a flat surface.
Installing a Ring Camera on a Wall/Ceiling
First, you need to remove the base or stand, at the bottom of the camera. You’ll need a Phillips-head screwdriver to do this.
Reattach the base to the back of the Ring camera. Make sure that the UP arrow on the bracket is pointing the right way. Secure it into place with your Phillips screwdriver.
Next, remove the mounting bracket from the base. This piece slides down for easy removal.
Once you remove the mounting bracket, it’s time to mount the camera to the wall.
Hold the mounting bracket you just removed and place it against the wall. Make sure that it’s still pointing the right way with the UP arrow pointing upwards. Use the included screws and mount the bracket into place.
Now it’s time to attach your camera to the wall.
Use the grooves in the base to slide it onto the hooks in the bracket. When your camera is secure, it’s time to plug the power cord into your Ring camera and then into an outlet.
You can also rotate the camera to get the perfect angle for your location. When in doubt, open the live video feed on your Ring app to make sure that the view you have is the one you want.
Before You Go
The Ring Indoor Camera is one of the most versatile home security cameras around. But many people make the mistake of placing it at an improper height.
If you do it too low, you may not get the views that you want. If you place it too high, you may not be able to make out people’s faces, depending on the angle.
It’s better to reposition your camera then end up with a blind spot when you need it most. Did you have any problems installing your Ring camera? Where do you position it? Let us know in the comments section below.


