iOS 12: How to Use the New Do Not Disturb Options in Control Center
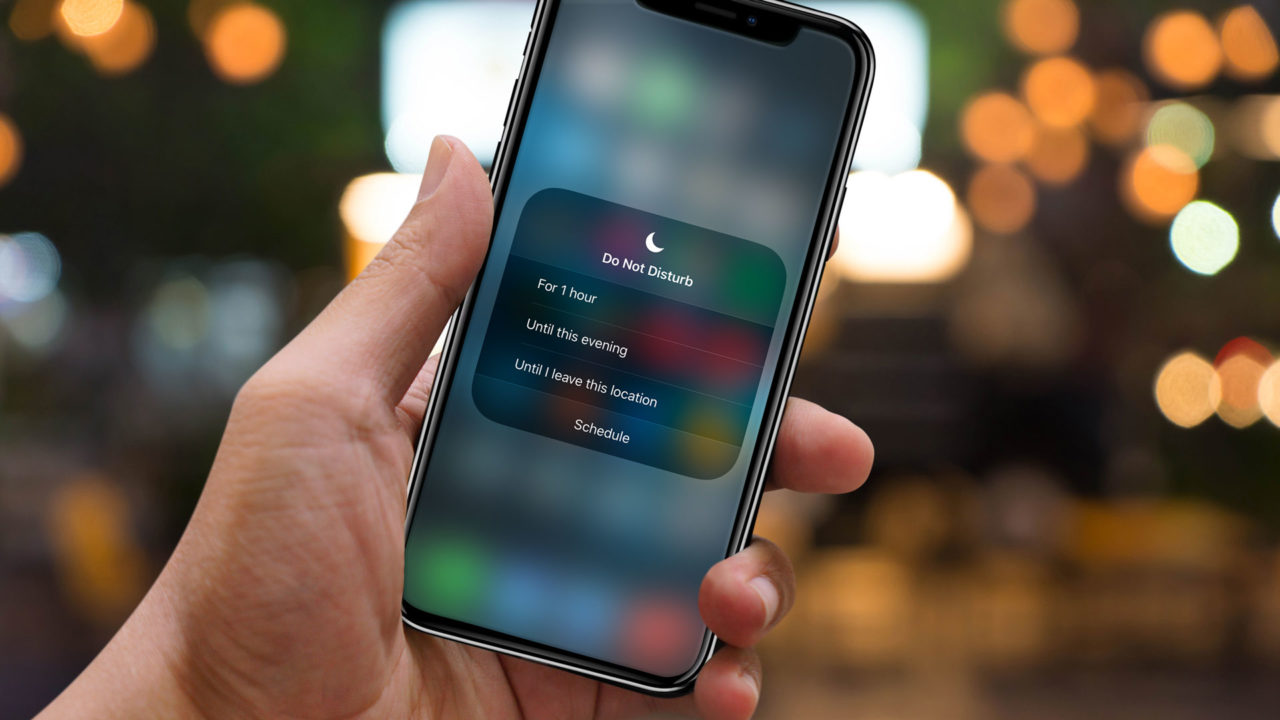
With iOS 12, Apple’s newest version of the operating system for the iPhone and iPad, you can use the Control Center to access more options for Do Not Disturb than you could before, including being able to turn it on until you leave your location or until your current calendar event is over. That’s pretty handy if you can’t be bothered during a business meeting, for example, but you don’t want to forget to turn off Do Not Disturb for the rest of the day!
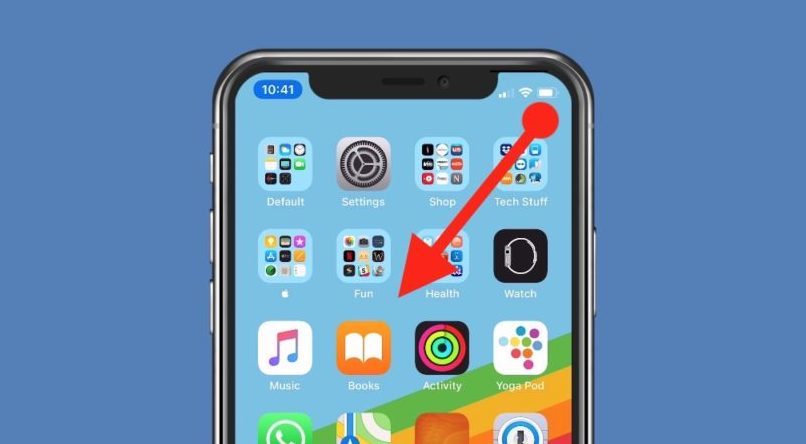
So the Do Not Disturb feature, which has been available on the iPhone and iPad for years now, is a way that you can enable or schedule quiet time for an iOS device. If you keep yours right next to your bed and don’t mute it when you sleep (or sometimes forget to), this will prevent late-night texts and calls from waking you up! Under iOS 12, though, we have some new abilities available from Control Center, and here’s how to get to those: First, invoke the Control Center by swiping down from the upper-right corner of your screen (for iPhone X/Xs/Xr and iPads running iOS 12):
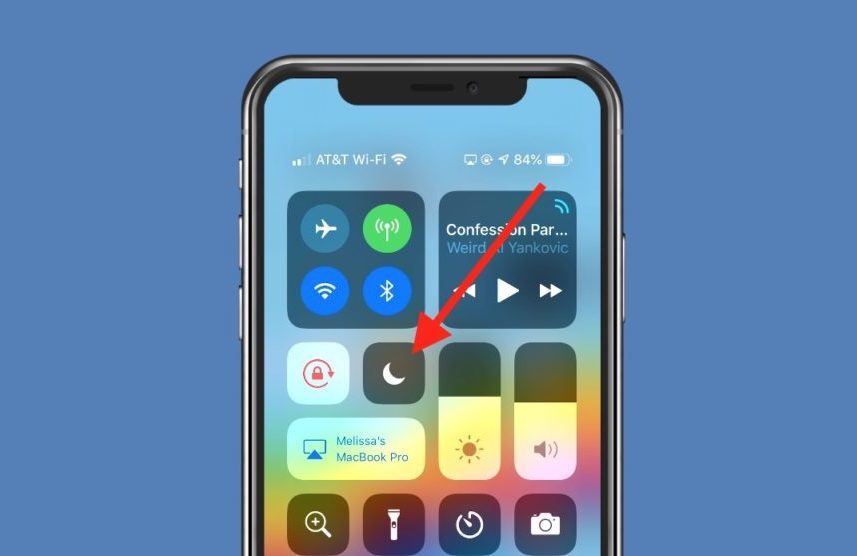
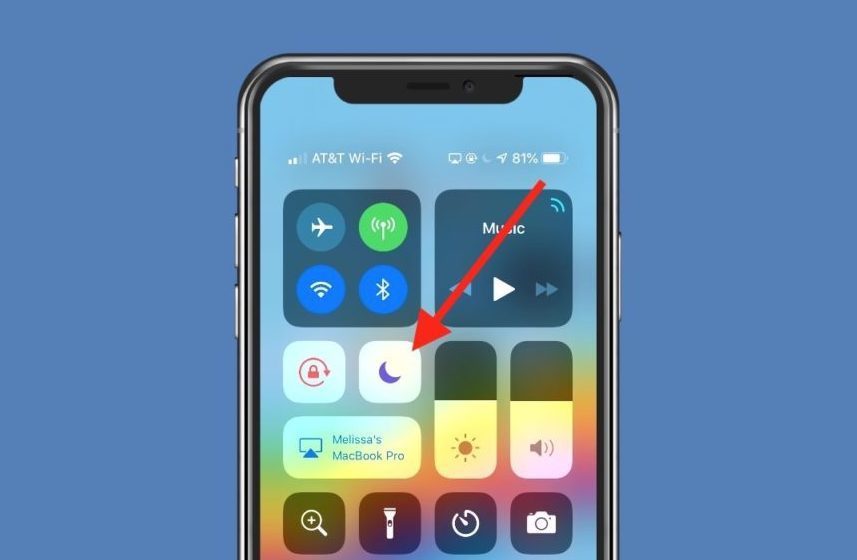
…or by swiping up from the bottom of the screen (all other models). When Control Center appears, look for the tiny moon icon; that enables Do Not Disturb, and you can tell when it’s on because the moon will change from grey and white…
…to white and purple.
If you press with a little force on that icon or touch and hold on it (depending on your device), you’ll find some new choices with iOS 12.
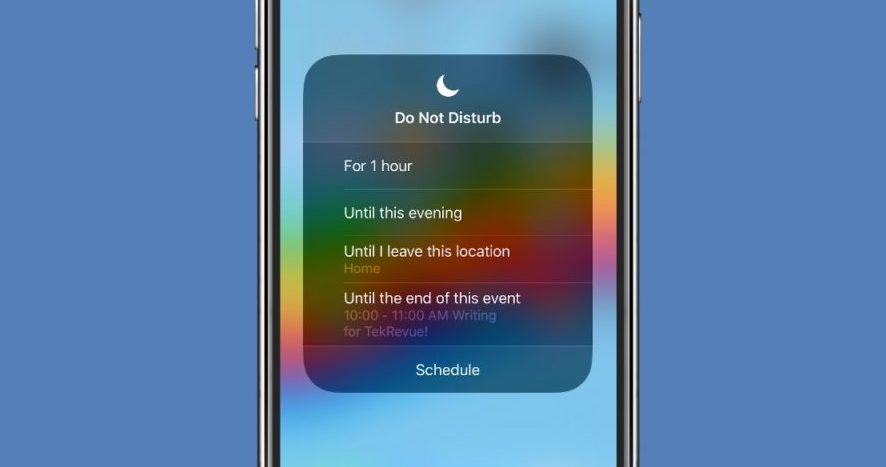
As you can see, this will let you jump right in to scheduling Do Not Disturb with the button at the bottom, but you can also toggle on Do Not Disturb for one hour, enable it until a different part of the day, turn it on until you leave where you are, or enable it until your current calendar event (if any) expires. (That last option will only appear if you’re in the middle of an active event.) Whichever you choose, though, you’ll then see a notification on your device’s lock screen telling you that Do Not Disturb is on and letting you know when it’ll expire.
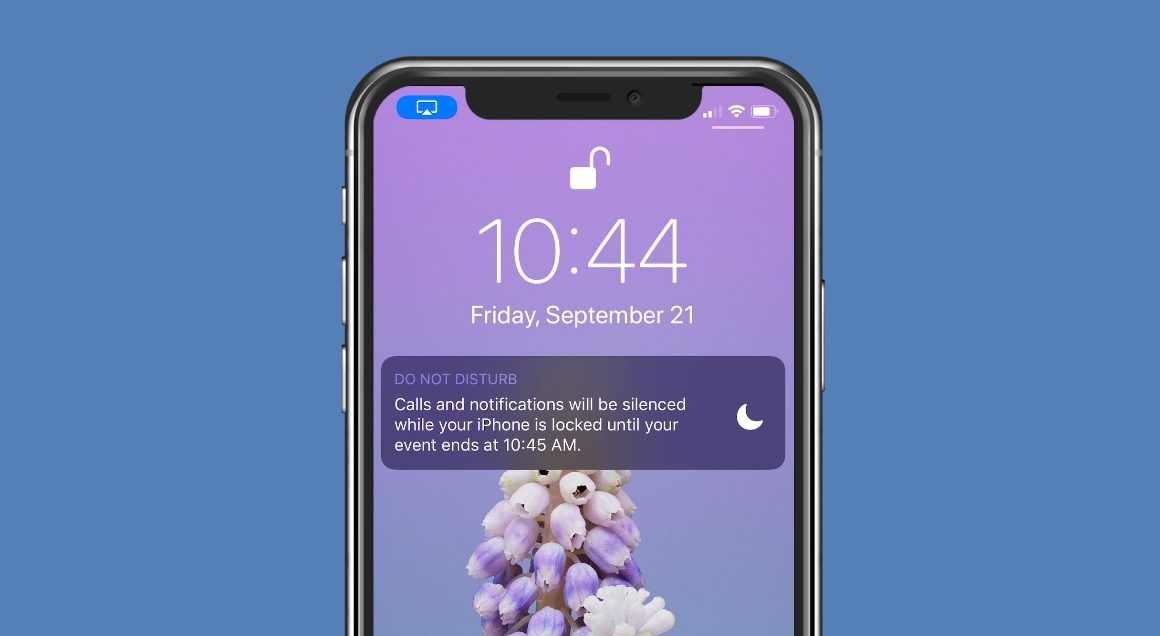
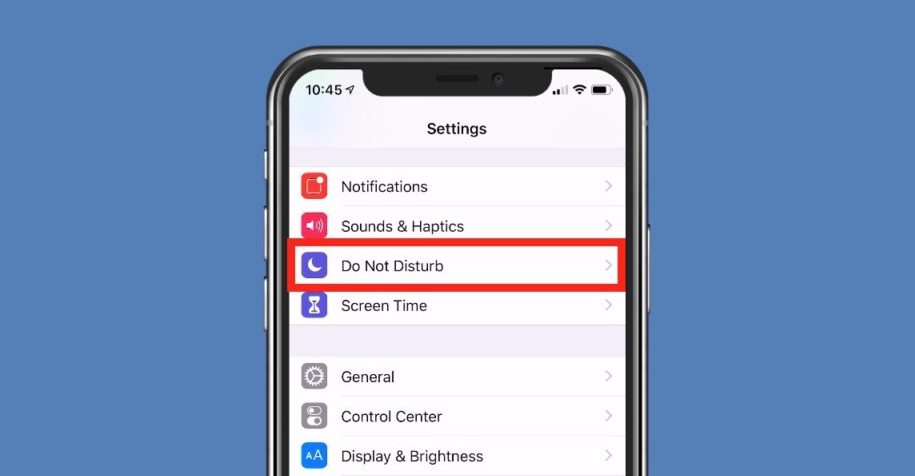
If you tap that lock-screen notification, you’ll get the choice to manually disable Do Not Disturb without having to go back to Control Center, just so you know. But of course, you can always invoke Control Center again to manually toggle it off using that moon icon, or just as with iOS 11, you can open your Settings app and go to “Do Not Disturb” to further adjust the feature’s schedule and options.
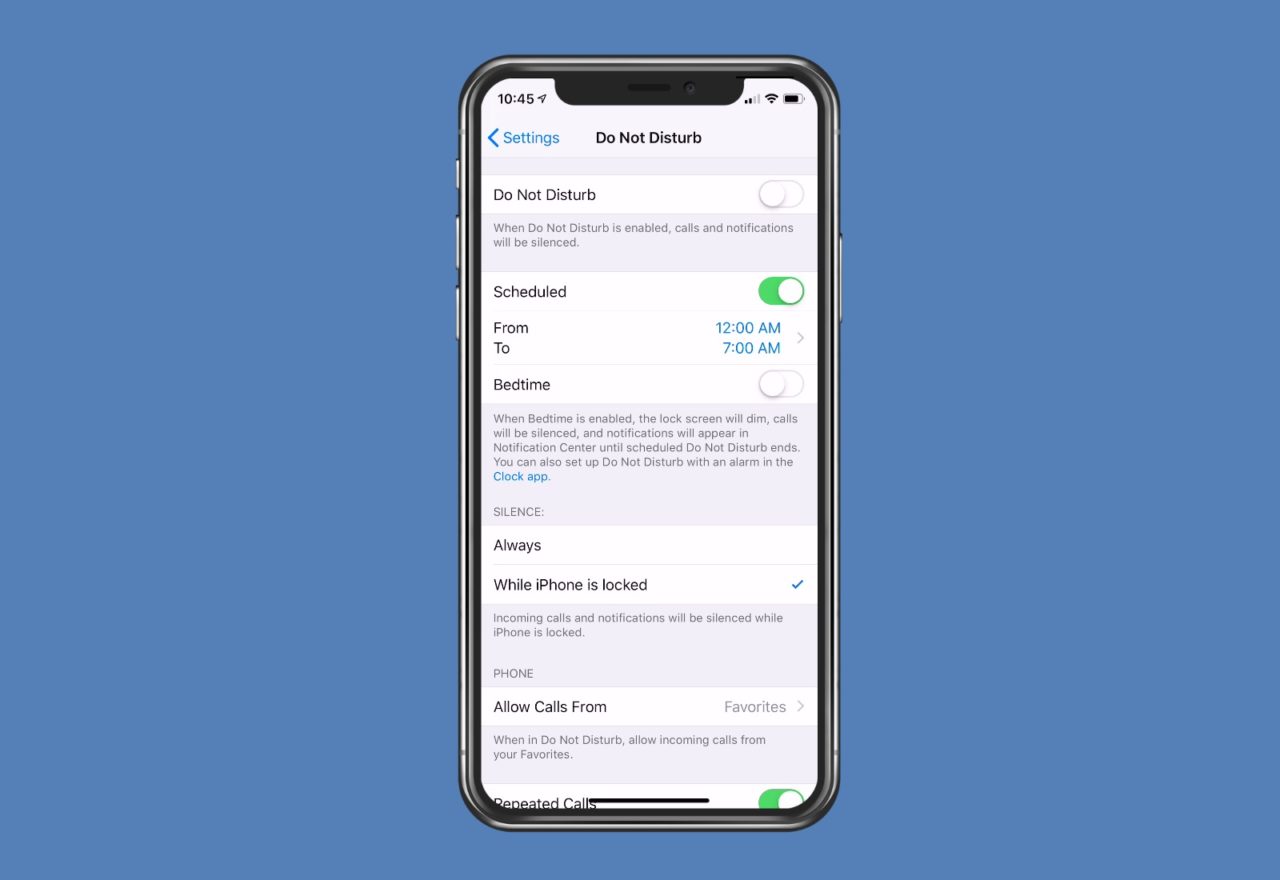
If you need more information about Do Not Disturb and how it works, check out TekRevue’s article on using “Do Not Disturb at Bedtime.” Or Apple has an extensive support article on the subject, of course. When does Apple NOT have an extensive support article on something, though? I’m sure you could’ve guessed that was the case.







One thought on “iOS 12: How to Use the New Do Not Disturb Options in Control Center”