How to Add Detailed Metadata to Ripped Movies in iTunes
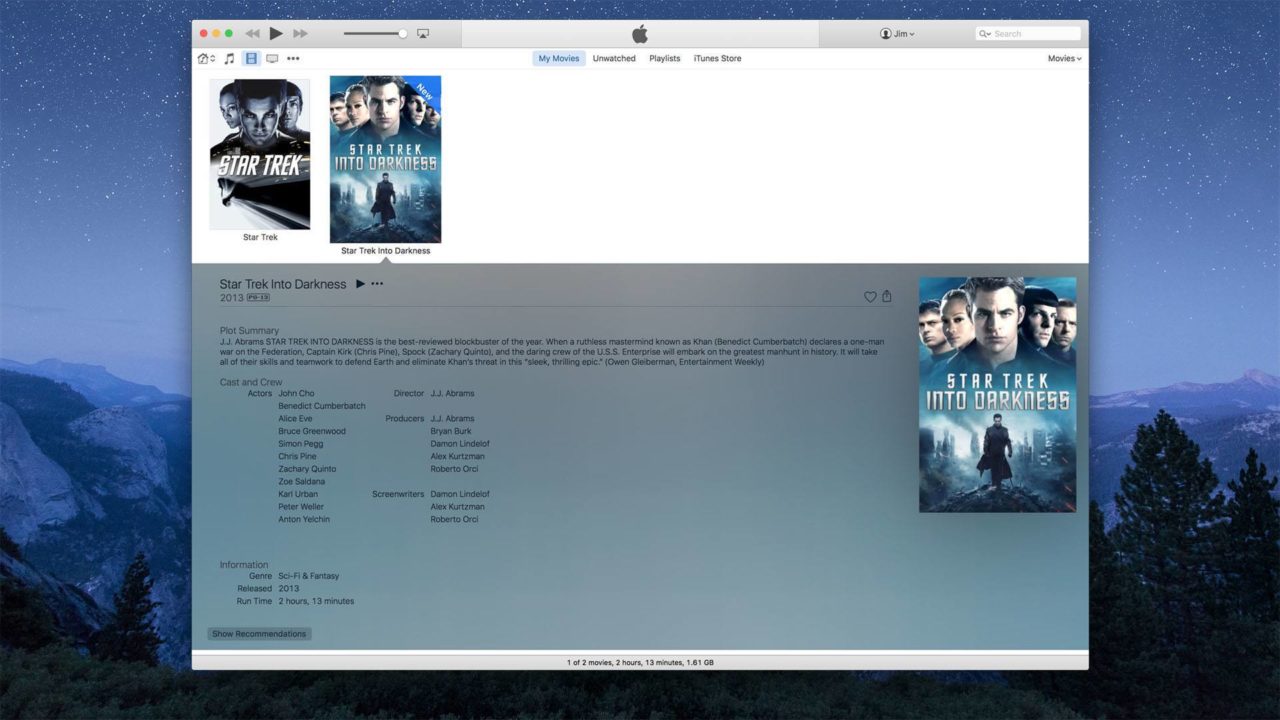
When you buy a movie from the iTunes Store, it is displayed in your iTunes library with official artwork, plot summary, cast and crew information, and other relevant metadata.
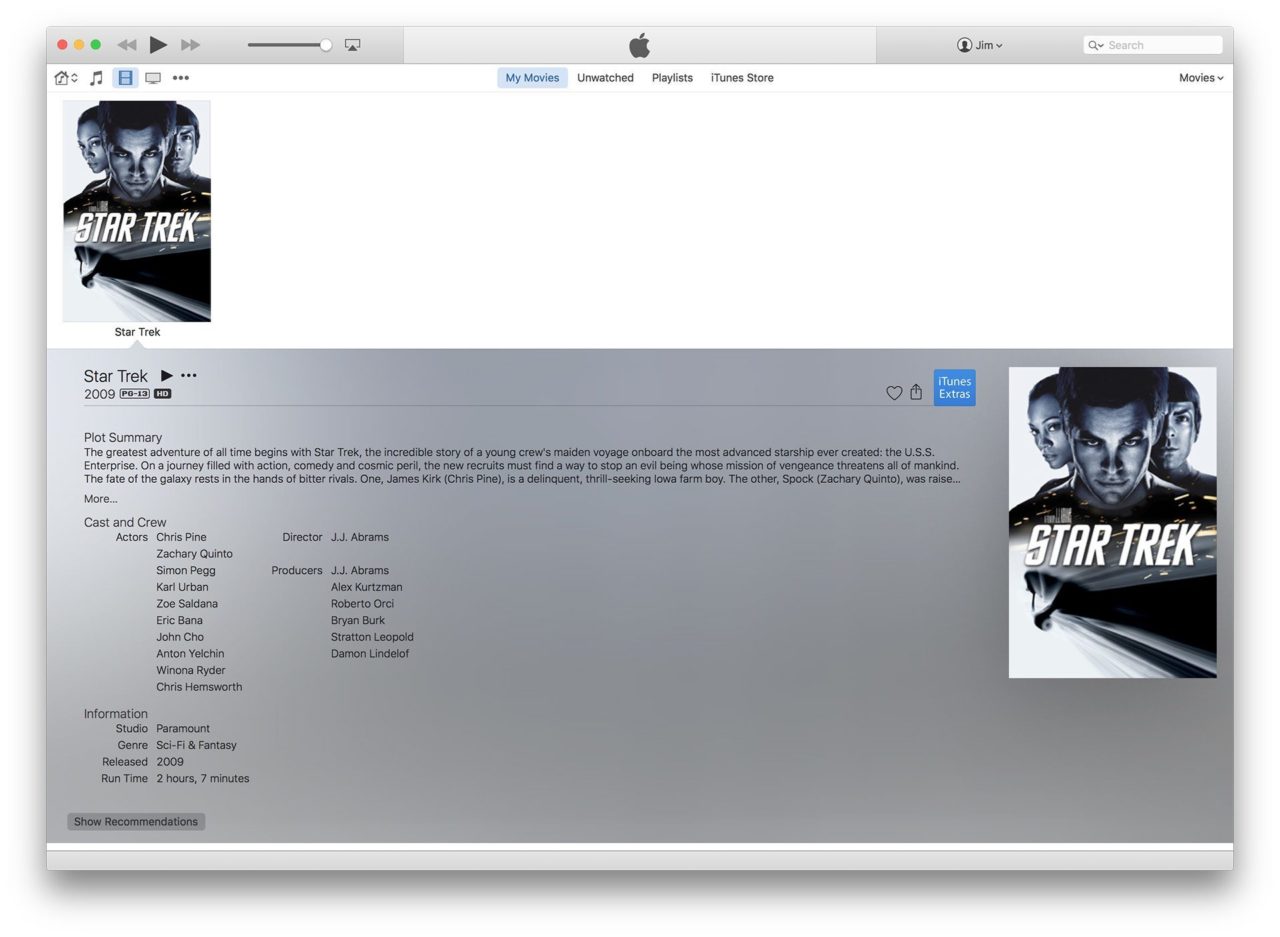
When you import your own ripped DVDs and Blu-rays, however, you get quite a different experience. By default, movies manually imported into iTunes are displayed in the “Home Movies” category, and lack all metadata and artwork.
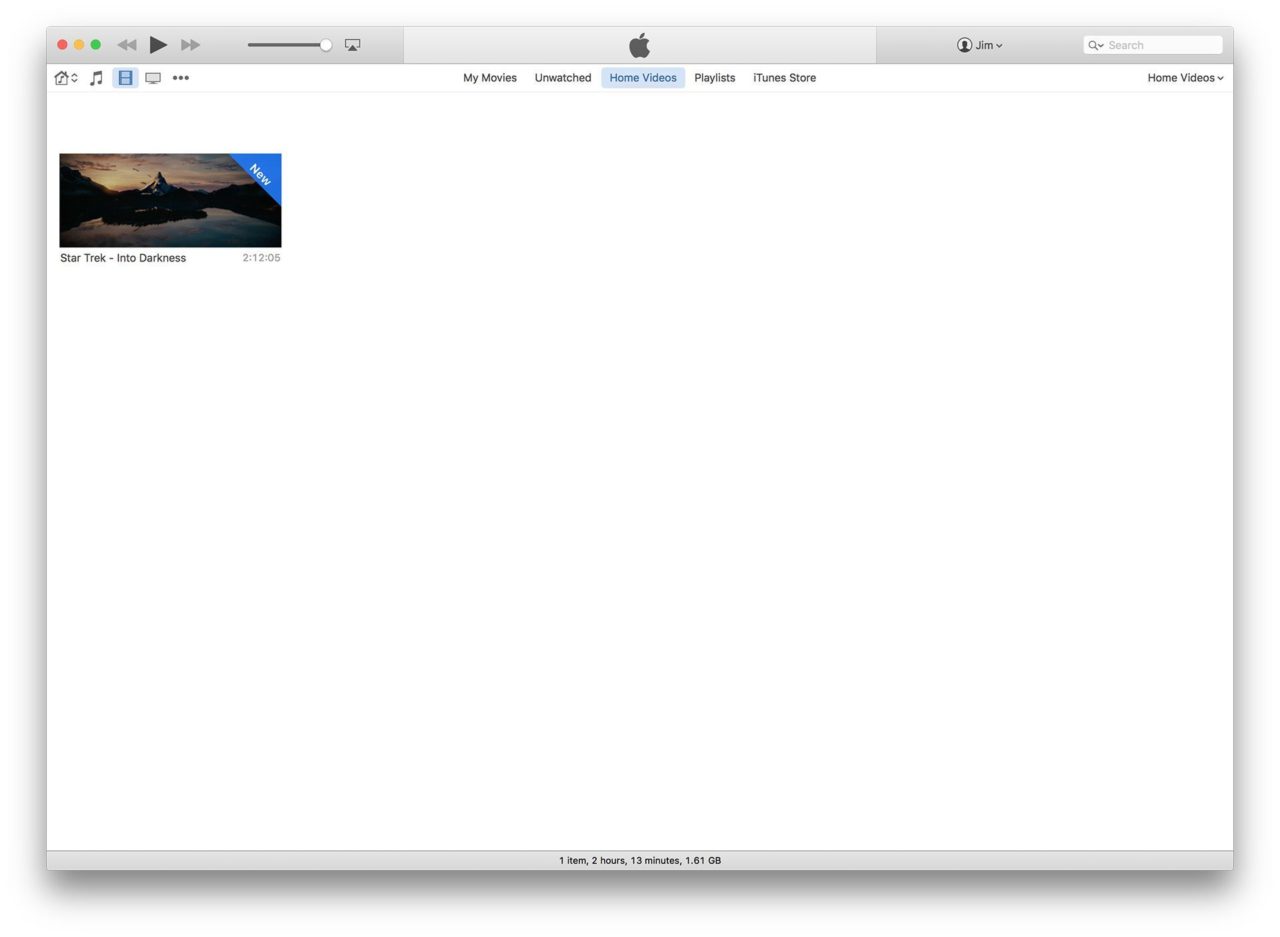
Users can manually edit some metadata for imported movies, such as title, year, and artwork, but certain information — including plot summaries, cast and crew, and MPAA rating — can’t be edited by the user with the default iTunes interface. Thankfully, Mac users can add complete metadata to their ripped movies with help from a third party utility called Subler. Here’s how it works.
For this tip, we’ll be using an .m4v file ripped from the Star Trek Into Darkness DVD.

First, download Subler from the project’s website. The version used and displayed in the screenshots for this tip is 1.0.9. Unzip the downloaded file to reveal the Subler app, and double-click to launch it. Unlike most apps, Subler will simply appear in your Dock, and won’t display any windows or interface until we give it a file to process, so let’s move on to that step next.
![]()
Locate the movie file to which you wish to add metadata. It must be a file that is compatible with iTunes — for example, a movie ripped with one of the Apple TV or iPad presets in Handbrake — and it can’t be protected with DRM. In other words, you can’t use Subler to modify the metadata of your purchased movies from the iTunes Store; it can only be used with files you encoded yourself or obtained from DRM-free sources.
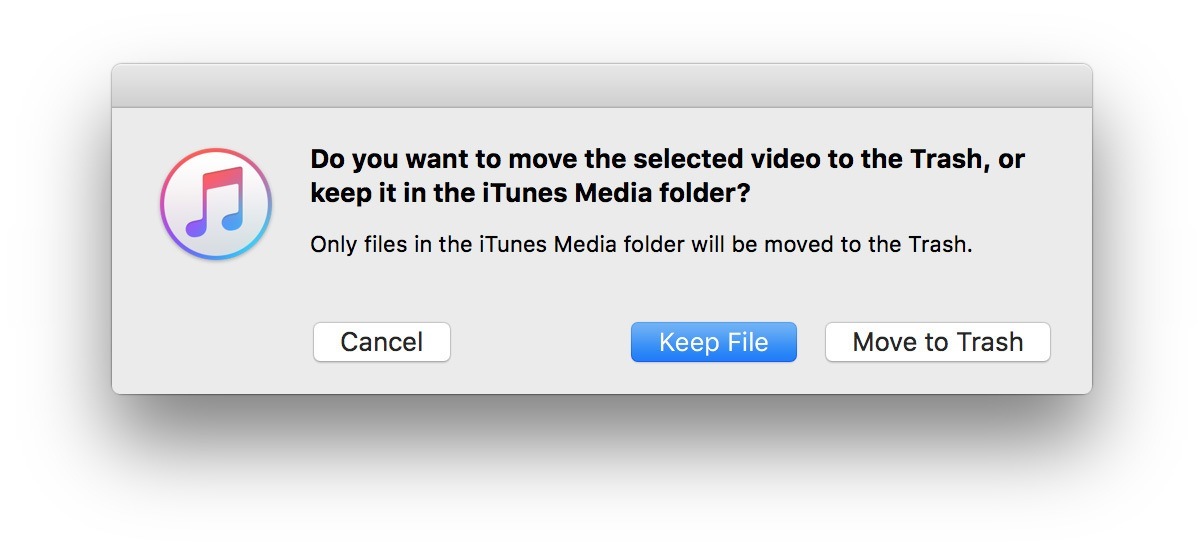
If the movie you wish to modify is already in your iTunes library, delete it from your library by selecting it and pressing Delete on your keyboard. Make sure to save the original file, however, by choosing Keep File from the confirmation box. The reason for this removal step is that iTunes won’t automatically process or recognize the changes we make to a file’s metadata if it’s already in your library, so we need to remove the file from the library, make our changes, and then re-add it.
With your ripped movie file ready in Finder, click, drag, and drop the file on the Subler icon in your Dock. A new window will appear showing the basic video and audio properties of the file.
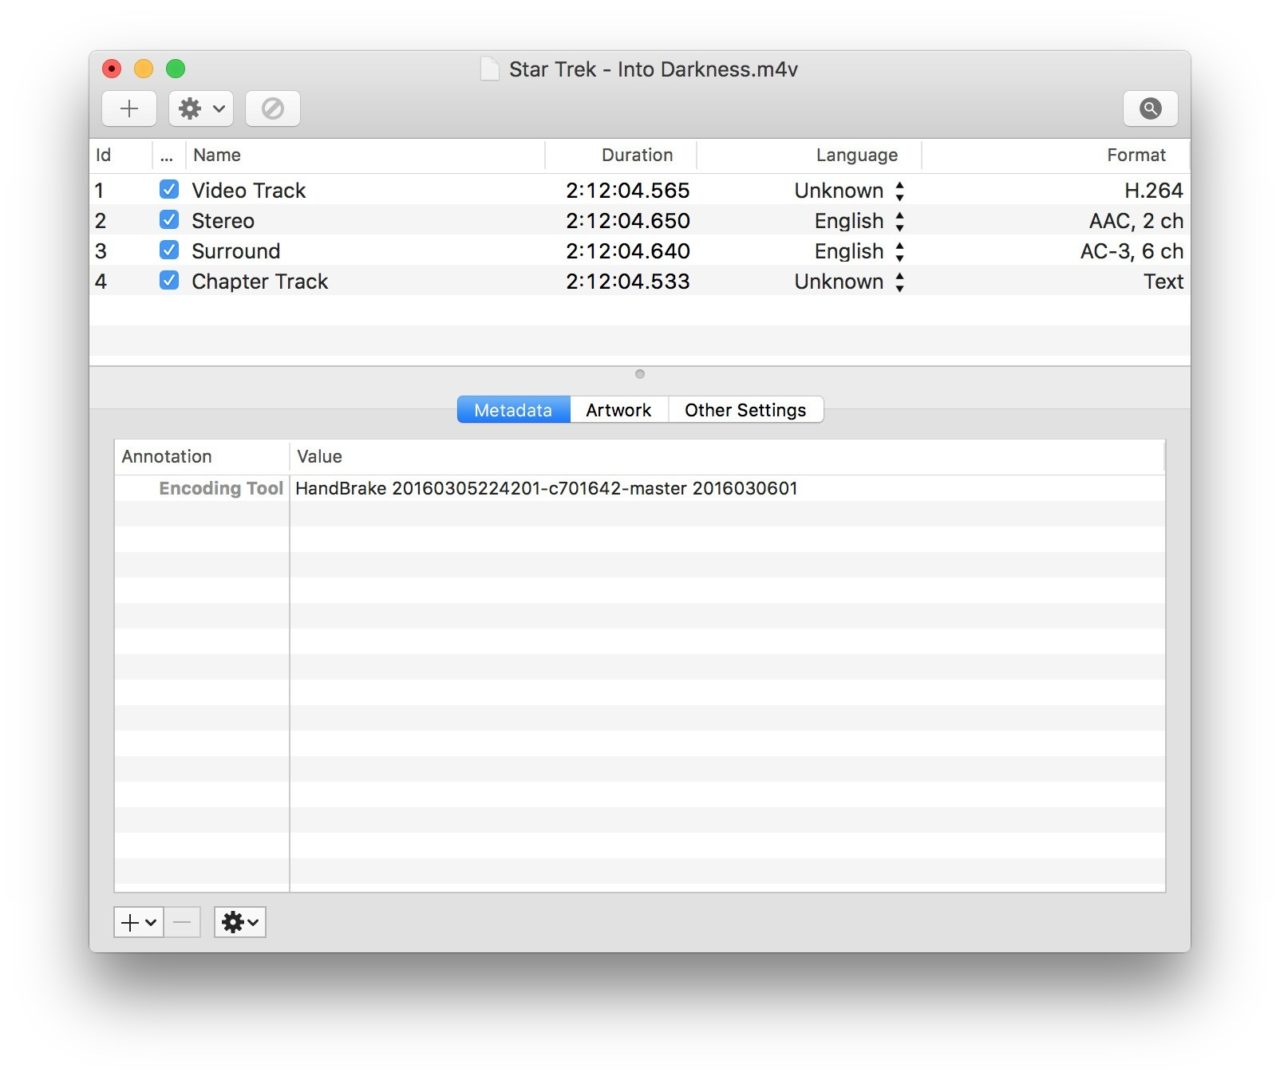
If you wish, you can now manually add virtually any category of metadata to the file by clicking the plus icon in the lower-left corner of the window, but the Subler developers have added a helpful search feature that lets you instantly pull all relevant information and artwork for a file by searching for its name.
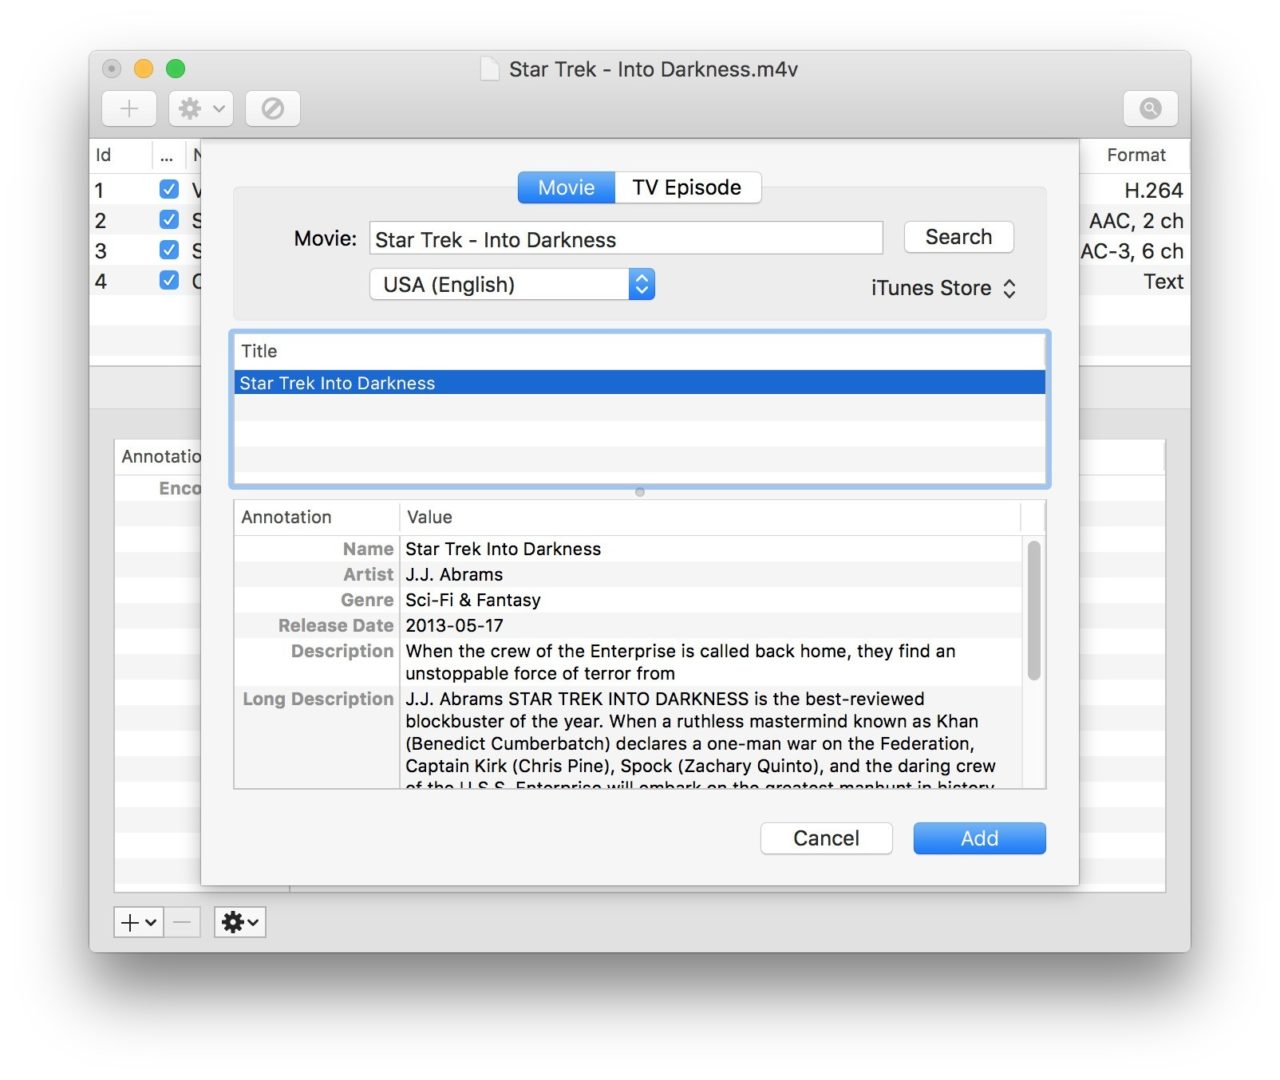
To match your ripped movie to an existing movie in the iTunes database, click the magnifying glass icon at the top-right of the Subler window. Subler will automatically perform a search based on the file’s name, but you can manually override that entry and perform a custom search for any movie title. To ensure best compatibility with iTunes, select iTunes Store from the source drop-down menu, and any movies that match your ripped file will appear in the list below. Select the correct entry and click Add.
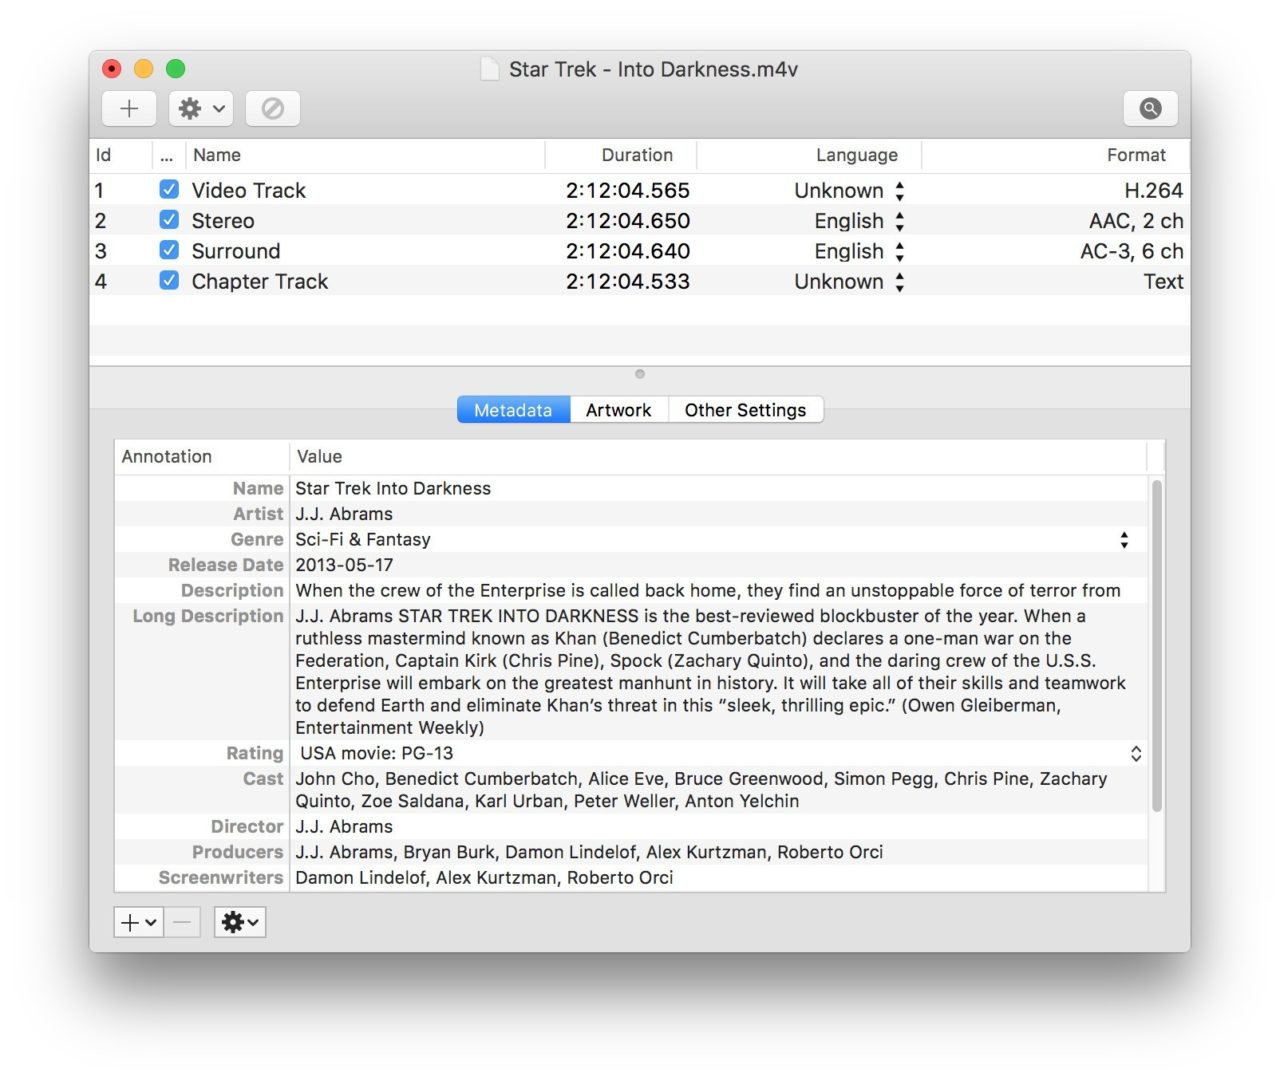
You’ll be returned to the main Subler window and see that all relevant metadata is now displayed for the file. You can leave the data as-is and get the same experience as the official iTunes purchase, or your can edit and tweak the information to suit your preferences. Also be sure to check out the Artwork and Other Settings tabs if you want to use a custom movie poster image, modify the “media kind” category, or set HD flags where necessary (although this should be automatically set based on the file’s resolution).
When you’ve made all of your edits, use the keyboard shortcut Command-S to save the metadata to the original file itself (this is a crucial step; if you quit Subler without saving the metadata, none of your changes will be preserved). Alternatively, you can use the “Save As” function (Shift-Command-S) to create a new copy of the file with your added metadata, while preserving the original unaltered file.
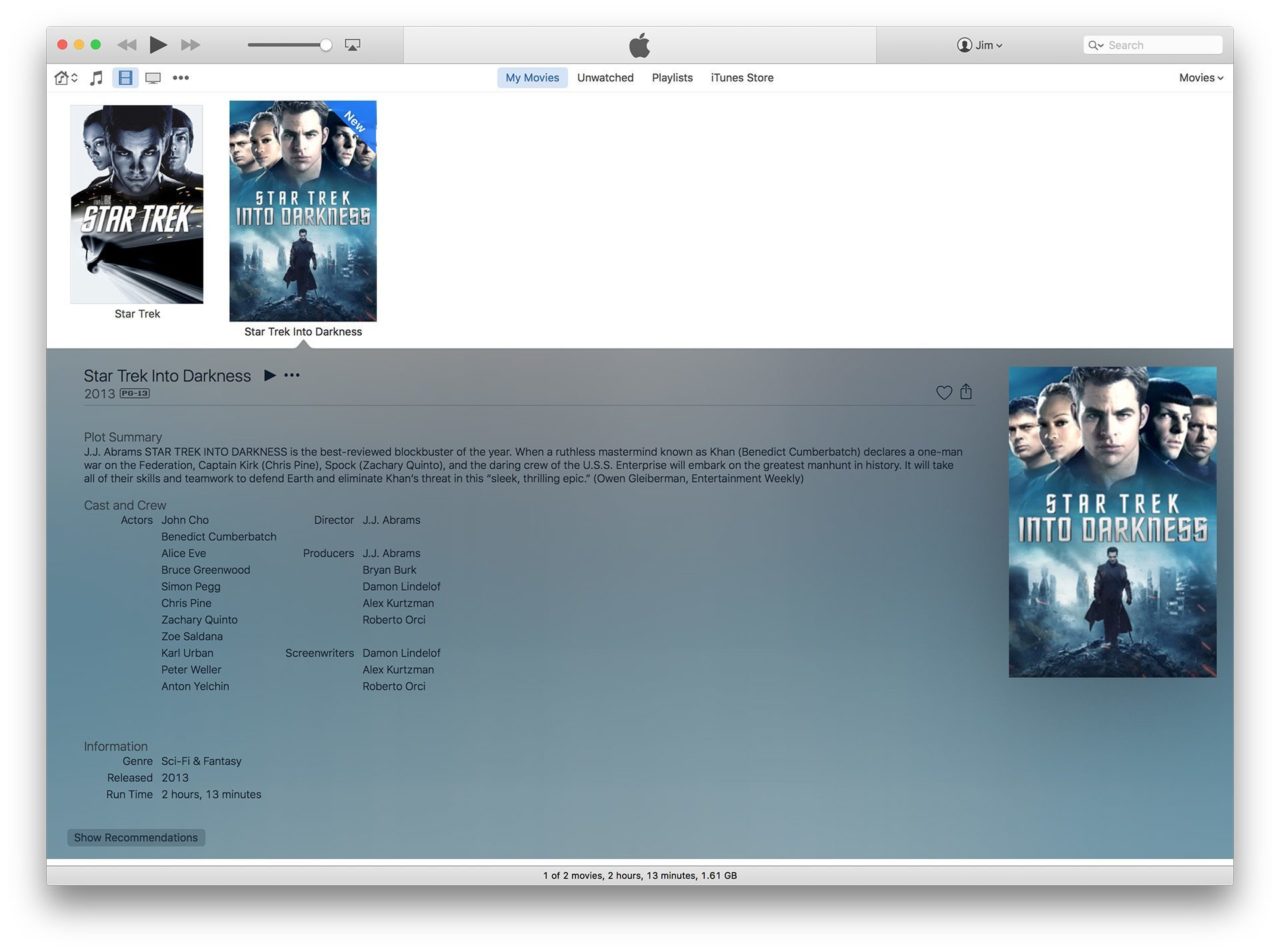
Once your ripped movie file is saved, drag it to iTunes to add it to your library. Unlike before, the file should now show up in the “My Movies” section and display artwork and all of the same metadata as an official iTunes purchase. These changes to the file will also carry over to your iDevices when you sync the movie, and to the Apple TV if you use Home Sharing to access your Mac’s iTunes content.
Apple still puts up barriers between truly purchased iTunes content and your own personally ripped movies, but using Subler can give your personal movie collection a nice facelift and make browsing your iTunes library a much more aesthetically pleasing and informative process.
A final note: you may have noticed the presence of a “TV Episode” tab in the Subler screenshots. The steps described above can also be used to add detailed metadata to your personally ripped TV shows. Just select the TV Episode tab when searching for your file’s metadata, type the name of the show, and enter the season and episode numbers. Subler will do the rest!


7 thoughts on “How to Add Detailed Metadata to Ripped Movies in iTunes”
I’m trying to figure out how to add the cast pictures my Apple TV displays in round circles.
Each star has some info associated with it plus a picture of the star.
The movies I have converted with Subler replace the picture with gray initials but they are still links that can be selected to see what other movies the star has appeared in.
I don’t know where to load the star picture data but Ill keep experimenting.
Thanks for your help
Noel.
Help.