How to Lighten Pictures in Paint.NET
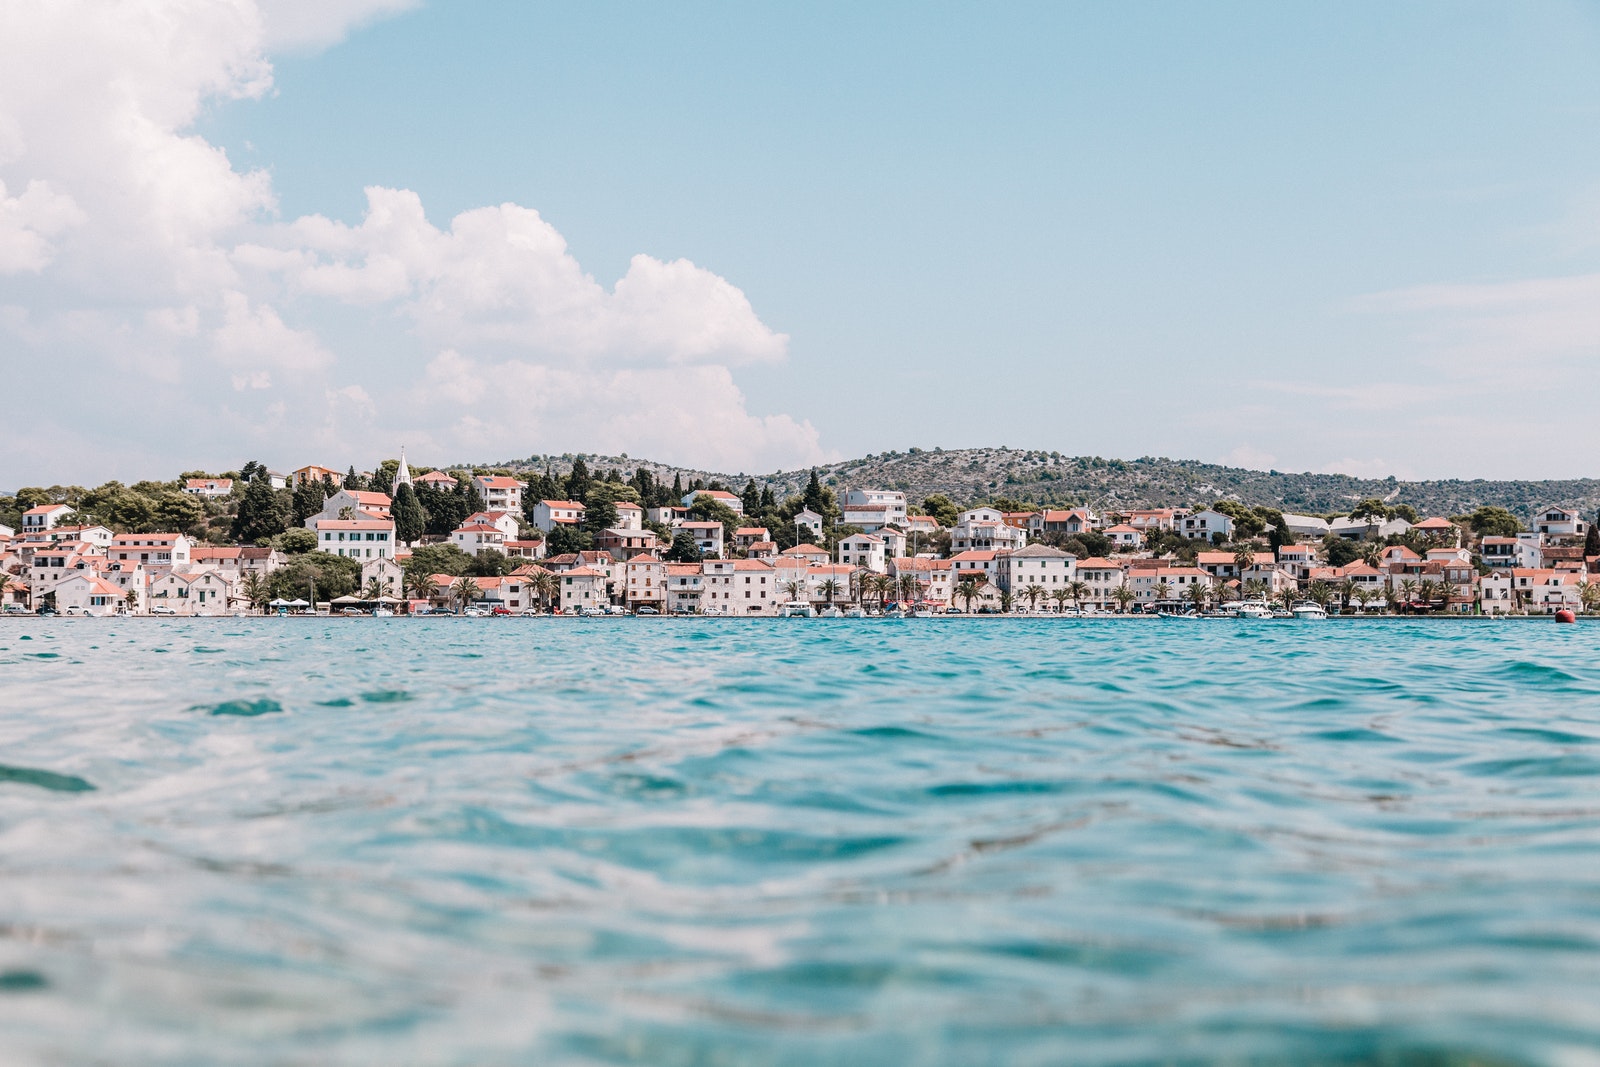
Are some of your photos a little dark? That might be the case if you took them on cloudy, overcast days with little sunshine. Consequently, most photo-editing software include options to lighten images with. You can lighten your photos with the freeware Paint.NET as follows.
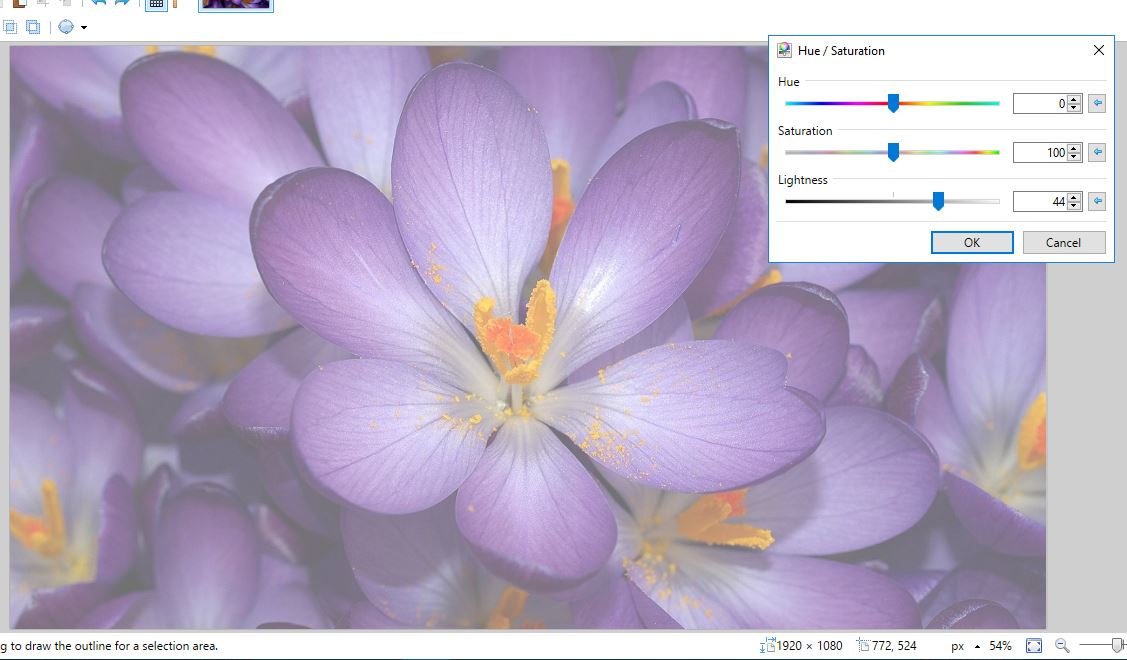
First, open an image to edit in Paint.NET. Then click Adjustments > Hue/Saturation to open the window in the snapshot below. Alternatively, you could press the Ctrl + Shift + U hotkey.
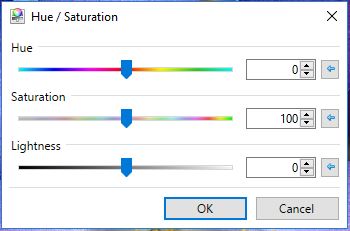
That window includes a Lightness bar. So now you can adjust the lightness of a photo by dragging that bar. Drag the bar further to the right to lighten the picture. Dragging it left darkens the photograph. Click OK to close the window and apply the editing.

You can also lighten selected areas of a photo. To select an area to edit, you can click Tool > Rectangle Select and then drag the rectangle over the area of the photo to lighten. Or you could highlight an area of the image to edit with the Lasso Select option. Then click Adjustment > Hue / Saturation and drag the Lightness bar to edit the selected picture area.
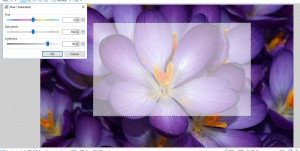
Image layers give you another way to lighten a picture. To lighten a photo with layers, press Ctrl + Shift + D to create a new layer. You can click the Layers button at the top right of the window to open the Layers window.
Next, press F4 to open the Layers Properties window in the snapshot below. Select Screen from the Mode drop-down menu. That will lighten the picture as below.
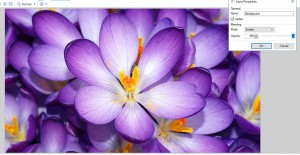
Press the OK button to close that window. Now you can further lighten the photo by pressing Ctrl + Shift + D. Each time you press that hotkey, the picture will lighten a bit more.
Finally, press Ctrl + Shift + F to flatten the layers. That will effectively leave you with just the one layer and a lighter photo. Then you can save the image by selecting File > Save As.
So that’s how you can lighten a photo with Paint.NET’s Hue/Saturation tool and image layers. Those tools can considerably enhance pictures with dull lighting.


