How to Manage Touch ID Fingerprints on the iPhone 5s

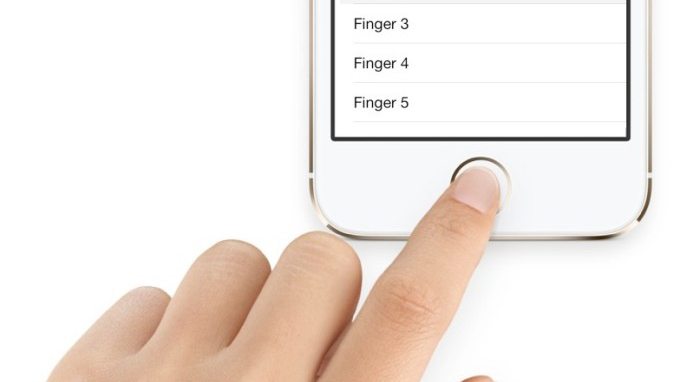
A major new feature of the iPhone 5s is the Touch ID fingerprint scanner. As part of the new home button, Touch ID lets a user scan up to five fingerprints that can be used in lieu of a passcode to unlock the device as well as authorize iTunes and App Store purchases.
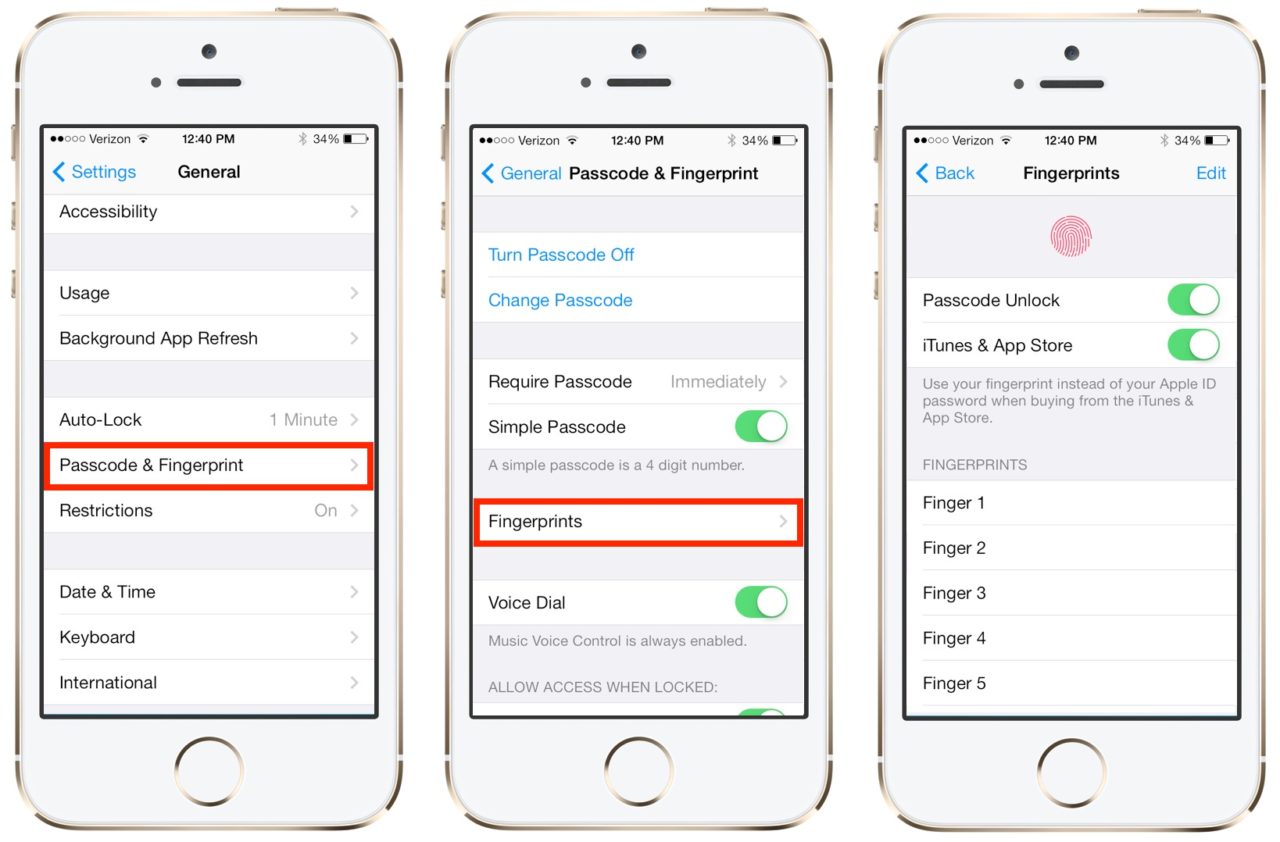
You can set up fingerprints in iOS 7 by going to Settings > General > Passcode & Fingerprint > Fingerprints. Note that you’ll need to create and enter a passcode first in order to enable fingerprint authentication.

Once you have multiple fingerprints configured, however, keeping track of them may be difficult. iOS 7 currently doesn’t allow a user to assign a custom name to each fingerprint when it’s created, and instead labels them simply “Finger 1,” “Finger 2,” and so on. Thankfully, there’s a neat way to tell which fingerprints are assigned.
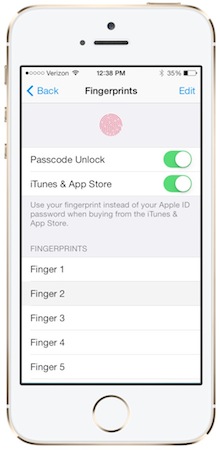
First, head to the Fingerprints settings page mentioned above and scroll down to see your list of currently authorized fingerprints. Next, place a finger on the Touch ID button that you think is authorized. If it is, the corresponding finger will be briefly highlighted in gray. In our example, our left hand index finger turned out to be “Finger 2.”

With a limit of five fingerprints, this will help you identify which fingerprints to keep and which to discard as you get used to the Touch ID sensor. Once you’ve settled on your five fingerprints, hit the “Edit” button at the top of the screen and you’ll now be able to assign custom names to each one. To delete unwanted fingerprints, simply swipe right-to-left over a fingerprint label to reveal the red “delete” button, similar to the iOS 7 method of deleting emails and text messages. We hope that, in a future version of iOS, Apple enables users to assign custom names during the fingerprint creation process.


