How To Control Nest with Amazon’s Echo
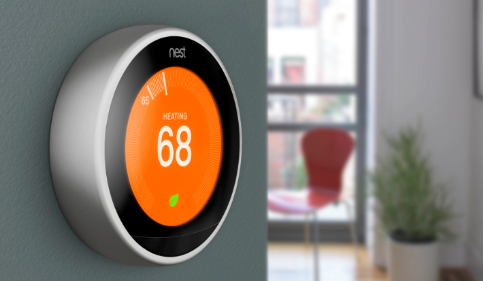
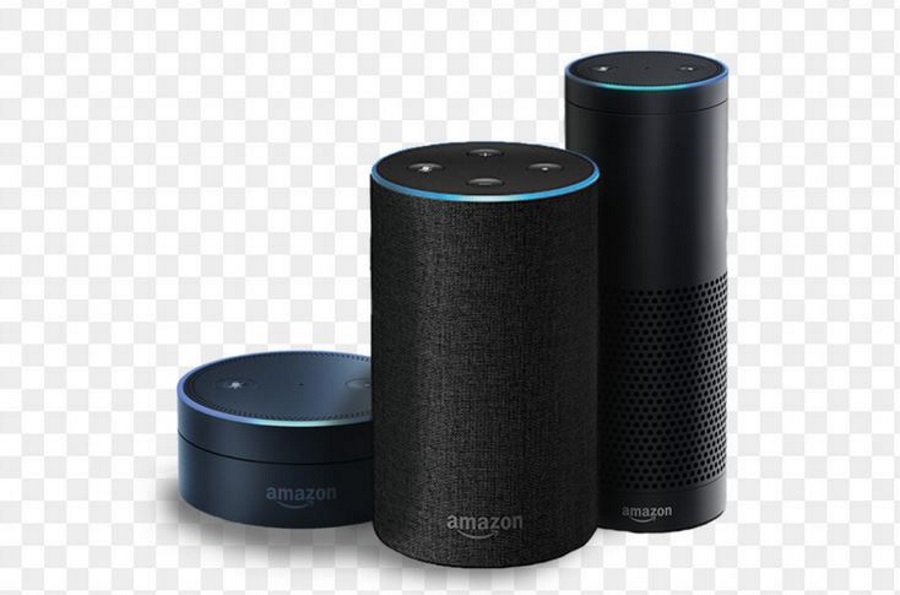
Smart home systems like the Amazon Echo and Google Home are on the rise and with them a variety of smart home compatible devices. Now tech lovers can enjoy everything from smart coffee makers to smart light bulbs, all of which can be controlled vocally through a smart home companion. Possibly one of the handiest of these smart home partnerships involves Amazon Echo and Nest Thermostat. Working together, Echo, aka Alexa, and Nest provide users with the cutting edge in climate control.
So, you’ve decided to see what all the fuss is about and bought yourself the Nest Thermostat to go with your Amazon Echo. In fact, you’ve got it installed and all ready to go. Unfortunately, it’s not quite that simple. There are some additional steps you’ll need to take to ensure that Nest and Alexa are working together.
Prepare Nest for Alexa
Before you do anything else, make sure that Nest is connected to the same Wi-Fi network as Alexa.
- Turn the ring on your Nest thermostat. You should be able to see it scrolling through different options.
- Use the ring to select Internet Connection.
- Select your network from the list of available options. Make sure you are selecting the same network that Alexa is on.
- Enter your network password using the ring to select characters.
If you encounter problems while trying to do this, restart your thermostat or router. Once the device is connected, take some time to make sure the Nest system is up to date.
Connect Nest to Alexa
Once Nest is ready to go and connected to the Wi-Fi, it’s time to get it talking with Alexa. This is a two part process and can be done either from the Alexa app on your phone or the Amazon Echo website. We’ll explore both options.
Echo Website
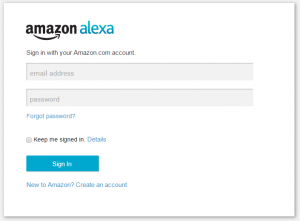
First, we need to connect the two devices.
- Go to echo.amazon.com.
- Log in with Amazon account credentials.
- Select Smart Home in the panel on the left hand side.
- Scroll down until you find the Device Links section.
- Locate Nest in the list of available devices and click Link with Nest on the right hand side.
- You will be rerouted to a new site (home.nest.com) and asked to confirm that Amazon is authorized to access your Nest account. Click Continue.
- Log into your Nest account. You should see a confirmation pop up on your screen.
Now that the devices are connected, we need to get them “talking.” In other words, Alexa now has access to Nest but we haven’t yet told her that it’s there.
- Go to the Alexa app on your smartphone.
- Select Smart Home from the menu options on the left.
- Scroll down to Devices.
- Click Discover Devices.
If you’re at home, you can also say, “Alexa, discover my devices.”
Alexa App
Again, we need to start by simply connecting them. This works a bit differently when done directly on the app.
- Go to the Smart Home menu just as if you were about to have Alexa “discover” the device in the last set of steps.
- Select Get More Smart Home Skills.
- Browse or search for the device in the set of skills. This can be a little confusing. Many devices are themselves treated as skills. However, these devices may also have separate skills that can be enabled in this same way. For now, we are focused solely on enabling Nest.
Once the skill is enabled, the devices should be connected. You can then have Alexa discover the device and begin talking to it in the same manner as is listed above.
Now What?
Now, you have an optimized home climate control system. You can engage the Nest thermostat using Alexa in a variety of handy ways. Remember that Alexa needs to be talked to a certain way if she’s going to do what you ask. However, there is some wiggle room when talking to Alexa about the Nest system. For example, if you want to set the temperature in your living room to 70 degrees, you might say, “Alexa, set the living room temperature to 70 degrees.” But you could also say, “Alexa, change the living room temperature to 70 degrees” or “Alexa, turn my living room temperature to 70 degrees.”
Of course, you can do much more than just set the temperature in a specific room.
- Raise or lower the temperature in a room by a specified number of degrees. (Note: if you don’t specify a number, the temperature will change by 2 degrees.)
- Turn the fan on for a set amount of time. (Note: If you don’t specify an amount of time or just say “trigger fan,” the fan will run for 15 minutes.)
- Set temperature range. For example, you can set a range of 65 to 73 degrees.
- Set temperature maximums and minimums. For example, you can specify that you want the temperature to go no higher than 75 degrees.
- Turn the Nest unit in various rooms on or off.
- Inquire about settings. You can ask about temperature and humidity levels.
- Finally, tell Alexa that you are leaving for the day or that you’re coming home, presumably to lower and raise the temperature and thereby conserve energy.
And That’s Not All!
Alexa always has the potential to learn new skills. As developers for Nest and other smart home devices come up with new ways for you to use the technology, those skills are made available through the Alexa app. Check to see if there are any new skills out there for Nest and help Alexa learn them by enabling them in the app. Just go to Smart Home > Get More Smart Home Skills and enable any skills you want at your disposal. Then enjoy the lap of luxury in a home that would make George Jetson jealous.




One thought on “How To Control Nest with Amazon’s Echo”