How to Opt Out of OS X Pre-Release Software Updates

In addition to the usual pre-release developer previews, Apple this summer launched the OS X Yosemite Public Beta, giving non-developers access to early builds of the company’s latest desktop operating system. Now that Yosemite is final, however, both developers and beta testers alike may wish to get off the pre-release train and settle into the more stable public builds. Here’s how to leave the OS X Yosemite beta and developer program and stop seeing preview builds of Yosemite in Software Update.
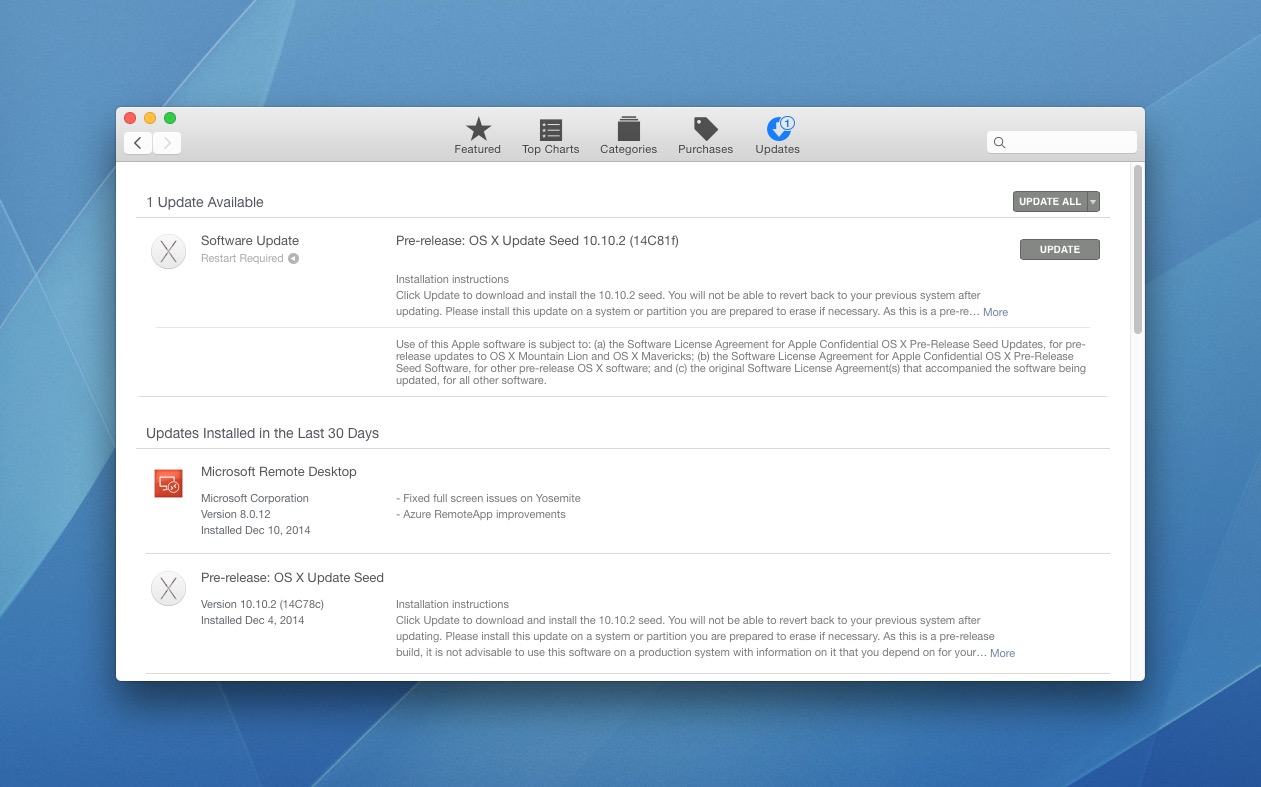
After updating to the final public builds of OS X Yosemite, those running beta or pre-release versions of the operating system will continue to see updates for pre-release versions of the next point update (i.e., the beta build of OS X 10.10.2) in the Mac App Store’s Software Update section. You can simply ignore these updates if you wish, but if you want to get rid of them and stick with final builds only, you’ll need to tell OS X to remove your Mac from the OS X pre-release seed.

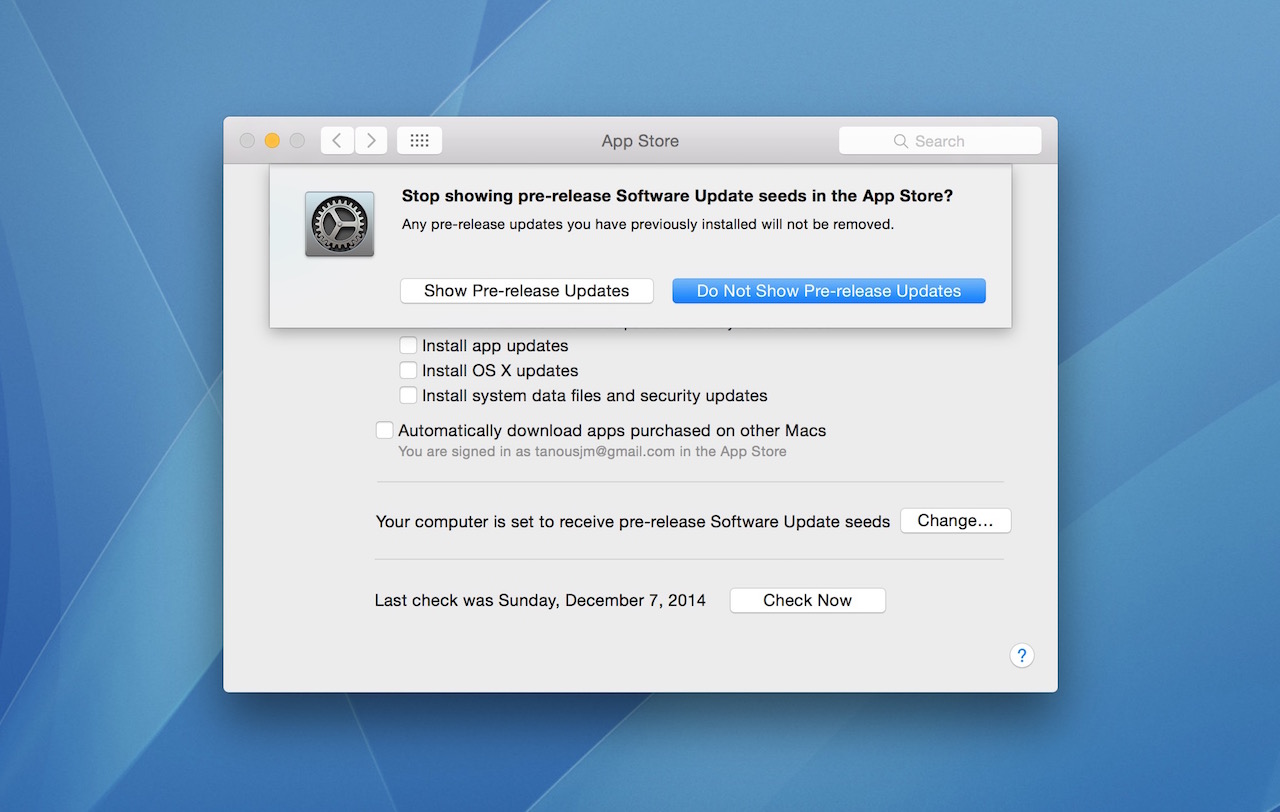
To do this, head to System Preferences > App Store. Here, you’ll see an item stating that “Your computer is set to receive pre-release Software Update seeds.” Click Change and you’ll see two options: one that keeps you in the OS X pre-release program (Show Pre-Release Updates), and one that removes you from the program (Do Not Show Pre-Release Updates).

Click Do Not Show Pre-Release Updates to remove your Mac from the OS X pre-release seed program. Regardless of your developer or beta program account standing, your Mac will no longer show pre-release updates in Software Update, and you’ll have to wait until the next final public update in order to move to the newest version of the operating system.
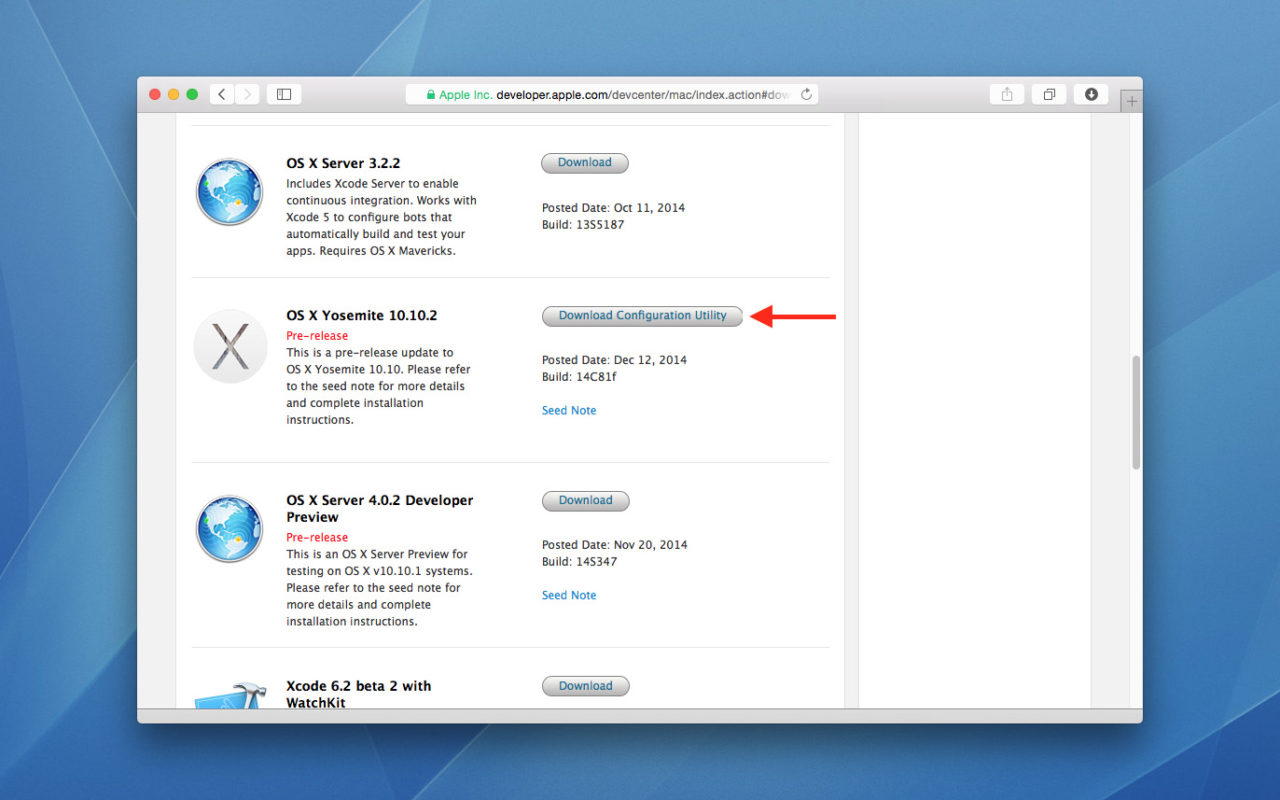
But what if you want to go back to receiving pre-release OS X updates? You might think that you could just go back to the App Store preference pane and select “Show Pre-Release Updates,” but you’d be wrong. That entire pre-release menu goes missing from the App Store preference pane the moment you choose to stop showing pre-release updates. The only way to get it back is to log-in to the Mac Developer Center and download the OS X Yosemite Configuration Utility.

This small app, which is used to enable pre-release updates in the first place if you’re not working from a clean installation, simply re-enrolls your Mac in the OS X pre-release program. After downloading and running it, you’ll find the pre-release options available once again in the App Store preference pane, and you’ll begin to see pre-release updates appear in Software Update.
Before we finish up this tip, here are a few important factors to consider:
- If you’re currently on a pre-release build of OS X Yosemite — for example, the first pre-release build of OS X 10.10.2 — and you use the steps above to stop showing pre-release updates, you’ll be stuck on that beta build until the final version ships at some point down the road. Going with our example, this means that you’ll miss out on future 10.10.2 pre-release builds, and you’ll have to wait possibly months to get a stable version of the operating system. Therefore, it’s best to wait until you’ve reached a public build milestone before leaving the pre-release updates behind.
- As always with pre-release or beta software, make sure you understand the risks before upgrading your primary Mac to the OS X Yosemite developer or beta program. While Apple’s pre-release builds haven’t seen many catastrophic issues in recent years, you’re still dealing with unfinished software that could eat your data and brick your Mac at any time. Therefore, always make sure you keep robust backups of any data you entrust to a pre-release version of OS X, and don’t use beta builds at all on your primary Mac unless you have a second computer or boot volume ready to go in the event of an issue.


4 thoughts on “How to Opt Out of OS X Pre-Release Software Updates”
Unfortunately, you’ll likely need to clean install El Capitan to get back to the public release of 10.11, as the final public installer will recognize that you’re running a “newer” build and won’t install. If you don’t want to go through the trouble of a clean install, and as long as things are working OK for you on the beta build, I’d recommend waiting until the public release of 10.11.1, which usually lands about a month after the first release. Then, once you’ve upgraded to the final public version of 10.11.1, follow the steps here to remove your Mac from the beta builds.
sudo /Applications/Install OS X El Capitan GM Candidate.app/Contents/Resources/createinstallmedia --volume /Volumes/ElCapInstaller --applicationpath /Applications/Install OS X El Capitan GM Candidate.app --nointeraction