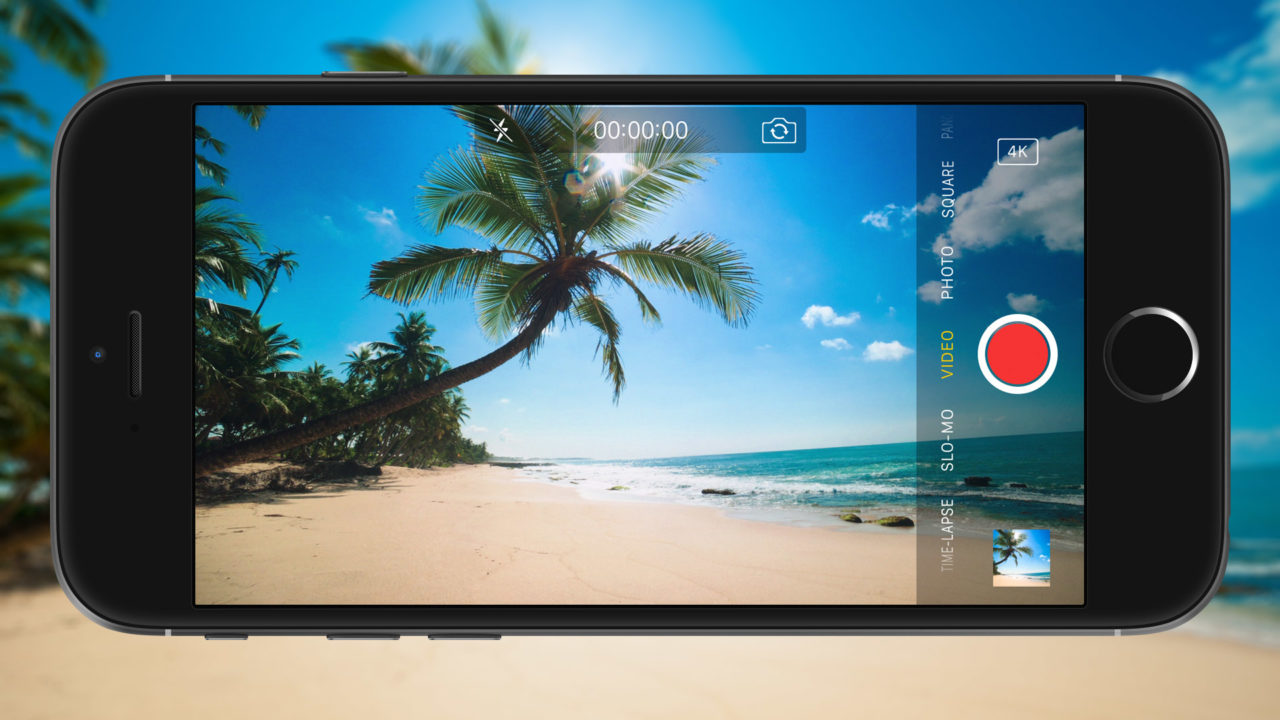
How to Record 4K Video on the iPhone 6s

A new feature in the iPhone 6s (and iPhone 6s Plus) is the ability to record 4K video via the iOS Camera app. But before you start planning your next motion picture masterpiece, it’s important to note that 4K video recording is not enabled by default in iOS 9. Here’s how to record 4K video on the iPhone 6s, and where you can find the settings to change your video recording mode when needed.
The iPhone 6s records video by default at 1080p resolution with a frame rate of 30 frames per second (30fps). This is a good default option because it offers most users very good quality without the significantly increased file sizes and compatibility issues associated with higher frame rate or higher resolution content. But if you want to shoot 4K or increase the 1080p frame rate to 60fps, you’ll need to make some changes. Interestingly, these video recording options aren’t located in the iOS Camera app itself, and instead reside in the Settings app.
To change your video recording mode, head to Settings > Photos & Camera > Record Video. While Apple may add additional recording formats in future software updates, there are currently four video recording modes available for the iPhone 6s and iPhone 6s Plus in iOS 9:
720p at 30fps
1080p at 30fps
1080p at 60fps
4K at 30fps
Each mode has advantages and disadvantages when it comes to file size, motion, and clarity. For example, those looking to record a live sporting event may want to choose 1080p at 60fps, as the higher frame rate improves the appearance of fast motion in the final video. However, if you have a 16GB iPhone and need to record an entire day’s worth of events, you may want to use 720p at 30fps, as this mode will produce the smallest files and therefore allow you to record longer before you run out of space. While exact file sizes will vary, Apple offers some approximate file size guidance for each format at the bottom of the list, with one minute of recorded video requiring about 60MB on the low side (720p at 30fps) all the way up to 375MB for 4K.
Despite this increased file size, 4K is probably the way to go for those who want the absolute best image quality and resolution flexibility. To change your recording mode to 4K, just tap on the 4K option in Settings and then switch to the iOS Camera app. You’ll notice a visual indicator near the shutter button that lets you know you’re recording in 4K.
Similar visual indicators will appear for other recording modes, with “720P” denoting 720p at 30fps, and “60 FPS” denoting 1080p at 60fps. There is no visual indicator for the default 1080p 30fps setting.
As mentioned earlier, there’s unfortunately no quick toggle between video recording modes in the iOS Camera app itself, meaning that you’ll need to head back to the Settings app each time you want to make a change. Most users will likely find a recording mode they prefer and stick with it, but this limitation will certainly be annoying for more advanced videographers who need to utilize multiple modes during a shoot.
Other Video Recording Options
While we’re on the topic of video recording options in iOS Settings, we wanted to point out that you can also change the recording mode for the ultra-high frame rate “slo-mo” video option in the same place. Just head back to Settings > Photos & Camera and select Record Slo-mo. Here, you only have two options: 1080p at 120fps or 720p at 240fps. Previous generations of iPhone could shoot high frame rate video, but they were limited to the lower 720p resolution. New in the iPhone 6s is 1080p support for 120fps, which gives you relatively good slow motion video at a much clearer resolution that will blend better with the rest of your standard resolution footage.


