How To Run Android APK Files in Windows 10
Although smartphones are incredibly powerful relative to their size, they still aren’t able to match the power of desktop computers. Fortunately, emulation makes it possible to run Android apps and programs on desktop, so you can get the best of both the Android and Windows 10 worlds. A full-powered operating system like Windows 10 running on modern processors with scads of memory is able to act like the most powerful Android tablet or smartphone.
If you want to run Android applications on a Windows machine, there are several different approaches to take. Let’s take a look at how you can run Android APK files on Windows 10 computers.
What are APK Files?
If you’re going to emulate Android on a Windows machine, then you’ll need an APK file for the application you want to run.
So what exactly is an APK file?
APK files are packages that contain an Android app and its installer. They are usually named something like ‘filename.apk’ and are much like a .exe file in Windows. End-users (smartphone owners, for example) don’t often see the APK file itself when they install an app from an app store because the system does all the unpacking and installing itself. All the end-user sees is the install progress.
Probably the easiest and safest way to get APK files for a Windows emulator is to use a real Android smartphone to get the official safe build, then bring the APK file out through the back door.
There are more direct routes as well. For example, there are websites that allow you to download the APK files of legitimate apps, but these are legally dubious, and I personally wouldn’t trust them to not inject a little malware in return for a free download.
Run APK Files in Windows 10 with Android SDK
One direct and straightforward way to run an APK file on your Windows 10 machine is to use the Android Software Development Kit (SDK). As is the case for many operating systems that run on small computers, Android development is usually not done on a native machine, but rather on a larger and more powerful computer.
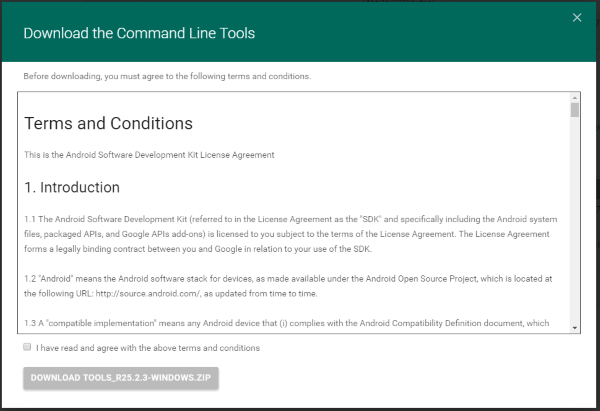
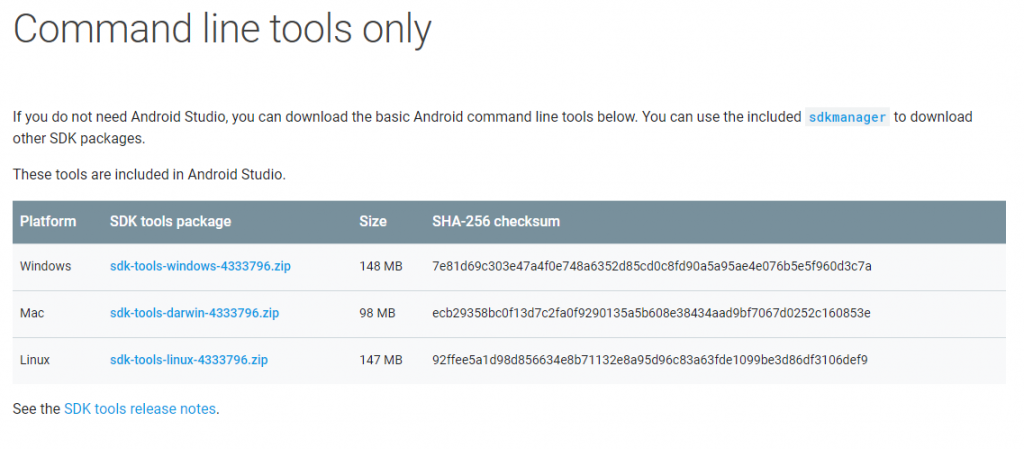
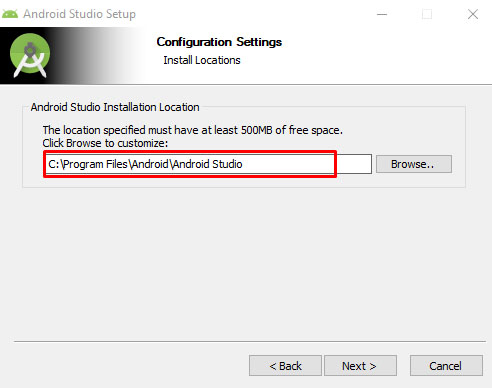
To use this technique, you will need a current version of Java on your computer, as well as the Android SDK. Download Java from here and the Android SDK from here. Scroll down to the bottom of the Android Studio page and select Command Line Tools. Unless you’re planning to create an Android app, you won’t need the entire Studio package, just the CLT.
- Download the package to your computer and extract it to your C: drive.

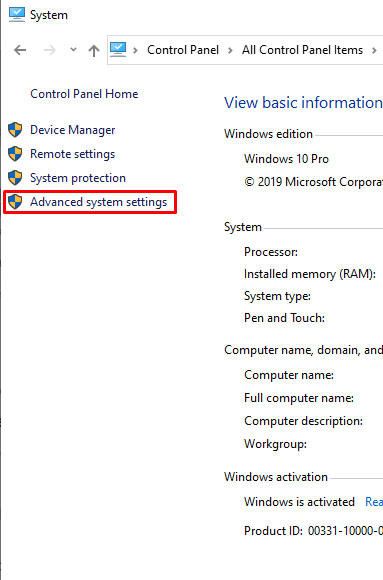
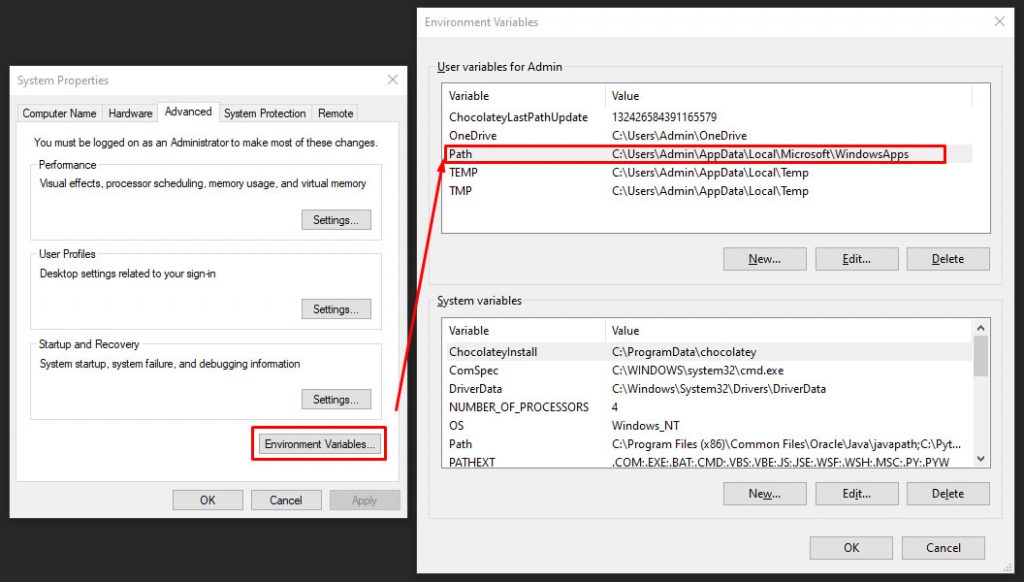
- Navigate to Control Panel > System > Advanced System Settings.

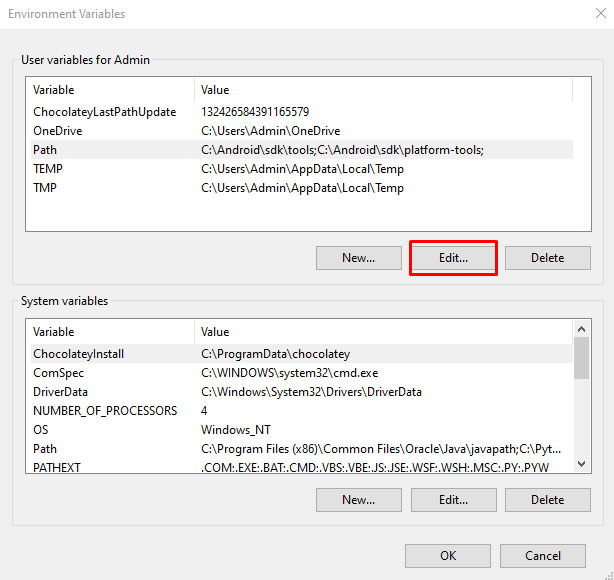
- Select Environment Variables and highlight Path.

- Click Edit and paste the following into the variable value: ‘C:\Android\sdk\tools;C:\Android\sdk\platform-tools.’

Now you can open a virtual Android device by double-clicking the APK file. Unless you have a monster Windows machine, the SDK plus the app will take a while to load and can be a little sluggish at times. Games and other graphics-intensive programs will probably not work, but most other apps will work fine.
Using an Android Emulator to run APK files in Windows 10
Running the SDK is fine if you just need to take a quick look at an app or something, but if you really want to use apps (especially games), then you will need to install a full-fledged emulator.
Android emulators for Windows essentially create a fake Android machine on your Windows PC. You are basically running an Android device from within your Windows device. There are several good emulator programs out there, but I will briefly describe two of the more popular options, Nox and BlueStacks.
BlueStacks
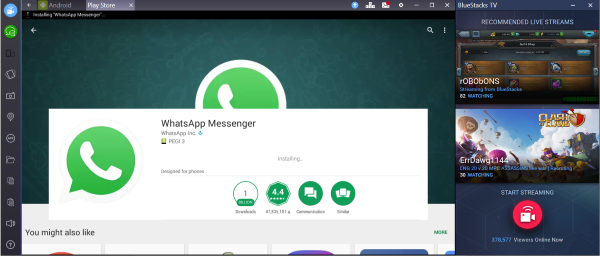
BlueStacks App Player is an Android emulator that works very well. It doesn’t use a pure Android version like Android SDK. Instead, it uses a modified variant. If you’re looking to QA code or soak test an app, this may not exactly replicate the release environment. For everything else, BlueStacks App Player works just fine.
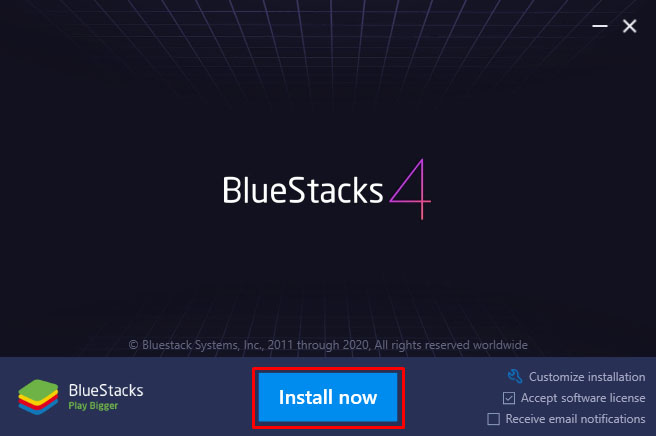
- Download and install the BlueStacks App Player.

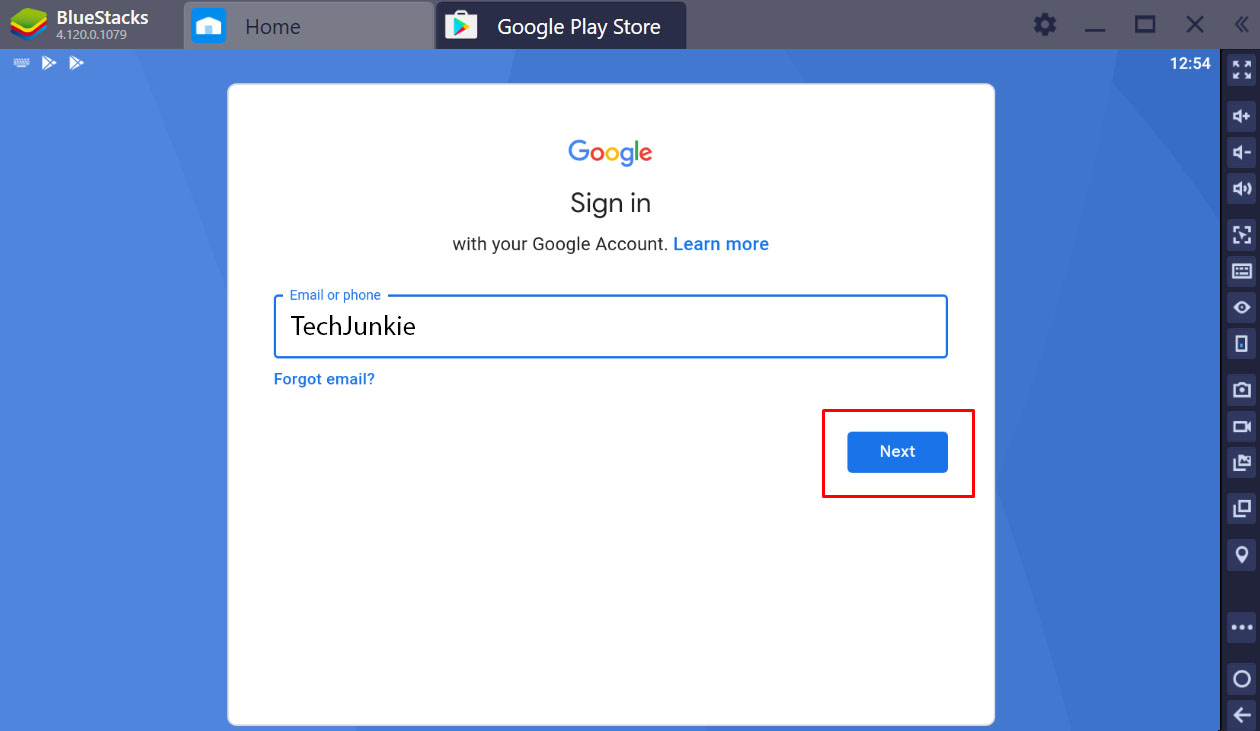
- Log in using your Google account and set up a profile.

- Load apps, play games, and whatever you want to do through the Play Store.
Once up and running, BlueStacks looks like any Android tablet. It has the usual Android front end, menus, and more. You just control it with a mouse or touch if you have a touchscreen. The rest looks and feels just like Android.
BlueStacks does like to alert you with every possible message it can think of which can be annoying. Other than that, it’s a good emulator that mimics an Android device well. Bluestacks runs 32-bit Android Nougat (7.1.2). There is a 64-bit beta program that runs 64-bit Nougat for folks who just have to be on the bleeding edge.
Nox
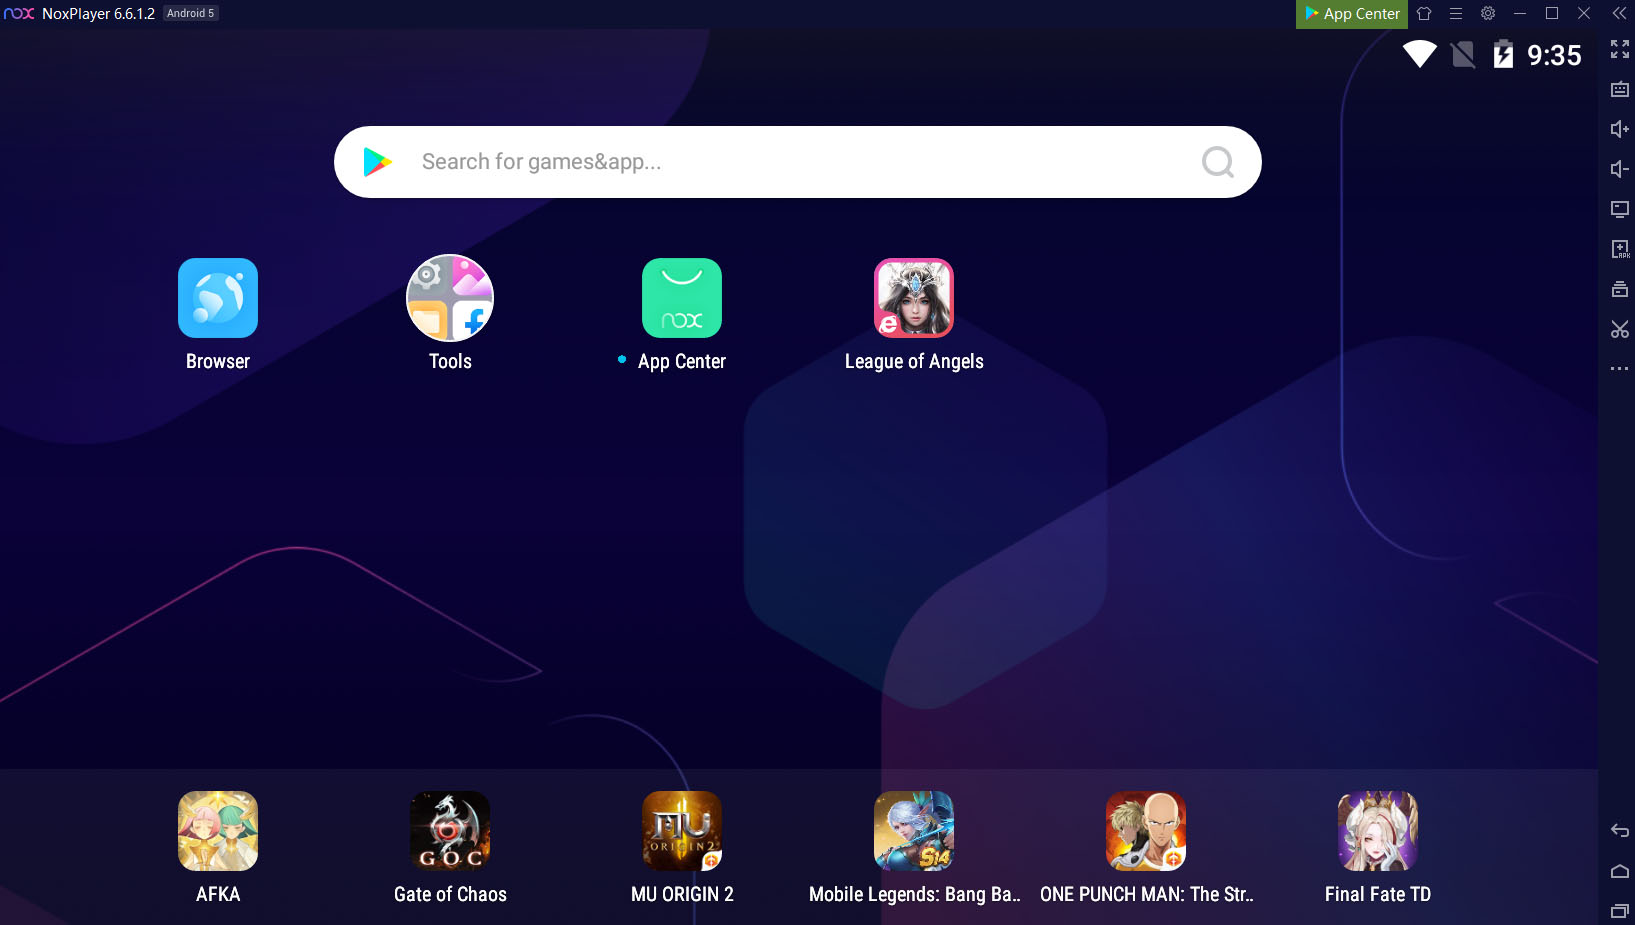
Nox is aimed more at the serious Android gamer who would like to play Android games on a big screen. Like BlueStacks, Nox is not a perfect emulation of Android, but it runs apps very very well.
- Download the Nox player.

- Set up the player with your preferences and defaults.

- Load the app(s) you want to use, either through the Play Store or manually with APK files.
When you run Nox, it creates a full-featured Android desktop, just like BlueStacks. Nox does not have a paid subscription model. Nox is currently on version 6.6.0.8 and runs Android v. 4, with the option to emulate 7.1.2.
Both Bluestacks and Nox have free versions that are fully-functional. Bluestacks users can upgrade to a premium membership that blocks ads, lets the user create their own custom desktops, and gives access to premium tech support, for a charge of $4 per month or $40 per year.
Using ARC Welder to run APK files in Windows 10
Chrome has an extension called ARC Welder that allows you to run APK files within the browser. It’s by far the easiest way to run APK files. The benefit is that you can run it on any device that can run Chrome. The downside is that it’s still a little buggy and doesn’t work as smoothly as the previous two methods. However, it has its merits.
- Download and install the ARC Welder extension.

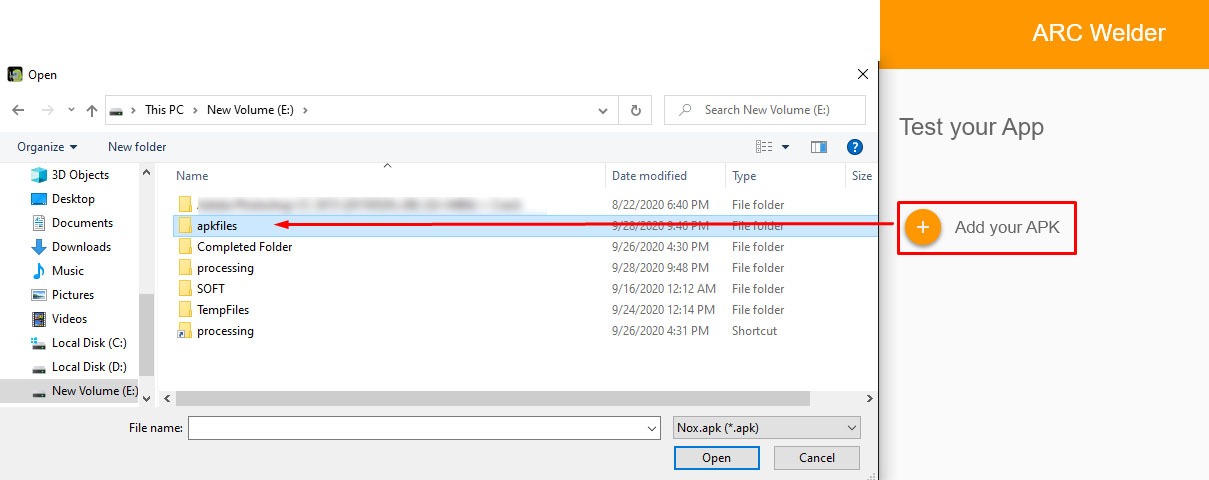
- Download your APKs and point ARC Welder to them.

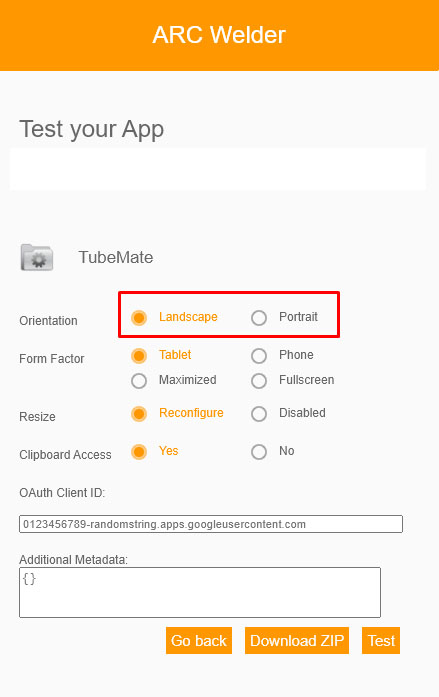
- Select how you want them, portrait or landscape, and whether you wish to allow clipboard access.

ARC Welder is pretty good at simulating Android but doesn’t have Google Play Store access like BlueStacks and Nox does. That means you’ll have to acquire the APK files, download them onto your computer, and add them manually from within ARC Welder.
The other downside to ARC Welder is that you can only run one app at a time. This might not impact you if you’re only testing or using one app, but if you want it as an Android emulator too, you might find it limiting. If you have an app open, you will need to go back to the install screen and choose a different one.
For many developers, Arc Welder is a useful tool for determining whether an app design they have in mind is robust enough to survive in the wild. If an app is basic and robust enough to be functional under Arc Welder, then it’ll be a snap to get it ready for the real world.
Using Vysor to Host Your Android Device on Windows 10
Why do you want to run Android apps on your desktop? Is there something special about the desktop? Or is it just that you want to have a big screen, and use a mouse and keyboard, and have the generally much superior ergonomics of a desktop experience?
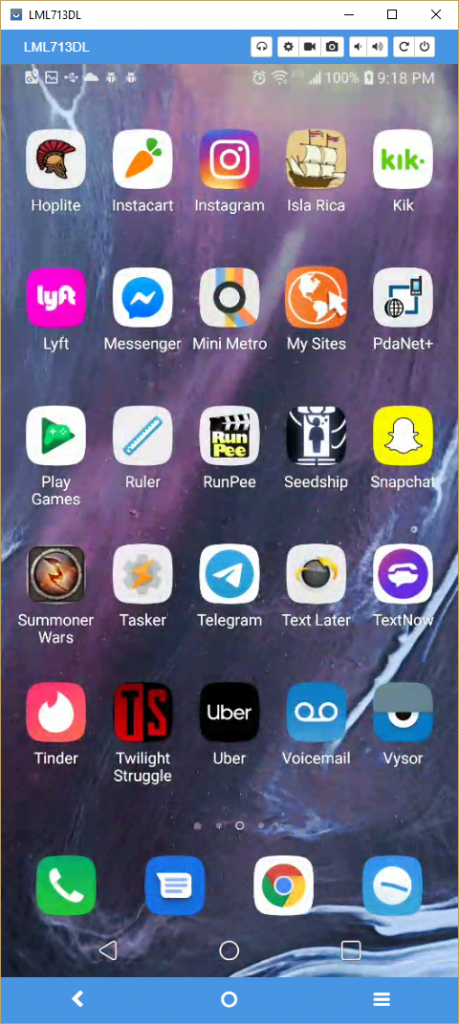
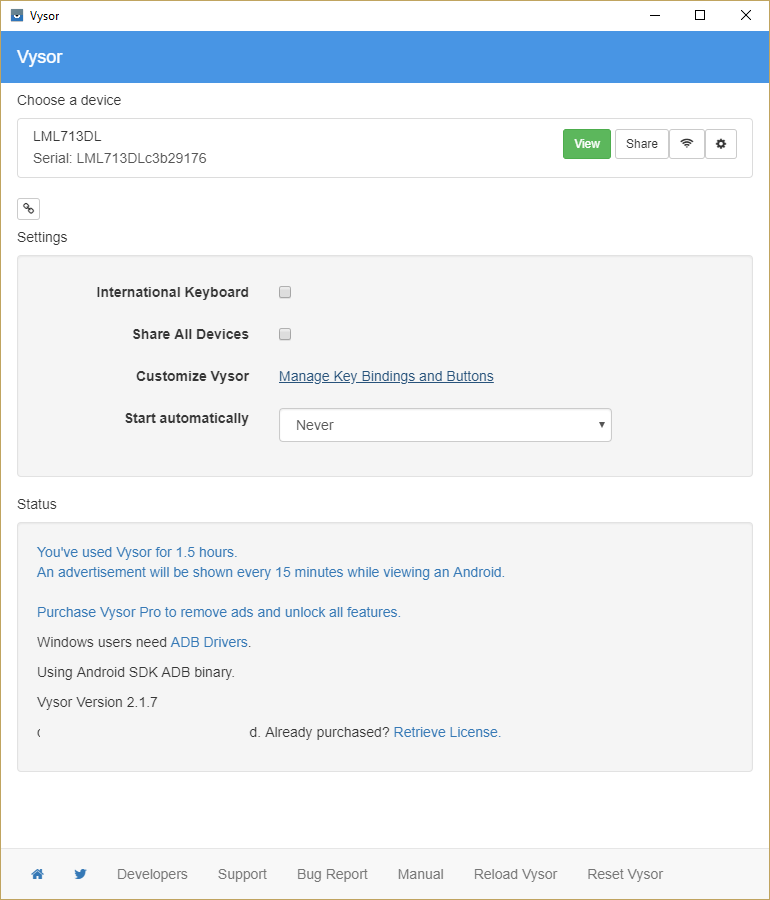
If those are your main reasons for wanting to do this, then running an app like Vysor might be the solution for you. Vysor doesn’t emulate an Android on your desktop; instead, it connects your existing Android device (smartphone or tablet) either wirelessly or via USB cable to a desktop machine. Vysor works on Windows, Mac, Linux, and on any Chrome browser.
The base version of Vysor is free and is more than sufficient for most casual users. The limitations of the base version are that you have to have a USB connection, and the screen resolution isn’t the highest (though still pretty good). Also, you’ll be shown an ad every 15 minutes of use.
The paid version removes the ads, lifts the resolution restriction, lets you connect wirelessly, permits easy file dragging and dropping between the desktop and the Android device, and lets you share access to the Android device via ADB anywhere with a network connection. The paid version is $2 per month, $10/year, or $40 for a lifetime license.
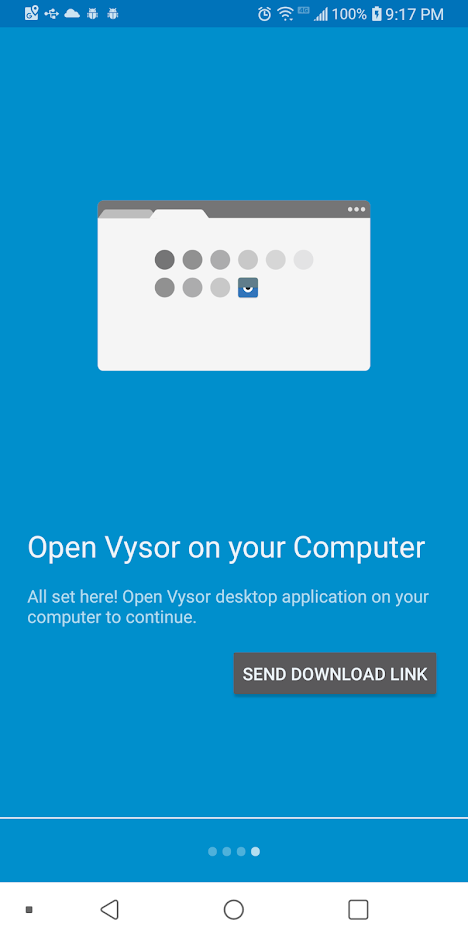
Setting up Vysor is very simple. You just download the client app for your Android device, and the desktop app for your Windows, Mac, or Linux box. (You can also use a Chrome extension and see your Android device in your Chrome browser without using a client.) Then you run the app from either side and launch a Vysor session.
Vysor doesn’t let you actually run the Android environment on your desktop, it just gives you access to the Android device you already own – but for many users, that’s more than enough.
Final Thoughts
Each of the above methods will allow you to seamlessly run Android APK files in Windows 10, and each is suitable for different purposes. I’d suggest Android SDK or Studio for anyone who wants to program, build, or reverse engineer an app, and I’d recommend ARC Welder for those who don’t want to do much with their apps except use them on the desktop. BlueStacks and for Nox is for people planning to do a lot of app use on their desktop.
Do you use an Android emulator I haven’t mentioned here? Know of any that are better than these three? Tell us about it below in the comments section if you do.










10 thoughts on “How To Run Android APK Files in Windows 10”
Do you mean the “Variable” is “Path” and the “Value” is “C:\Android\sdk\tools;C:\Android\sdk\platform-tools” ?
However, the folder exacted only contains “tools” folder, no “platform-tools”.
After that, double-clicking the APK file can only leads to prompt “How to open the file” in Windows
so it is obviously not inside the Win machine but it works great