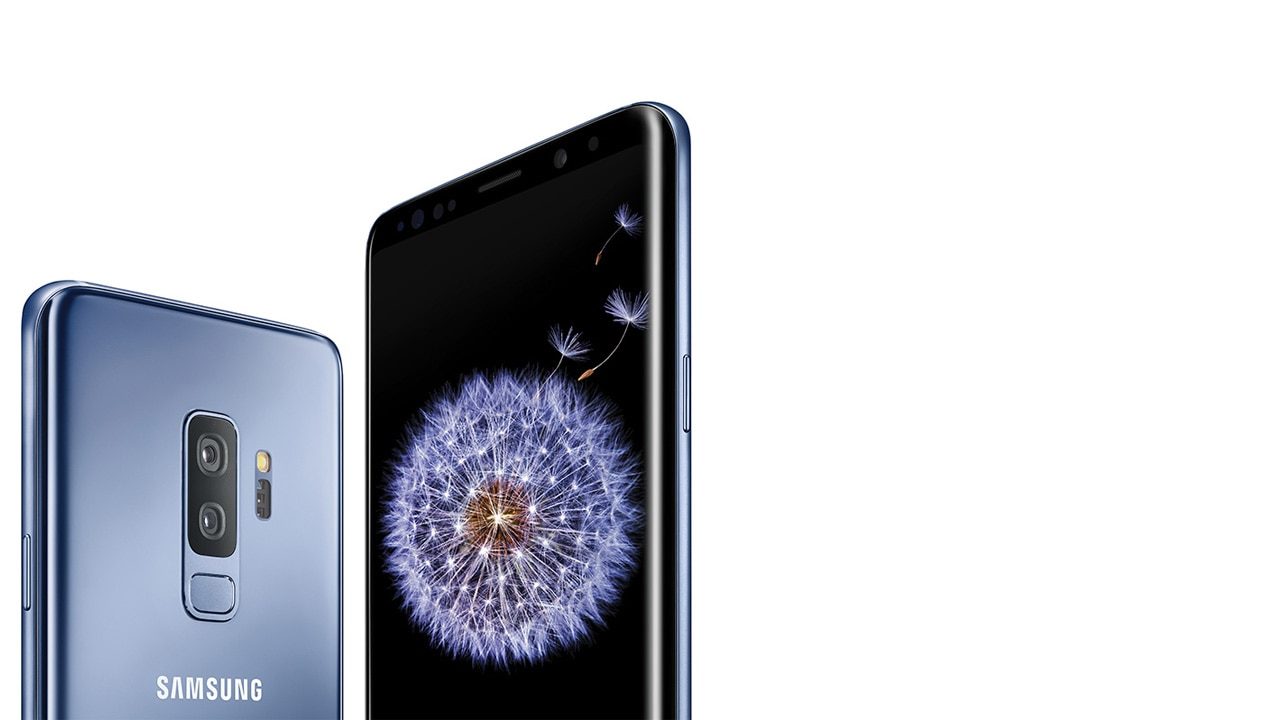
How To Save Photos To Micro SD Card On Galaxy S9 And Galaxy S9 Plus

When Samsung made the mistake of removing the expandable storage options on their flagship phones in 2015, users were unhappy. The company was quite criticized for it, that when they released the Samsung Galaxy S9 and Samsung Galaxy S9 Plus series in 2017, they made sure that they put the option back. With the microSD slot back, you will be able to store more photos, videos, and important files.
Your Samsung Galaxy S9 or Samsung Galaxy S9 Plus comes with top-of-the-line camera specifications. So, shooting videos and photos on higher resolutions and options require bigger memory specifications as well.
If you want to save your files to your microSD card on your Samsung Galaxy S9 or Samsung Galaxy S9 Plus, then here’s an easy guide for you.
Changing the Default Storage Option
Your goal here is to set up the SD as the default storage option.
- First, you have to insert your microSD card into its slot
- Launch your Camera app. There will be a pop-up asking for your permission to store photos and videos on your SD card
- Confirm the action
- Your Samsung Galaxy S9 or Samsung Galaxy S9 Plus should automatically get the notification. If you don’t receive it, just go to your camera’s Settings
- Scroll and find Storage location
- Activate your SD card as the default location of storage for your files from there.
After activating this, you will get to enjoy your Samsung Galaxy S9 or Samsung Galaxy S9 Plus’ high-end camera options without worry.
Take note that your burst shots (quick shutter photos taken by holding your shutter button) will be placed on your Samsung Galaxy S9 or Samsung Galaxy S9 Plus’ internal memory since it would be faster for your phone to save it there.


