How To Schedule Gmail to Send an E-mail Later

Gmail is the powerful and free e-mail solution from Google that more than a billion people use for their electronic communication needs. One thing that Google has wisely done is to keep the core Gmail feature set stable, allowing room for an ecosphere of add-ons and tools to flourish around the core product to provide additional features that users request. One of the most popularly desired features in Gmail is the ability to schedule Gmail to send an email at a later date or time. While Gmail itself doesn’t have the option built-in, there are third-party tools that let you do it. Another approach to scheduling email is to add Gmail to Outlook. In this article, I’ll go over both these ways to schedule email.
There are many reasons you might want to schedule emails to be sent at a future time. I used to schedule Gmail emails for work. I would finish all my tasks early in the morning and schedule all my notifications to be sent at various times throughout the day. That way, I could be getting on with something else while my boss thought I was still hard at work. I called it ‘expectation management’. There are lots of other reasons why you might want to schedule Gmail emails. Here is how you do it.
The Official Method
In April 2019, Google officially killed off Inbox, their secondary app for controlling your email that included features you couldn’t yet get from the proper Gmail app. Inbox wasn’t used by everyone, but it was a complete fan-favorite app, something that was loved by the few people that used it. Features like bundles have yet to be added to the proper Gmail app, and while other features like snoozing emails, smart reply, and nudge actions have all made their way over from Inbox to Gmail, the app still has a long way to go before it can match the late, great Inbox.
Of course, as something of a penance for murdering every tech writer’s favorite email app, Gmail has finally begun slowly rolling out the ability to schedule emails right within Gmail. This feature is coming to both the web version of Gmail and the mobile version, rolling out slowly over the month of April, so if you haven’t gotten it yet, don’t fret. It’ll come soon enough.
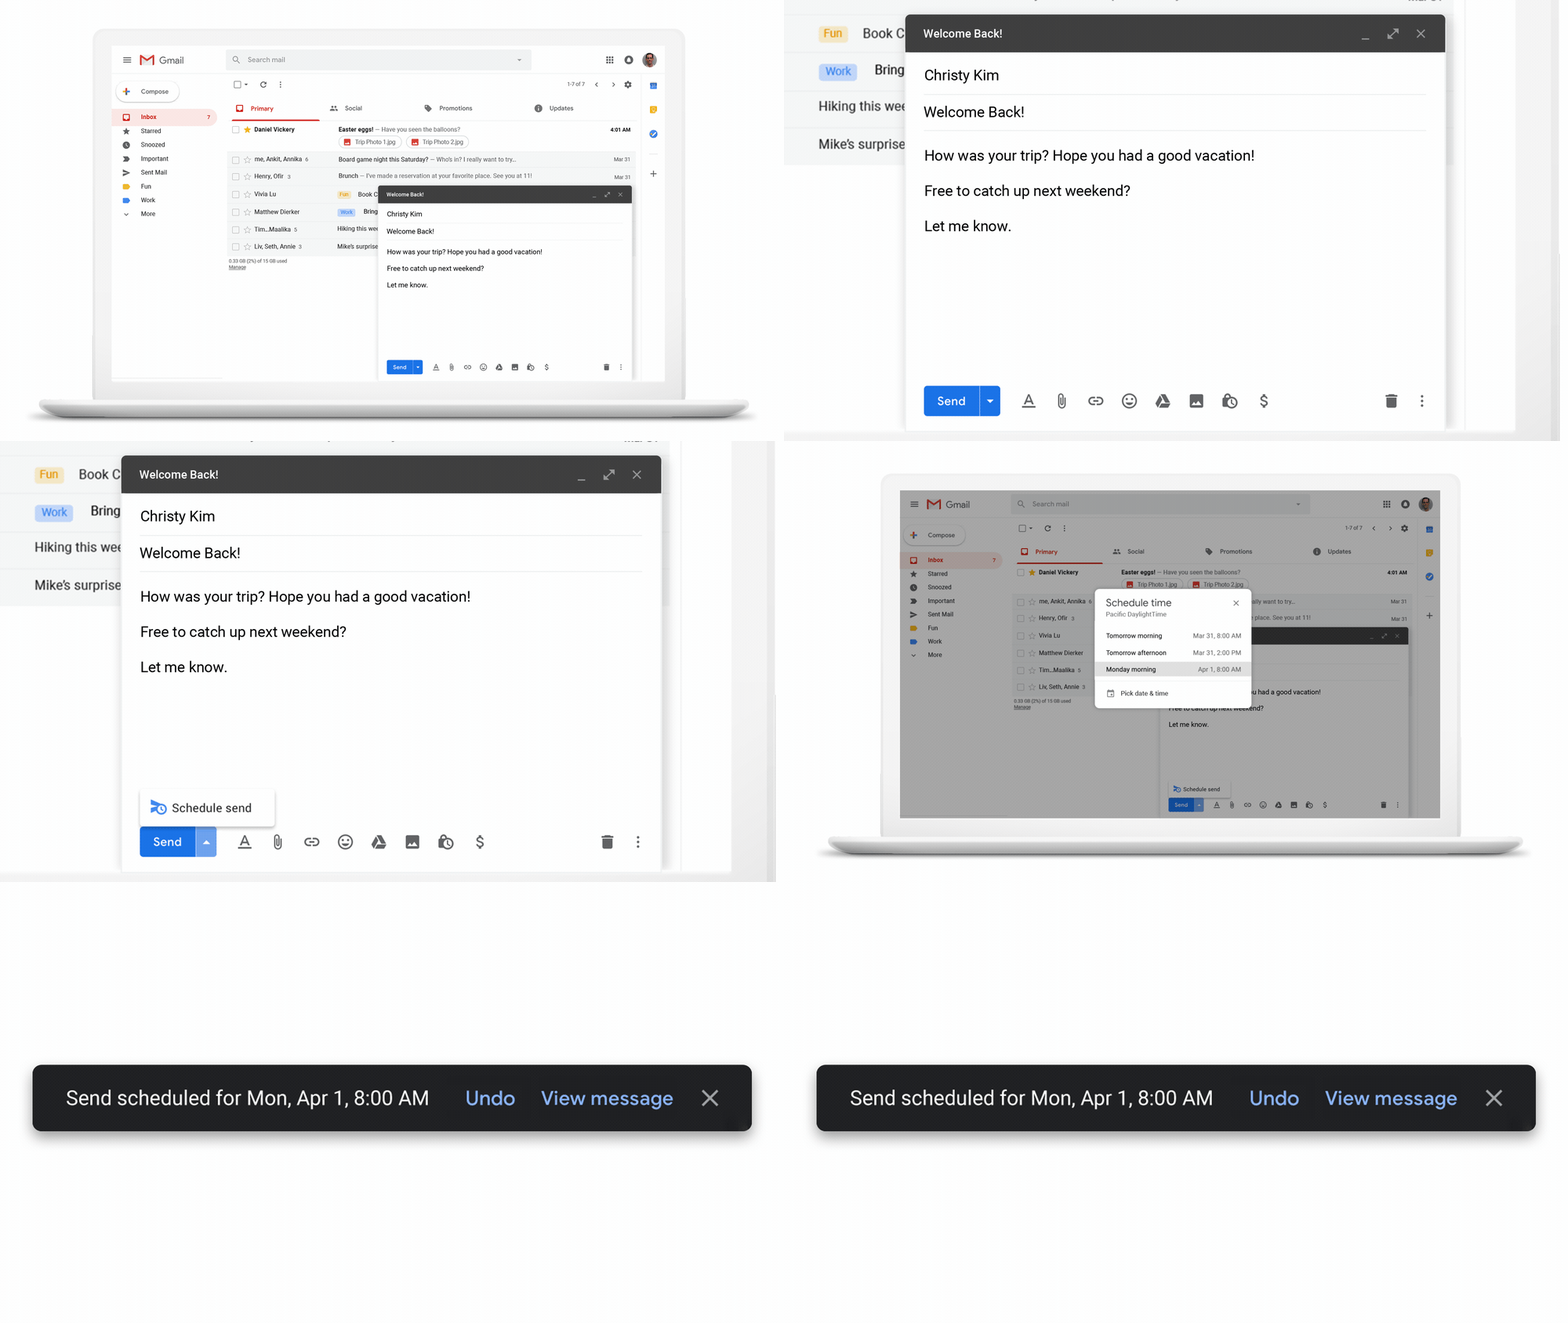
source: Google
On desktop, using the scheduled send feature is as simple as clicking the new arrow next to the send button. If you don’t have this button yet, the feature hasn’t rolled out to you. It’s a server change, so there isn’t much you can do but wait on the feature to arrive. Still, once the arrow is there, click it to open the menu, then select “Schedule Send.” You’ll have a pop-up menu appear with some standard Gmail scheduling options, but most users will probably want to schedule their specific dates and times.
On mobile, the feature works similarly. Draft your email, but instead of clicking on the send icon, click the triple-dotted menu icon next to it, then tap on Schedule Send. Like on desktop, you’ll have a dialog box appear on screen that gives you options to set your schedule. Both the desktop and mobile version offer the ability to edit a scheduled message’s set delivery time through the same menu interface, though remember that once an email is sent, you have very little time to click that unsend button.
Boomerang for Gmail
If you’re a heavy Gmail user, you may want to check out Boomerang rather than using Gmail’s built-in scheduler. It is a browser extension that adds extra power to the usual Gmail options. Though a free option is available, allowing you to send up to ten scheduled emails per month, most Boomerang users will want to look at the premium accounts offered through the app, ranging from $4.99 per month to $49.99 per month. Boomerang also offers a trial version that makes it easy to try the app to see if it’s something you need.
- Download and install the browser extension from Boomerang.
- Log in using your Gmail account.
- Compose an email as you usually would.
- Select the new Send Later button that will now appear underneath the normal Send button.
- Select a time delay, day or specific time in the pop-up window and hit Confirm.
- You should then see a small banner at the top of the inbox confirming when the email will be sent.
Boomerang also offers a host of other features not related to sending emails later—check it out to see everything it can do for you.
Other tools for Gmail
There are other third-party tools to schedule Gmail to send an email later. Some work better than others and some are cheaper than others. Popular tools include Ebsta Salesforce tools and Gmelius. Ebsta is expensive but very useful for enterprises that work with Salesforce. It integrates into your browser and offers a range of features to help productivity. It comes at a price though, $30 a month per user.
Gmelius is another browser integrated tool that offers Gmail and G Suite features. It allows you to snooze emails and schedule them but limits you to five per month for the free account, increasing to unlimited at $5 per user per month.
Schedule Gmail to send an email later in Outlook
You don’t necessarily need a third-party tool if you use Outlook 2016 or Office 365. While both of these office suites cost money to buy, if you’re already using them anyway you can link your Gmail account to Outlook and use its built-in schedule function to time your emails.
Set up Gmail in Outlook
Setting up Gmail in Outlook isn’t as difficult as you might think. In fact, a lot of the work is done for you by Outlook itself.
- Log into your Gmail account in your browser.
- Navigate to Settings and ‘Forwarding and POP/IMAP’.
- Select ‘Enable IMAP’ and save.
- Open Outlook.
- Select File and Account Settings.
- Select Account Settings and New.
- Complete the account setup by adding your Gmail details.
- Select Test if it doesn’t test automatically. You should see an email appear in the new Outlook inbox created for your Gmail account.
The Outlook setup wizard should pick up the Gmail settings itself and automatically configure the email address. If it doesn’t, repeat step 6 and select Manual server configuration. Visit this page and enter the server details into Outlook. Test the settings and then save.
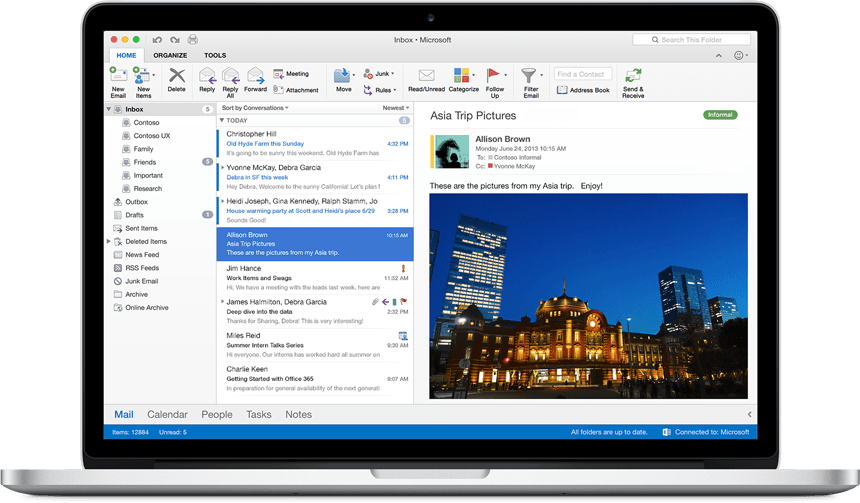
Schedule Gmail in Outlook
Now Gmail is set up in Outlook, you can compose an email as usual but then set a time when you want it to be sent. This achieves the same results as Boomerang or the other extensions but for free, assuming you already have Outlook.
- Open Outlook and select your Gmail account.
- Select New and compose your email as you normally would.
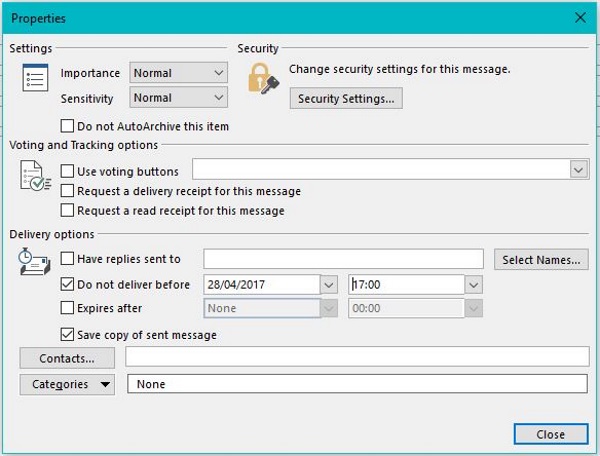
- Select the Options tab and Delay Delivery.
- Select ‘Do not deliver before’ and set a date and time.
- Click Close. The Delay Delivery button should stay gray to tell you the delay is active.
- Complete the email and hit Send.
The email will sit in the Outbox until the appointed time, when it will be sent. Note that you cannot actually set an exact time the email will be sent – you instead set a time before which it won’t be delivered. I’m not sure why they phrase it this way, because the email will end up being sent right around that time.
These are just some of the ways you can schedule Gmail to send an email later. If you have other suggestions or ideas, be sure to tell us about them below!


5 thoughts on “How To Schedule Gmail to Send an E-mail Later”
I know i can do a custom send, but can i change the default option to something i want?