How to Setup Your TP-Link AC1750 Wi-Fi Range Extender

The TP-Link AC1750 RE450 is a range extender tool that, to all intents and purposes, “extends” the range of your Wi-Fi router. It can be an immensely useful tool in larger properties where the range of a single router doesn’t cover the square footage needs.
Although setting up the RE450 is generally pretty straightforward, if you haven’t set up a repeater or a range extender before, it might be challenging. With this in mind, we’ve provided you with a step-by-step guide on how to set up the TP-Link AC1750 RE450 range extender.
Plugging In and Turning On
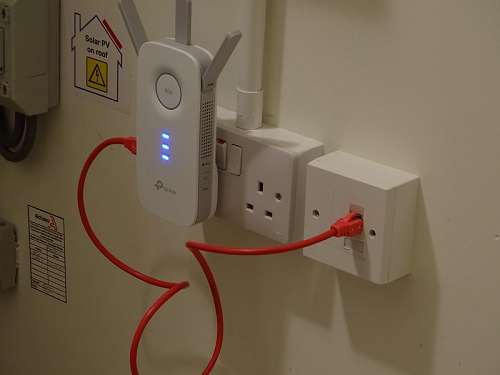
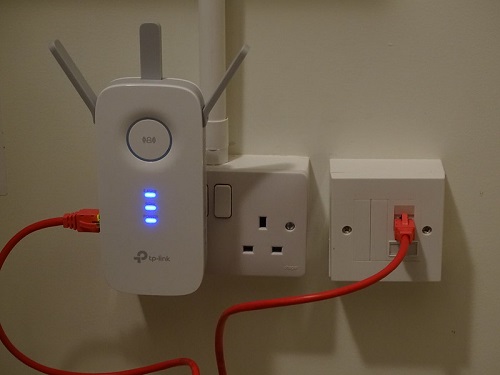
To get things started, plug in the RE450 into a power socket. Make sure that the outlet is somewhere within a couple of feet of the router that you want to extend. Then, press the Power button on the right side of the TP-Link range extender.
Give the device a couple of minutes to start up. Although the device will likely be ready from the moment the power light on the front turns blue, we recommend waiting a few more minutes before proceeding to set it up.

Setup Methods
There are three different methods for setting up your TP-Link RE450 range extender. Here’s each one, explained in detail.
Wi-Fi Protected Setup
This is probably the easiest method of the three. On your wireless router, no matter the brand and type, you’ll find a WPS button. WPS is short for Wi-Fi Protected Setup. The WPS button on the TP-Link AC1750 router is located at the far right of its backside.
Press the WPS button on your router. Then, press the WPS button on the RE450 device. The devices should exchange data with each other, connecting automatically. There you go, you’ve connected the range extender to your router.
Web Interface Setup
Web Interface Setup is somewhat more complex than the above-mentioned method. However, it gives you a ton of customization options. If you’re a regular extender user and have no trouble with the factory setup, don’t complicate things for yourself using this method. That said, if you know what you’re doing and want to approach things with more customization options, this is the method for you.
To exercise this method, navigate to the TP-Link Utility Management Page. Once you’ve connected to the network that you want to extend, open your browser (on the connected device, preferably a computer) and type in or paste http://tplinkwifi.net. Then, hit Enter, and you’ll be taken to the Utility Management Page.
Follow the outlined instructions and set things up according to your preference.
Mobile App Setup
The third and final setup method is very similar to the previously mentioned web interface setup method. Here, you’ll be using the TP-Link Tether app, by downloading it to your mobile/tablet device.
Via this app, you’ll select the Wi-Fi network that you want to extend, and provide the credentials manually.
Extender Placement
People often confuse Wi-Fi repeaters and extenders. Repeaters connect to your wireless network and rebroadcast it into a larger square footage of connectivity. Alternatively, range extenders, such as TP-Link AC1750 RE450, are linked to the wireless network using a wireless link, thereby extending the network to a bigger area.

This is why you shouldn’t consider the extender an extension of a router. You should place it within a couple of feet from the router, to ensure maximum effectiveness.
TP-Link AC1750 Range Extender Setup
Setting up the extender is much simpler than setting up the entire router. The easiest, WPS method, requires plugging it in and pressing the buttons on your router and the extender. However, if you want to go into more customization, you can resort to the other methods.
We hope that you’ve mastered the Wi-Fi range extender setup, at least when it comes to the RE450. Still, if you have any additional questions, don’t be a stranger, hit the comments section below and ask away.


8 thoughts on “How to Setup Your TP-Link AC1750 Wi-Fi Range Extender”