Tiling Window Managers and Why You Should Use One
Is your desktop a mess? Are there windows on top of windows on top of who knows what? Maybe you’re just always looking for more screen space. It may seem like those things are all symptoms of a key problem with how computer graphical interfaces handle windows, and they are. Most window managers are grossly inefficient. Tiling window managers are a possible solution.
What Is a Tiling Window Manager
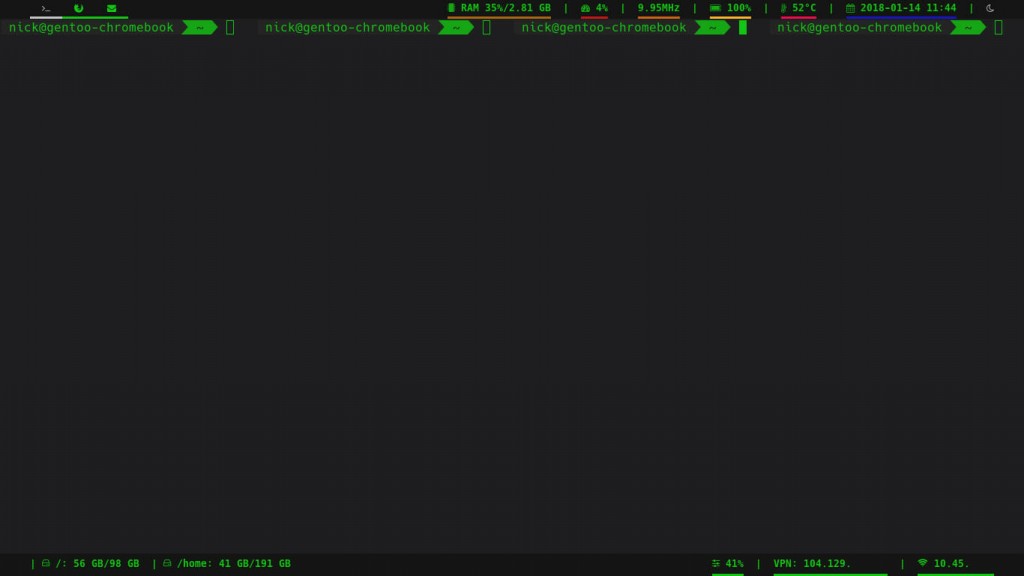
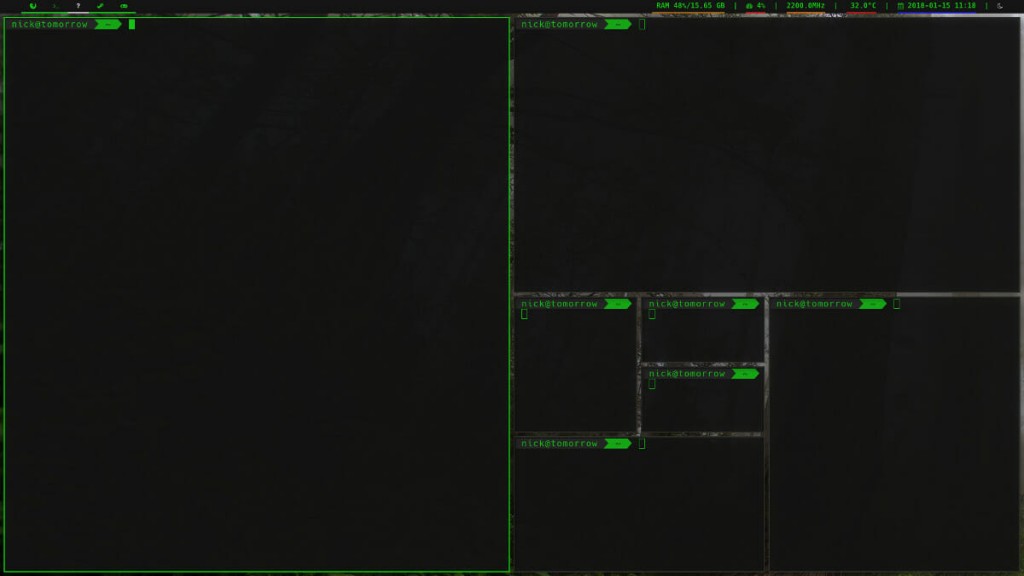
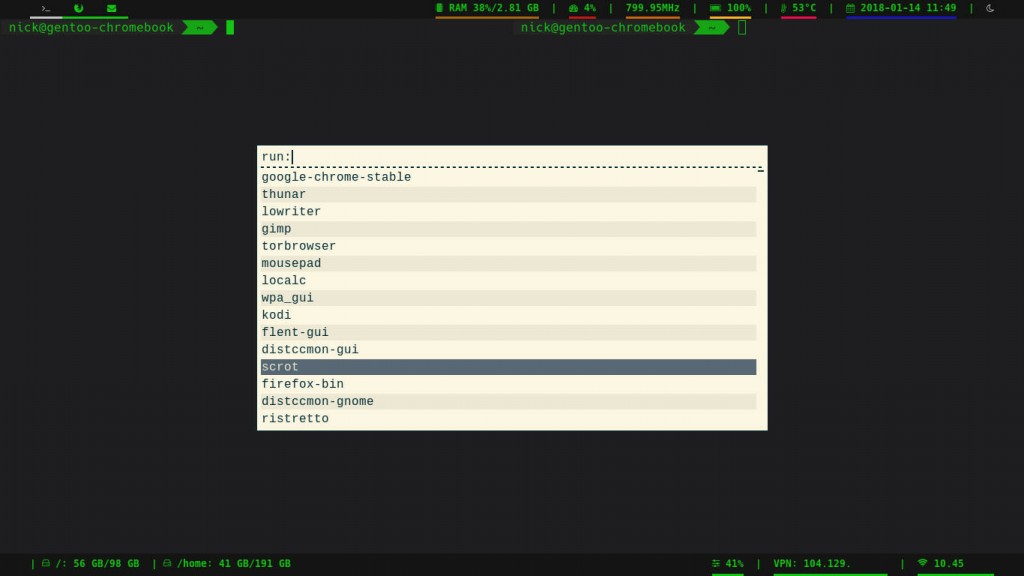
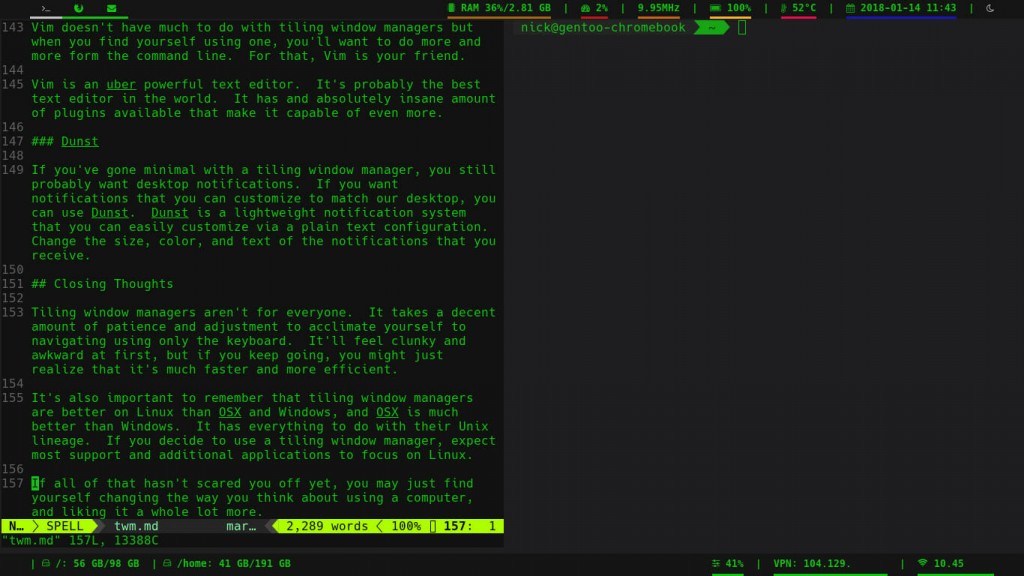
A tiling window manager takes a different approach to arranging windows. Instead of windows just popping up anywhere, they occupy whatever space is available. As you open more windows, the screen space gets broken down mathematically to maximize efficiently.
For example, if you open a program on a blank desktop, it’ll automatically fill the whole screen. Then, if you open another, it’ll open next to the previous one, filling half the screen. From here, things get specific to which algorithm the window manager uses. For this example, though, you can assume it will behave like i3 window manager. If that’s the case, the next window will open up next to the others, dividing the screen in thirds. That trend will continue.
That probably doesn’t sound too good, but you can arrange and rearrange them at any time. That includes the percentage of the screen that they take up. You can break up the screen into fourths, with each side of the screen broken in half horizontally. Actually, you can organize the screen any way that you like.
Most tiling window managers, especially on Linux systems, make use of workspaces too. Workspaces create virtual screens, usually up to ten. You can set windows to open on specific workspaces and workspaces to open on specific monitors.
With a tiling window manager, you have complete fine-grained control over the layout of windows on your screens.
VS Floating Window Managers
At first, it might seem like tiling window managers are much less convenient than their floating counterparts. It feels natural to drag a window around the screen, right?
Most tiling window managers tile by default, but support floating for instances where tiling isn’t practical. You can toggle floating whenever you like. When you toggle a floating window into floating mode, you can use keyboard controls to resize it and get it to behave hot you’d expect.
One of the huge benefits of tiling window managers is your ability to customize them. Because you set up your own controls, you can rapidly adapt to a workflow that you find comfortable.
Have you ever tried arranging windows and keeping them arranged with a floating window manager? It doesn’t work well, if at all. So, you can get floating behavior from a tiling window manager, but it doesn’t work the other way around.
Another huge advantage comes from keyboard controls and navigation. There’s no need to use a mouse to navigate through a tiling window manager. Everything that you do can be handled through hotkeys. You can even map hotkeys to launch all of your most used applications.
Breaking Down The Space
There are different methods of tiling. Usually, the tiling is handled by an algorithm. Usually, any tiling algorithm is only a default method that you can override manually. So, it’s not a top priority to pick a window manager that tiles a specific way. You can always override it.
You already walked trough ho i3 tiles. It will continue to divide the screen equally in one direction. You can toggle between horizontal and vertical tiling at any time. It helps to arrange your windows. This is probably one of the simplest ways to tile.
The next way that window managers tile is via a binary tree algorithm. It’s used by BSPWM. A binary tree algorithm will automatically shift from one window to the next, breaking the focused window in half. So, the first window will take the full screen. The second window will appear next to the first, taking half of the total space. The third window will split the second window’s space in half. The fourth window will split the third, and so on.
Finally, you have manual tiling window managers. These force you to specify the location of your next window by default.
There are certainly other algorithms out there, but these are the most common ones that you’ll encounter.
Navigation
Navigating a tiling window manager is different, depending on the window manager and how you configured it. A lot has to do with your configuration, though. One thing all configurations have in commons is a “Mod” key. That key lets the widow manager know that you’re using a command instead of the plain key. Usually, the “Mod” key is Alt or the Windows key.
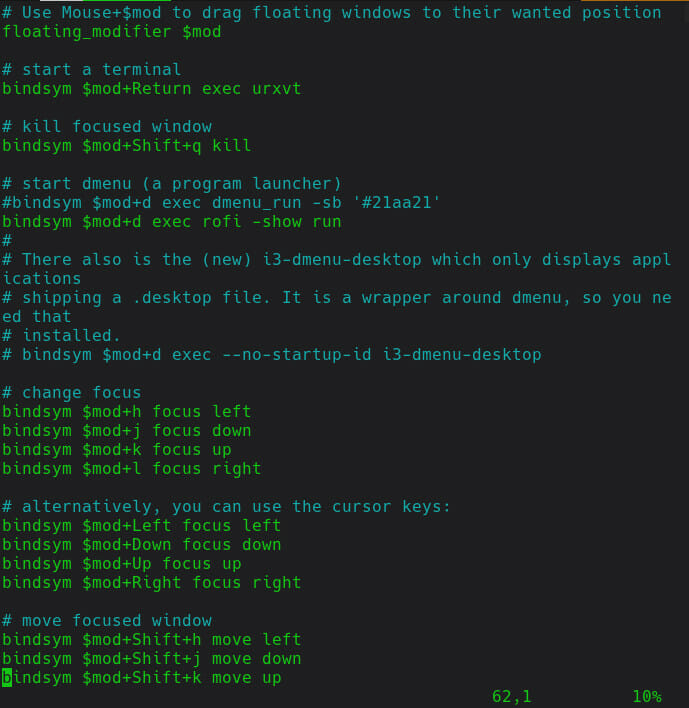
Most tiling window manager users prefer to us Vim as the basis of their configurations, using the h, j, k, and l keys along with Mod to move around. To move up, press k. To move down, press j. H is left, and l is right. Then, you’d add another key like Shift to the mix to change the position of those windows.
Mod and a number usually moves between workspaces. Pressing the mod key and the number 1 would take you to workspace 1. “Mod + 8” would be workspace 8. You get the idea.
There is a lot more configuration that you can do. Keep in mind that with most tiling window managers, nothing is off limits. You can create your own hotkey combinations for just about anything.
Top Window Managers
There are an insane amount of tiling window managers out there. They’re fairly lightweight and simple, so a lot of people make them. It’s best to pick one that’s popular and well documented. This way, you can be sure that it’s still being developed and maintained. Plus, you’ll have an easier time finding help, should you need it.
Linux
Linux has the widest array of tiling window managers. They’re more popular on Linux, and easier to make for Linux with the available open source toolkit. This is a very small sampling, so if you have a favorite that’s not listed here, it’s just because the goal here is to be as simple as possible and not overwhelm new users.
i3wm
If you’re on Linux, and you’ve never used a tiling window manager before, pick i3. It’s super popular, easy to use, and the documentation is great. You won’t be disappointed.
i3 tends to work well with a lot of external programs and accessories. It also uses a simple plain text configuration file that is easy for new users and people without programming experience to read.
BSPWM
BSPWM is a bare bones ultra lightweight tiling window manager that uses binary tree screen partitioning by default. It doesn’t come with a whole lot out of the box, expecting you to configure everything to your liking.
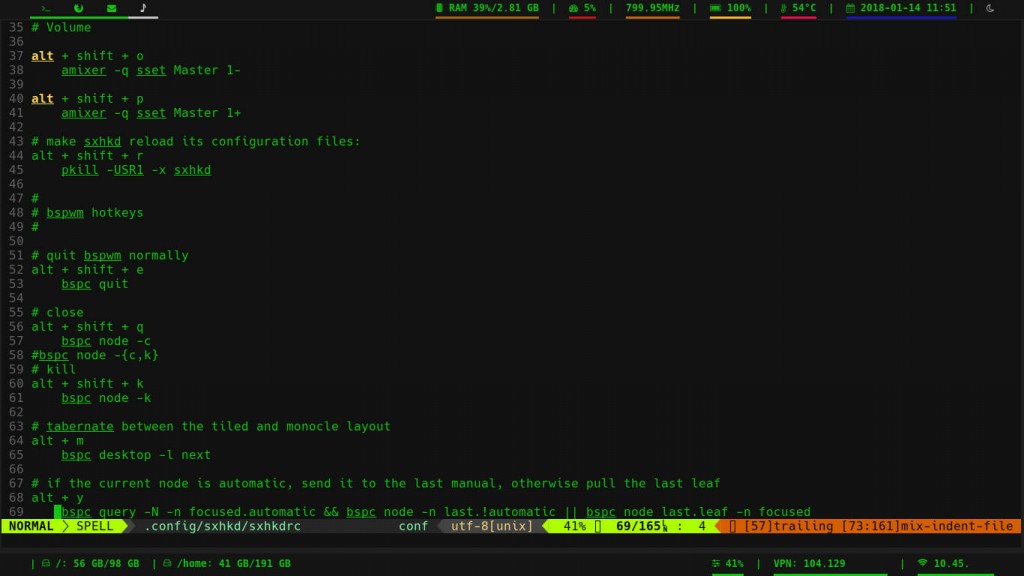
BSPWM also uses a shell script configuration that is fairly easy for Linux users to understand, but it’s not the best for total newbies.
It’s also important to note that BSPWM expects you to bring your own support applications like a status bar and launcher. There are plenty of great options out there, but you need to find them yourself.
Xmonad
Xmonad is a bit different. The whole window manager is written in Haskell, and so is the configuration. That means that you need to know at least a bit of Haskell to configure Xmonad.
This isn’t a great option for new users, but if you’re a programmer and you’re looking for an option that allows you to customize your desktop using actual code, Xmonad is a good choice.
AwesomeWM
If you were looking for something that comes “batteries included” like i3 and uses programming for configuration like Xmonad, AwesomeWM might be what you’re looking for.
AwesomeWM comes complete with its own status bar and can handle a lot of things by default. It uses the Lua scripting language for its configuration. It’s a simpler programming language, but it still provides plenty of options for configuring AwesomeWM.
OSX
OSX is a Unix-like system, and it’s a favorite of developers. It’s not much of a stretch to see why people would want tiling window managers there. While it doesn’t have as many options as Linux does, there are still a few solid window managers for OSX.
ChunkWM
ChunkWM is a fairly new project. It’s the new name of an old favorite, KWM. ChunkWM uses a binary partitioning scheme by default and relies on simple plain text configurations.
You can install ChunkWM on OSX using homebrew and configure it from there. ChunkWM itself is written mostly in C++ and Objective -C++, so it’s about as fast and responsive as you’re going to find.
Amethyst
Amethyst is another great option for OSX. It aims to be more like Xmonad, but it’s written mostly in Swift, so it fits well into the Apple ecosystem.
Don’t worry too much about configuring Amethyst. It comes out of the box with intelligent controls that will make navigating and using it easy.
Windows
Windows isn’t exactly the best place for things like tiling window managers. It’s built to work the way it was designed and doesn’t take customization very well. That said, there are a couple of good options that can give you some of the benefits of a tiling WM on Windows.
bug.n
Bug.n is a traditional-style tiling window manager for Windows. It’s a script that you can add on to make your default desktop behave like a tiling window manager. This script adds tiling layouts as well as hotkeys for navigation too.
Bug.n supports tiling as well as floating much like the Linux tiling window managers. It also replicates the workspace functionality of Linux tiling window managers.
Because it is heavily keyboard driven, bug.n is a better option for someone familiar with pure keyboard navigation, otherwise it will be a little overwhelming.
AquaSnap
AquaSnap is an excellent middle ground for Windows users looking for most of the features of a tiling window manager without the need to commit fully to one.
As the name suggests, it allows you to snap windows into corners and arrange a layout easily. It’s not a full tiling window manager, and it doesn’t tile automatically. It does let you to click and drag your windows to resize them while still retaining the tiling-like layout.
Accessories And Tools
There are some additional programs that go together very well with tiling window managers. They help to enhance window manager functionality, and will help you to customize things to your liking.
Polybar
Polybar is a status bar that was designed to work with i3 and BSPWM, but it can certainly be applied to others. This status bar comes with basic minimal functionality built in for a lot of things. That makes it easier to get started with. Thankfully, it also allows you to configure and override any functionality that you want. Polybar is fully script-able, so if you have knowledge of Bash scripting, you can really have some fun with it.
Lemonbar
Lemonbar is another status bar similar to Polybar. This one is even more more minimal than Polybar, and doesn’t come with a whole lot to start. You have to create the functionality yourself. It’s also fully script-able, so once again, you don’t really have any limitations with it.
Rofi
Rofi is a minimal application launcher. You can map it to a hot key and use it to start any program that you type in. Rofi remembers the programs that you search for, and lists them in a recently/most used list.
You can customize the look and feel of Rofi too, to make it match your desktop. It’s not too hard via the Xresources file on Linux.
URxvt
URxvt, or Rxvt-Unicode, is a terminal emulator. You don’t necessarily need to use one specific terminal emulator or another with a tiling window manager, but it’s better to use a more minimal one that’s not tied to any particular graphical environment. URxvt fits that description.
As an added bonus, URxvt is super configurable. You can customize it to just about any look and feel. That includes color, text, and background.
Vim
Vim doesn’t have much to do with tiling window managers but when you find yourself using one, you’ll want to do more and more form the command line. For that, Vim is your friend.
Vim is an uber powerful text editor. It’s probably the best text editor in the world. It has and absolutely insane amount of plugins available that make it capable of even more.
Dunst
If you’ve gone minimal with a tiling window manager, you still probably want desktop notifications. If you want notifications that you can customize to match our desktop, you can use Dunst. Dunst is a lightweight notification system that you can easily customize via a plain text configuration. Change the size, color, and text of the notifications that you receive.
Closing Thoughts
Tiling window managers aren’t for everyone. It takes a decent amount of patience and adjustment to acclimate yourself to navigating using only the keyboard. It’ll feel clunky and awkward at first, but if you keep going, you might just realize that it’s much faster and more efficient.
It’s also important to remember that tiling window managers are better on Linux than OSX and Windows, and OSX is much better than Windows. It has everything to do with their Unix lineage. If you decide to use a tiling window manager, expect most support and additional applications to focus on Linux.
If all of that hasn’t scared you off yet, you may just find yourself changing the way you think about using a computer, and liking it a whole lot more.


