How To Use Google Drive On A Mac For File Backup And Storage Management
Cloud storage is becoming an increasingly viable option for those who want to back up their files or who don’t have enough space on their main computers to fit all their files. While hard drives and USB drives were once the norm for file backup, that’s no longer true. The future is in the cloud.
Google recently updated Google Drive for Mac to be perhaps the most useful and easy way to back up your files, allowing users to simply tell the Drive which files to sync and which to not sync with the computer. What this means is that you can seamlessly integrate Google Drive with your computer. Here’s how.
Note: This tutorial assumes that you do not have files that reside on both your computer and in Drive, but rather one or the other. If you have the same file on both, following this tutorial will result in duplicates, something that can obviously be fixed by deleting one of the versions.
1. Download And Install Google Drive For Mac
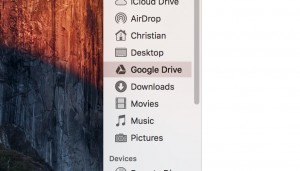
The first this to do is install the Google Drive for Mac app. This is basically the piece of software that’s going to dictate what gets synced to your computer and what doesn’t. After installing the app, a new folder will be located inside the Documents folder, and will be called Google Drive. This, going forward is going to be your main folder for your documents and files.
2. Put Your Files Inside The Google Drive Folder
What was your documents folder now needs to be your Google Drive folder. So, anything that you had in documents should be 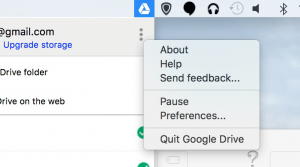 moved to inside the Drive folder. It’s important to note that you may need to check how much storage this will take up, and if necessary upgrade the amount of storage available to you through Google Drive.
Once you drop files into the Google Drive folder, they will be synced straight to Google Drive. That is, you can go to the Google Drive website, log on, and see your files on any computer. From the menu bar, you’ll see a new Google Drive icon, which will be solid black if everything has fully synced, and will be moving if not. You can click on the icon to see the status of its sync.
3. Select Which Folders You Want Synced On Your Computer
 IMPORTANT: Don’t do this until after your files have fully synced to Drive, otherwise they may be lost.
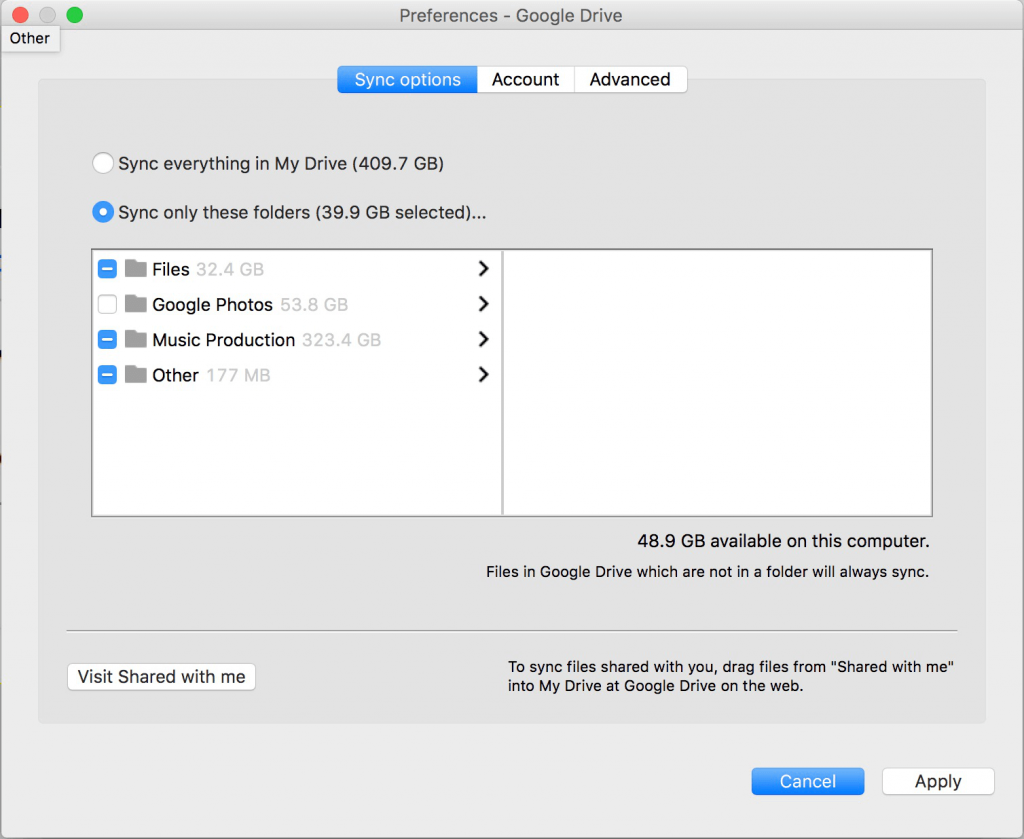
This step is where Drive gets really powerful. Instead of having to store all your files on the computer, taking up tons of precious space, you can check the folders you want to keep and uncheck the ones that can live only in Drive. The folders that are check will be updated whenever a change has been made. Delete a file on your computer, it will be deleted in Drive. Add a file into the folder on Drive from another computer, it will be synced to your computer.
To do this, click on the Drive logo in the menu bar, then click on the “menu” icon, after which you click “Preferences.” Sync Options will pone by default. This is where you can choose which folders you want to reside on your computer and which ones you don’t. Or, you can “sync everything in My Drive,” which will obviously make sure all folders are synced all the time, and you’ll be using Drive as a way to backup rather than as a way to manage your file storage.
You’re Done!
You should now be able to maintain complete control over your files, only keeping certain files on your Mac and keeping the rest in Google Drive. No external drives or USB drives necessary!
Have you tried Google Drive for Mac yet? Let us know your thoughts in the comments below, or by starting a new discussion in the PCMech forums.






2 thoughts on “How To Use Google Drive On A Mac For File Backup And Storage Management”
The only thing Google Drive app for Mac does now is to open an embedded browser application that exposes the normal web interface of Google Drive.
No Sync and no local folder.
Please correct me if I am wrong as I would very much like to have this functionality.