Don't Wait for Windows 10: How to Use Virtual Desktops in Windows XP and Up

One of the big new features Microsoft is touting in Windows 10 is virtual desktops, something that OS X and Linux users have long enjoyed. But while virtual desktops might be getting some tweaks for its public debut in Windows 10, the core technology required for the feature has been available in Windows for years — it’s just been hidden.
Starting way back in Windows XP, Microsoft built a hidden Windows architecture called “desktop objects,” which let Windows launch separate Explorer processes to create up to four virtual desktops. The company now provides a free utility called Desktops that lets users access this hidden Windows feature with a clean and simple Taskbar-based user interface.
Install and Configure Virtual Desktops in Windows
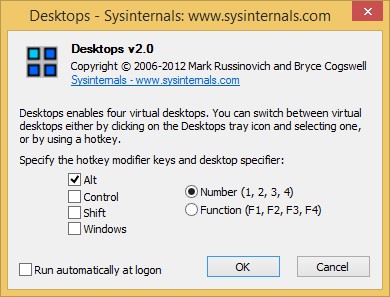
To use the Desktops utility (currently at version 2.0), download and run its installer on any version of Windows from XP to 8.1. Upon first launch, Desktops will load into your Windows Taskbar and show a configuration dialog that lets you determine the keyboard shortcuts you’ll use to change between your virtual desktops. The default is Alt + Number (with 1, 2, 3, and 4 corresponding to the four virtual desktops), although you can create any combination of Alt, Control, Shift, and Windows key along with numeric or function key options. We’ll stick with the default, which means that when we want to view our third virtual desktop, we’ll press Alt + 3.

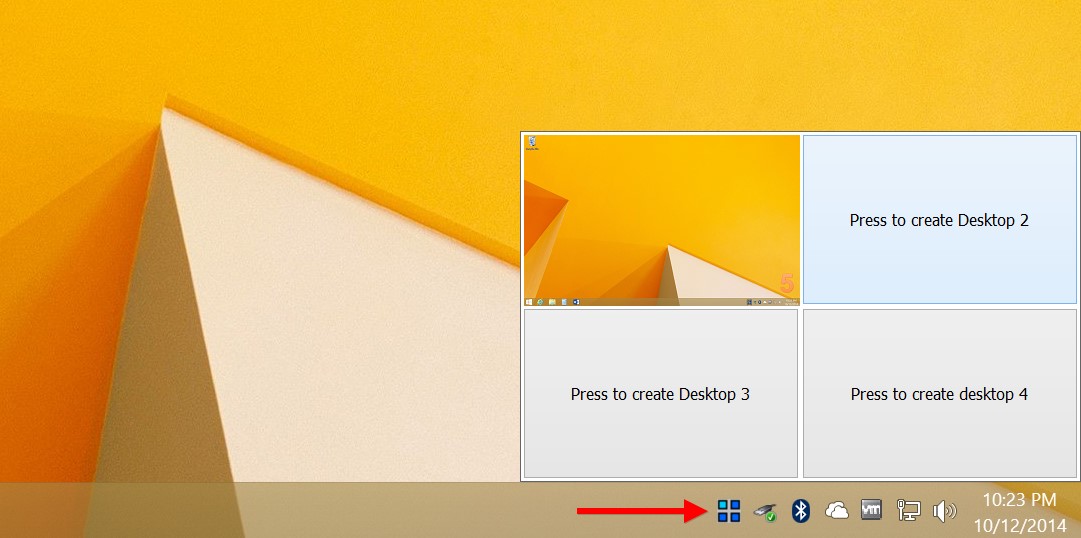
Once the Desktops utility is running, you’ll see a square of four blue dots in your taskbar. Click it to display a visual preview of your virtual desktops. At first only the primary desktop will be displayed, but you can click on a blank slot to create and switch to an additional virtual desktop.

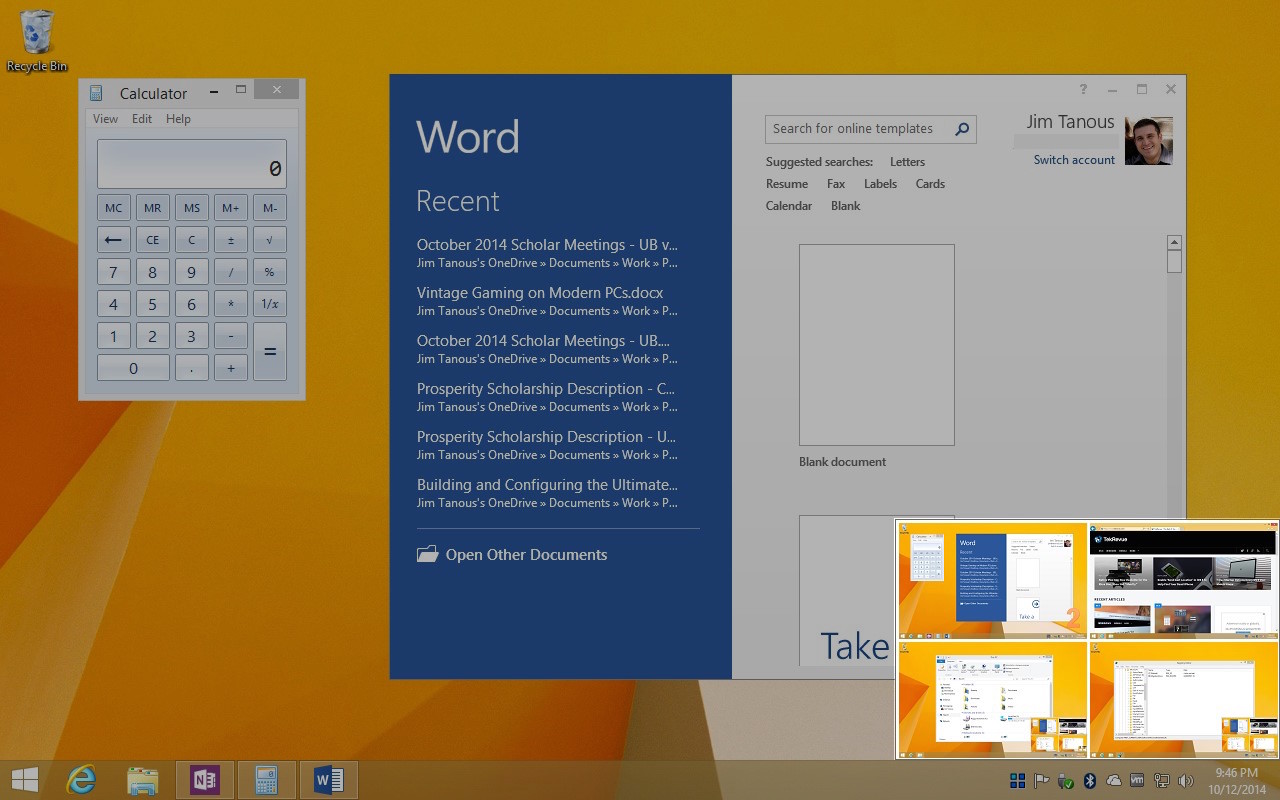
The primarily purpose of virtual desktops is to separate and organize your apps by task. For example, having a Web browser on the first desktop, a calculator and Excel on the second desktop, a Word document and related PowerPoint presentation on the third desktop, and Windows Explorer and OneDrive on the fourth desktop. To start populating your virtual desktops in Windows, jump to a particular desktop and open the apps you’d like to “live” there. Then switch to another desktop and open your next group of apps. You can now quickly switch between desktops with a single keyboard shortcut (in our example, Alt + 1, 2, 3, or 4).

Windows Virtual Desktop Limitations
If you’re already accustomed to virtual desktops from experience with OS X or Linux, there are some limitations you’ll need to be aware of when using the Desktops utility in Windows. First, because Windows is launching a separate Explorer process for each virtual desktop, you can’t move apps between desktops once they’re open. To move an app from one virtual desktop to another, you’ll need to completely quit the app, switch to the desired new desktop, and then open the app again.
Another issue, again related to the separate Explorer processes required to pull this hidden feature off, is closing a virtual desktop or quitting the Desktops utility. Just closing a virtual desktop would result in orphaned processes, even if there are no end-user applications running. So the only safe way to close a virtual desktop or quit the Desktops utility is to log out of your Windows user account and then log back in. If you wish to completely close the Desktops utility, make sure you open its configuration dialog and uncheck “Run Automatically at Logon” before you log out. Otherwise, the utility will simply launch again when you log back on.


One thought on “Don't Wait for Windows 10: How to Use Virtual Desktops in Windows XP and Up”
To get the Windows function 10 in my Windows 7, I use Actual Window Manager 8.3 . I’ts amaizing.
I got Virtual desktops, Snap Assist, search button on the Taskbar and more then 50 other very helpful tools for everyday working.
Really recommend this software for everyone!
Link actualtools.com/windowmanager/